Valentine’s Day really is the worst holiday (or is it an occasion?). It’s the one day of the year that celebrates love in a flurry of schmaltz, tacky teddy bears and cinnamon hearts and on the flipside, simultaneously shames you if you don’t happen to have a significant other in your life. But as dreadful as that sounds, it is nice to have a reminder that the idea of romance isn’t dead.
Cringe-worthy Valentine’s marketing aside, I really am a hopeless romantic at heart. ‘Call Me by Your Name’ and ‘The Notebook’ moved me to tears, and I send flowers just because. I remember the first Valentine’s Day dating my better half and I agonized for weeks….“Can boys buy flowers for other boys? What if he laughs at me? Should I make dinner, or get a reservation somewhere?” Any way you slice it, it’s about showing that you care. Making a meal for someone on a special occasion does just that. It takes time, the ultimate gift and luxury – time spent thinking about what this other person might like best, time spent preparing and time spent enjoying the meal together.

For me there are two ingredients that stand out the most for their sex appeal, so perfectly suited for a Valentine’s Day treat: seafood and a little spicy heat. It’s the middle of February which warrants a spice kick to warm up the senses, and there’s something incredibly seductive and sensual about seafood. Consider this…according to myth, Venus the goddess of love was born in an eruption of sea foam where she emerged nude in a clam shell. The parallel is uncanny (unclammy?).
This 3-course menu plays off both of these ideas with seafood and spicy peppers sharing the spotlight. To start, a Grilled Pineapple & Shrimp Salad, followed by Baked Halibut en Papillote and for a sweet finish, a Spiced Chocolate Tart. Give it a try if you’re in the mood to stay in and make Valentine’s dinner this year. Whether you’re consciously coupled or celebrating your fabulous independent life, these recipes are dedicated to love however you define it.
As my mother always says, “if you cook with love, it tastes better”. And you know what? She is absolutely right.
TIP: the salad and tart can be made a day in advance, and the fish takes but a few minutes to prep and cook. With a little planning, you can have this dinner on the table in about 30 – 45 minutes with no stress.
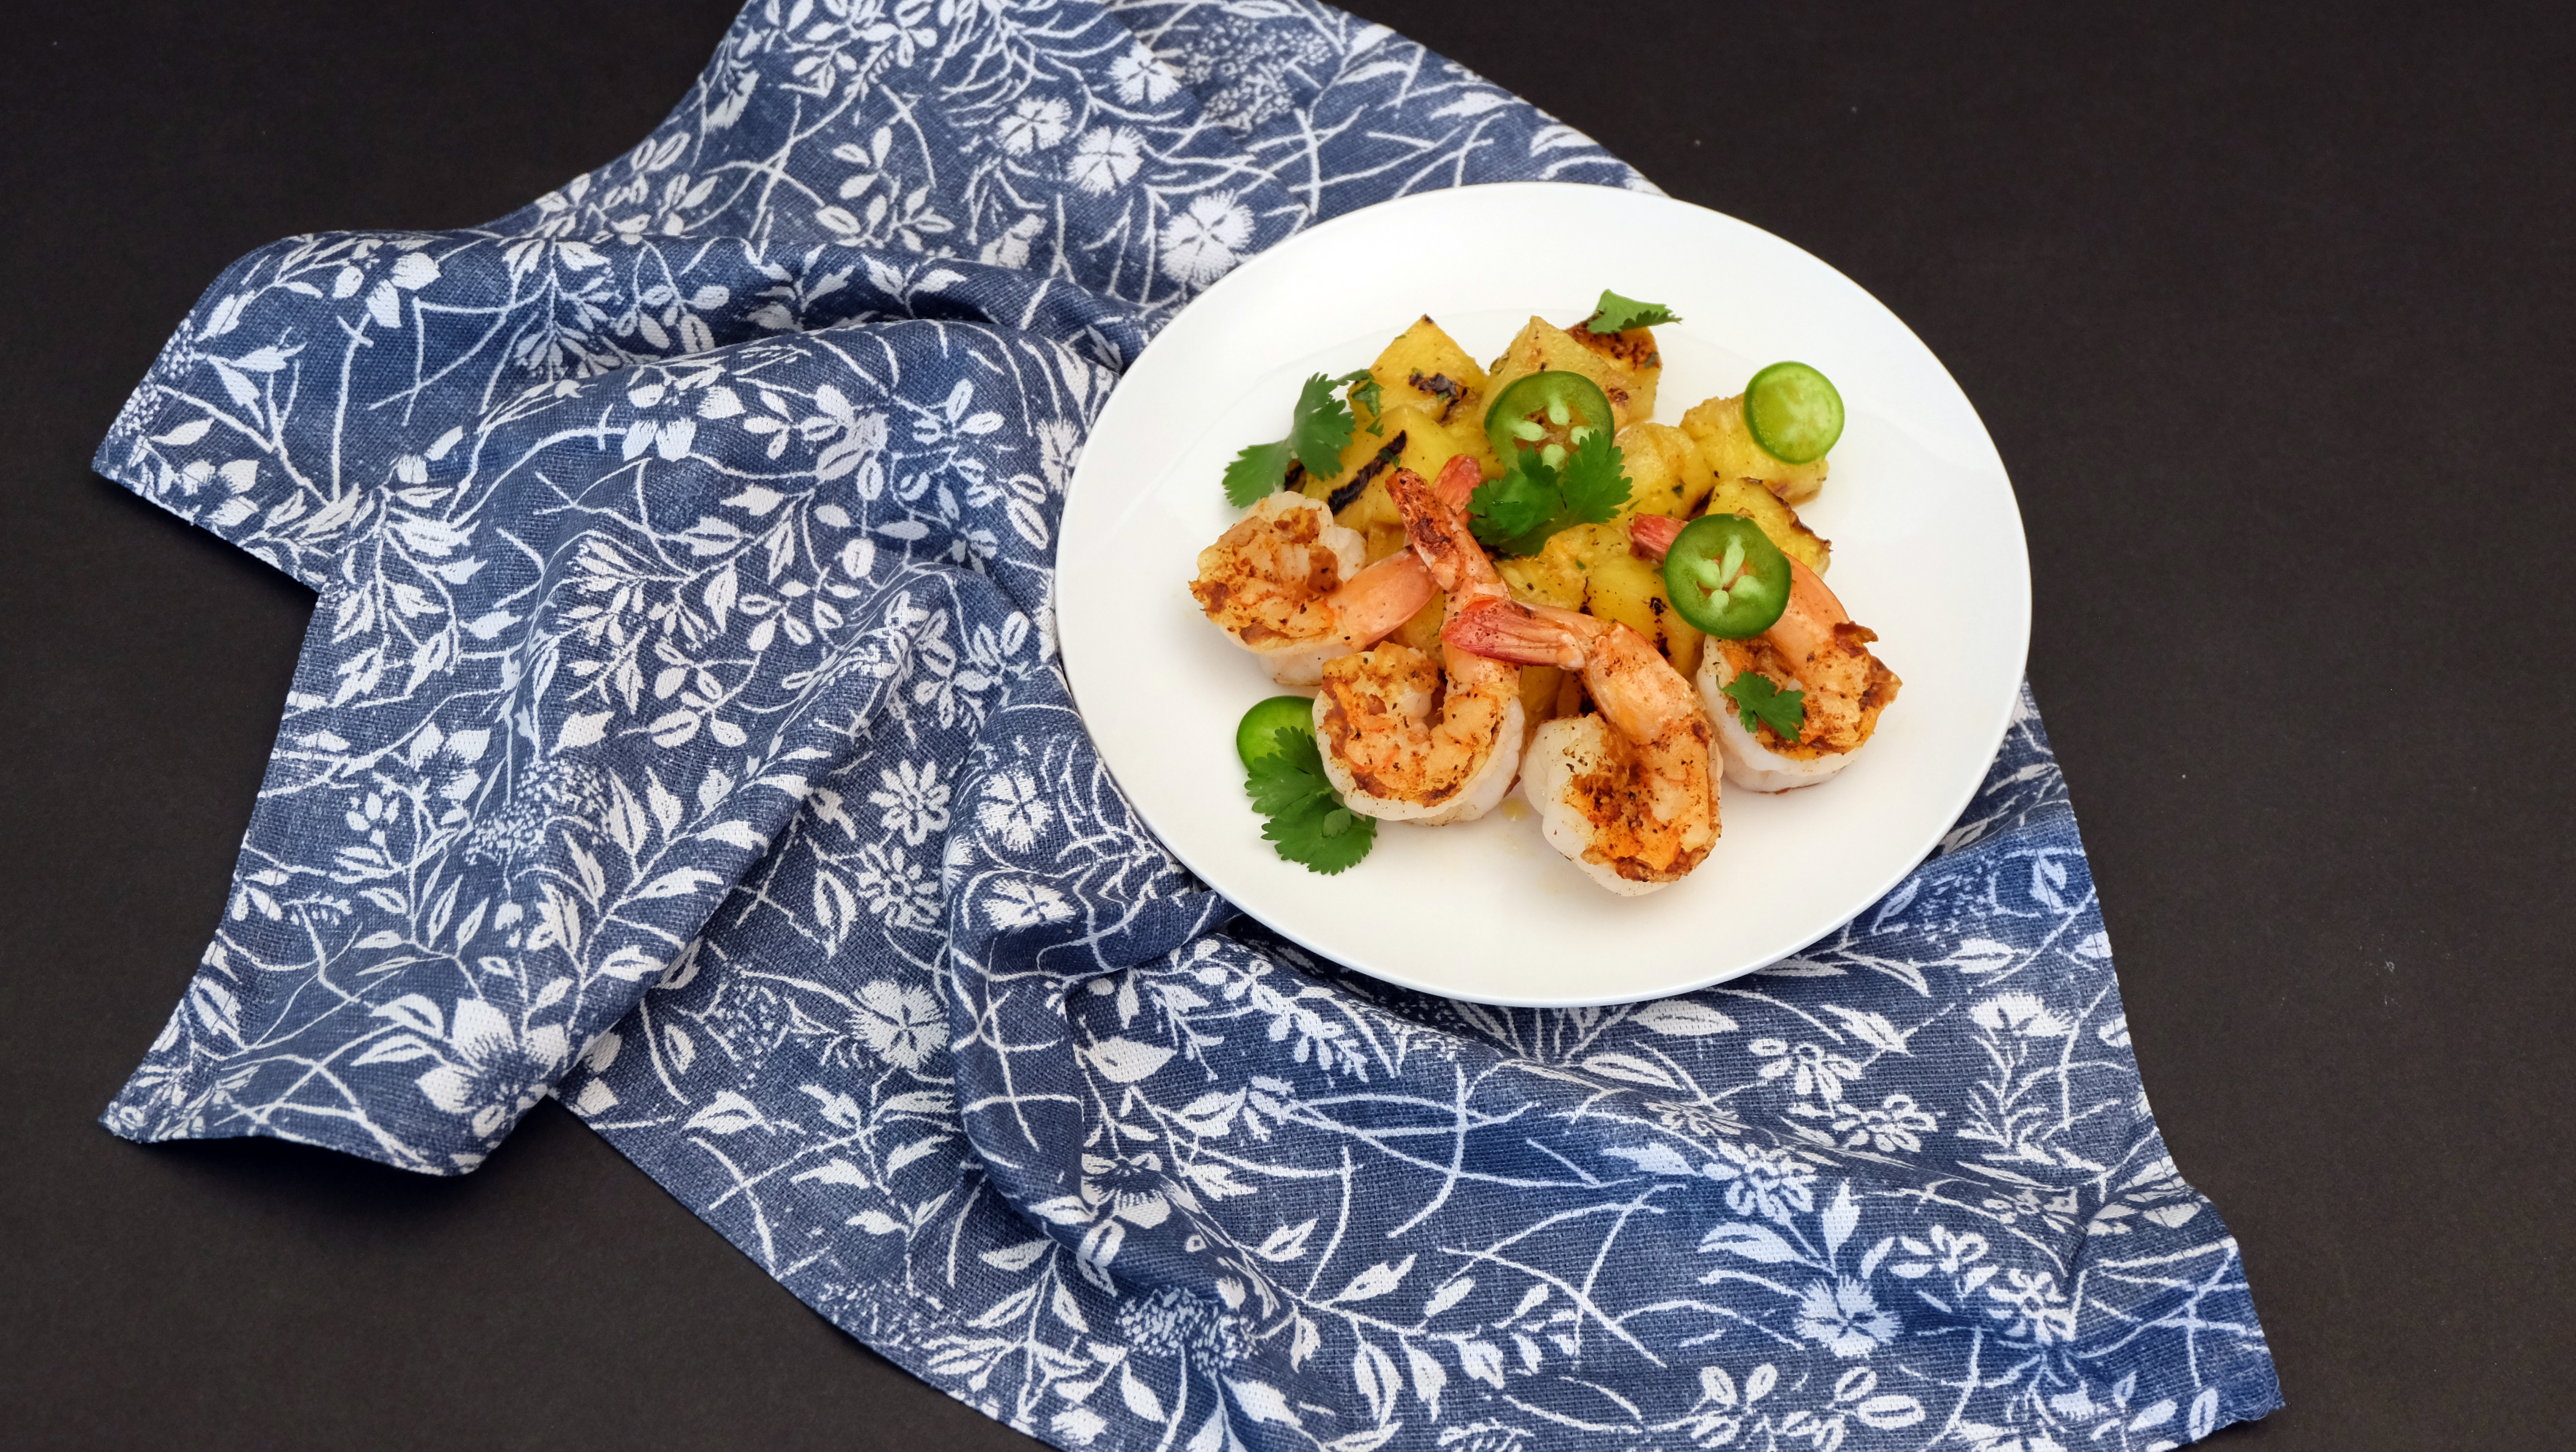
Grilled Pineapple & Shrimp Salad
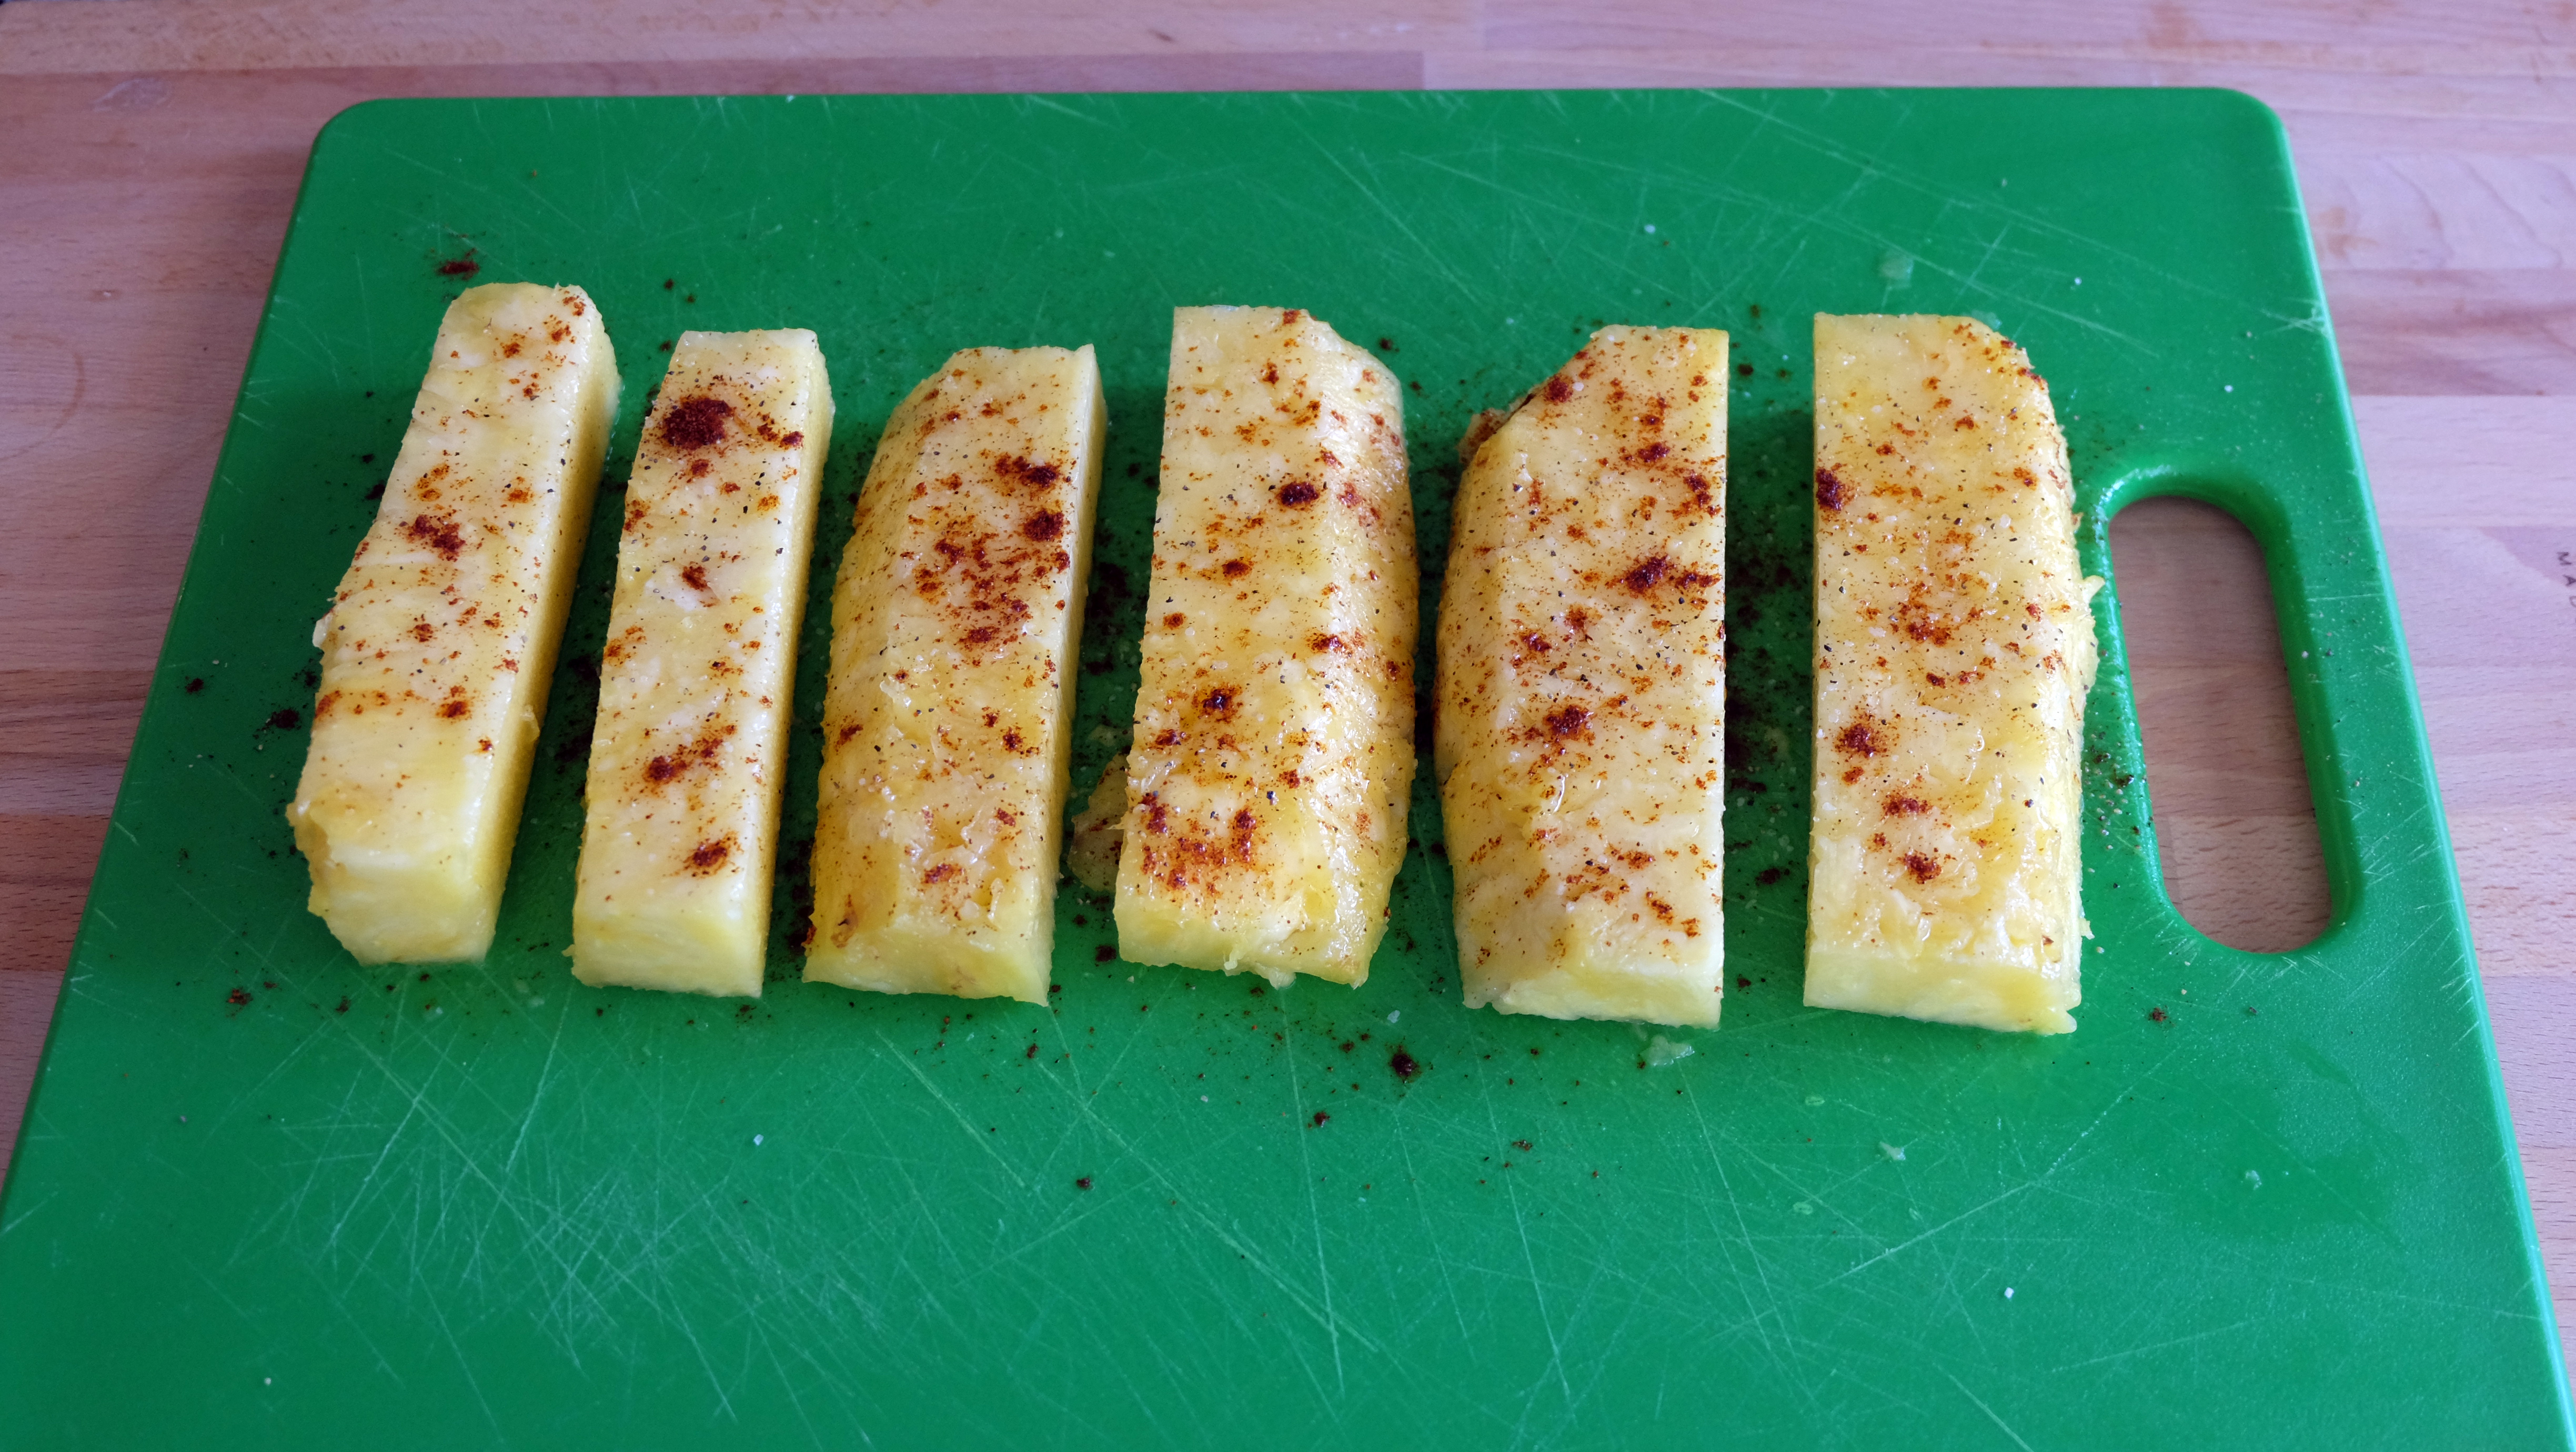
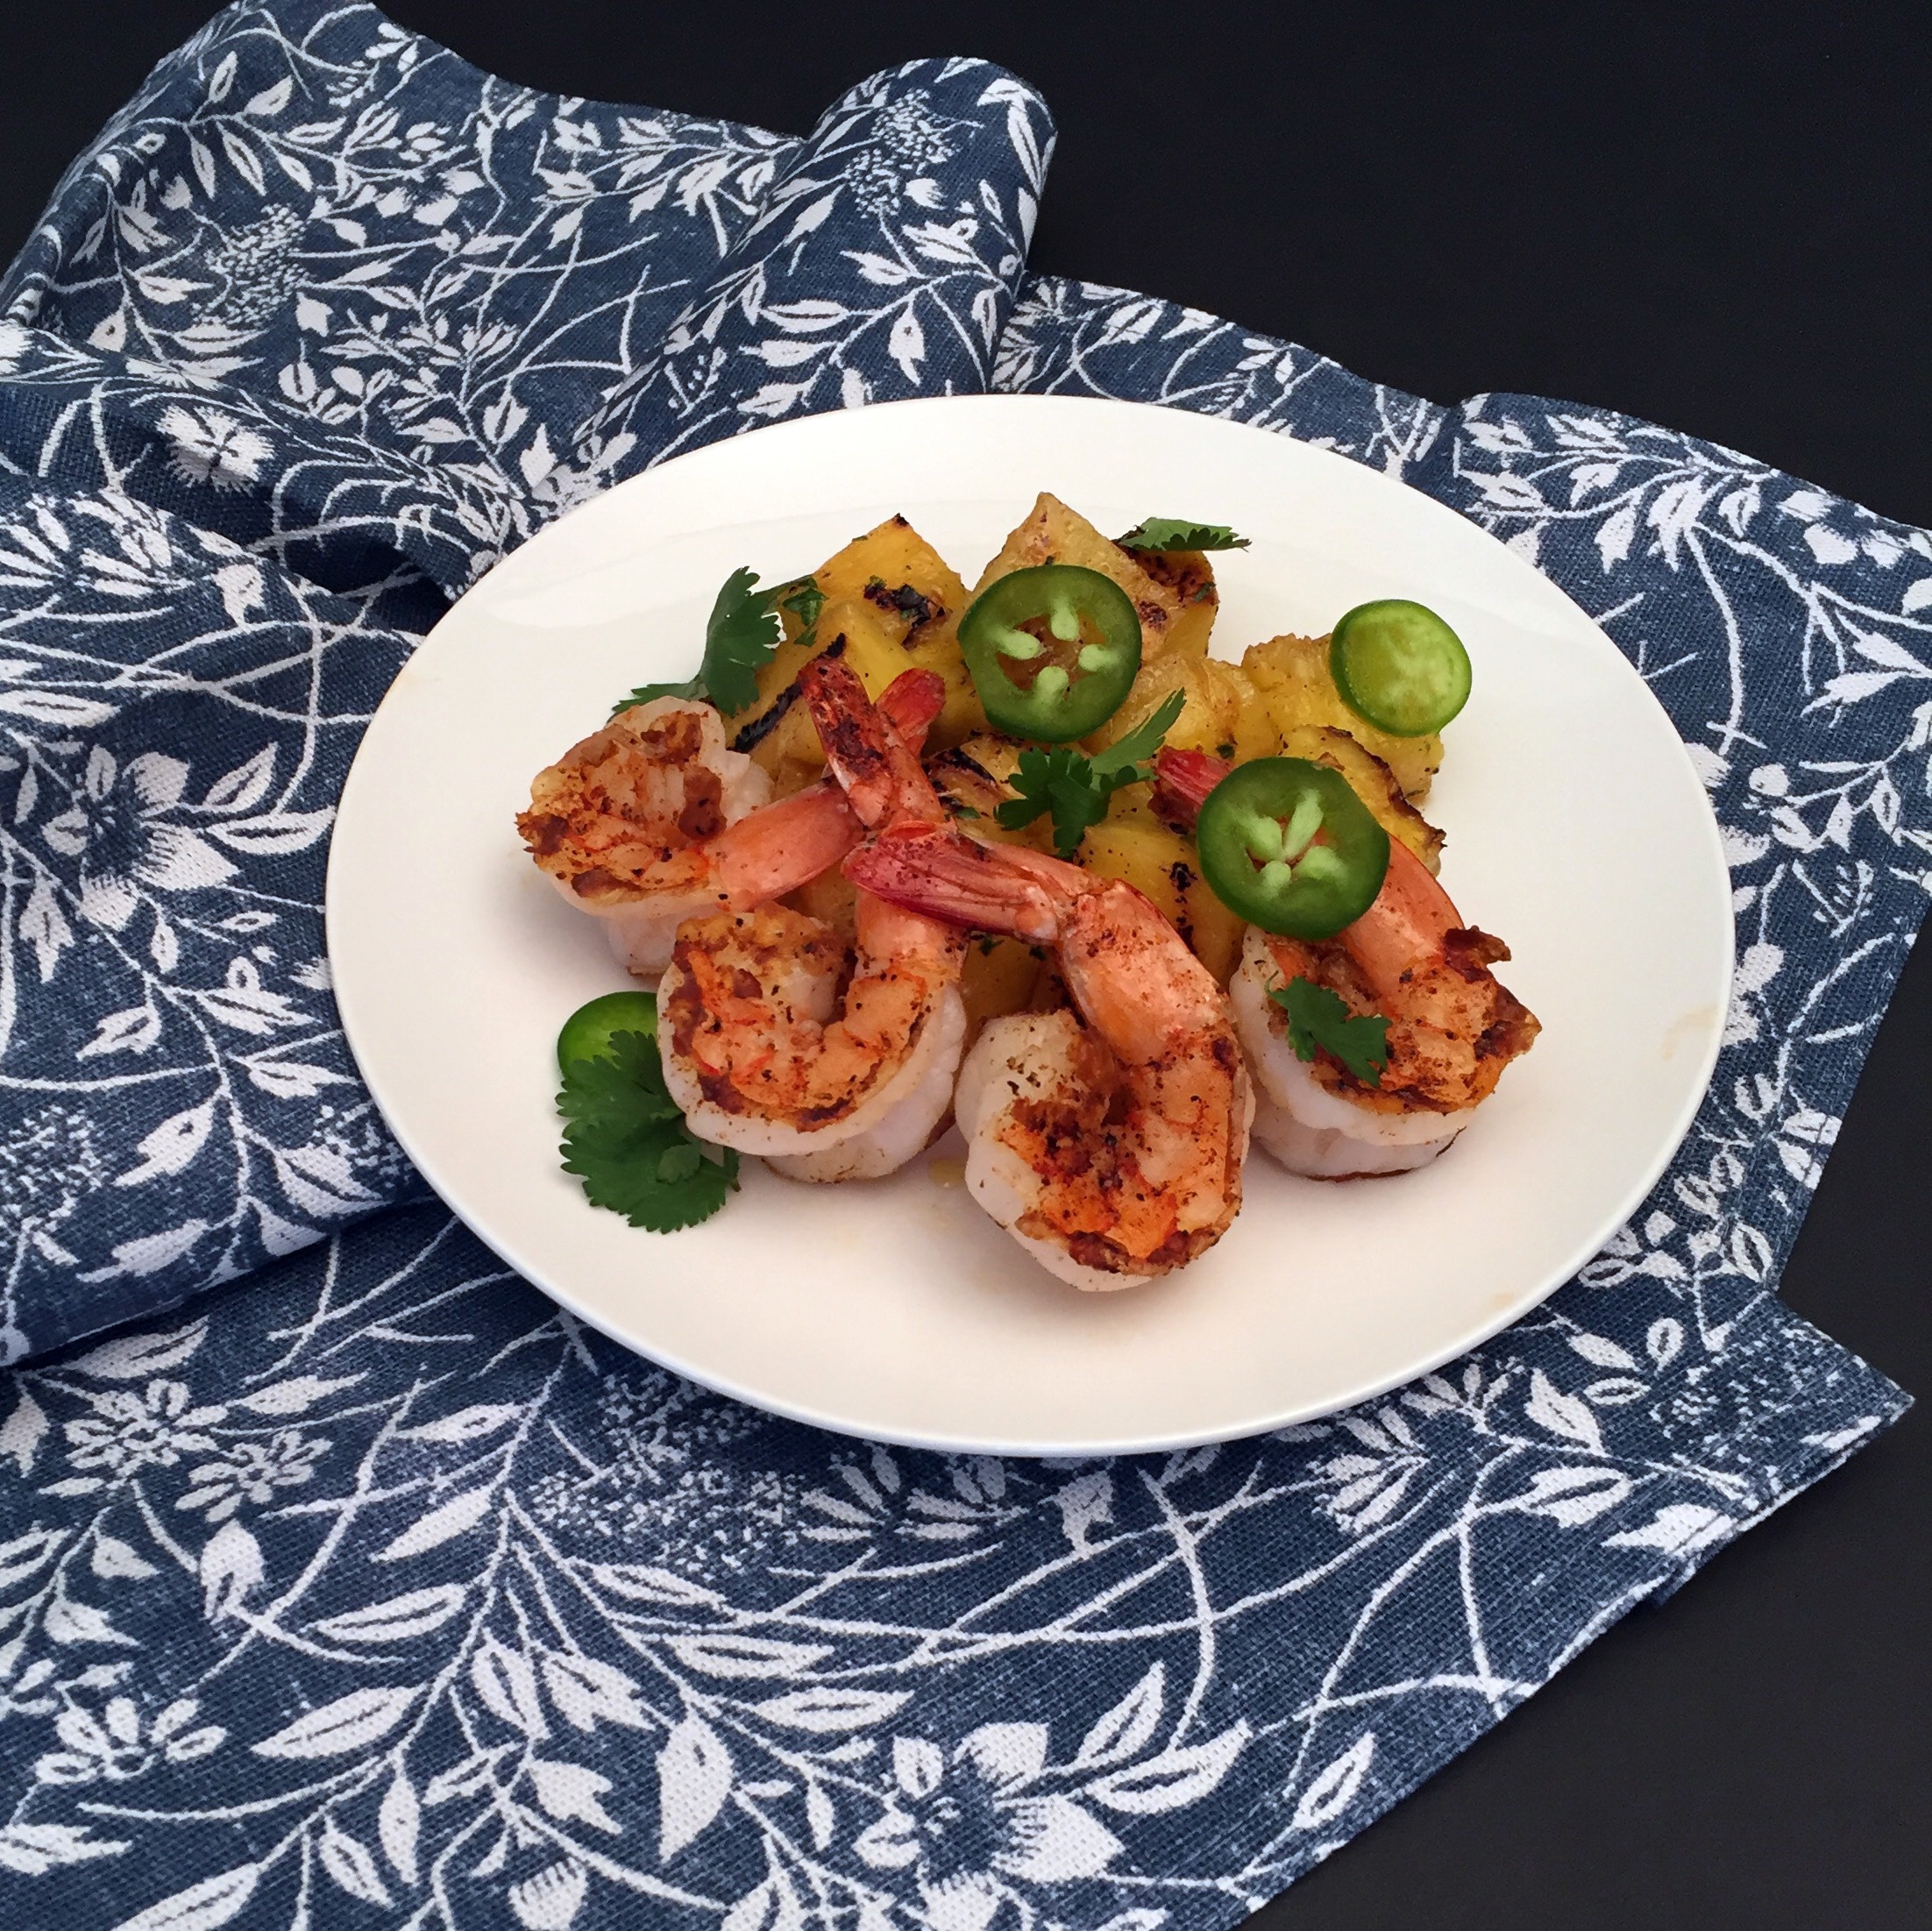 Grilling the pineapple caramelizes and intensifies the natural sugars in the fruit, pairing really well with the mild flavour of the shrimp – they make a lovely couple. Pineapple is also packed with vitamin C and manganese which supports energy metabolism…perfect if there’s any physical activity (ahem) in store for your Valentine’s Day. Look for pineapples that are firm with no soft spots.
TIP: this salad can be served warm, or made ahead and served cold.
Ingredients
- 1 fresh pineapple
- 8 – 10 medium size shrimp, peeled and deveined with tails intact
- 1 tbsp jalapeno, finely chopped
- 1 tsp cilantro, finely chopped PLUS 4 – 5 whole leaves for garnish
- 1 tsp ancho chili powder (OR 1/4 tsp cayenne)
- juice of ½ a blood orange
- 3 tbsp extra virgin olive oil
- pinch salt and pepper
Method
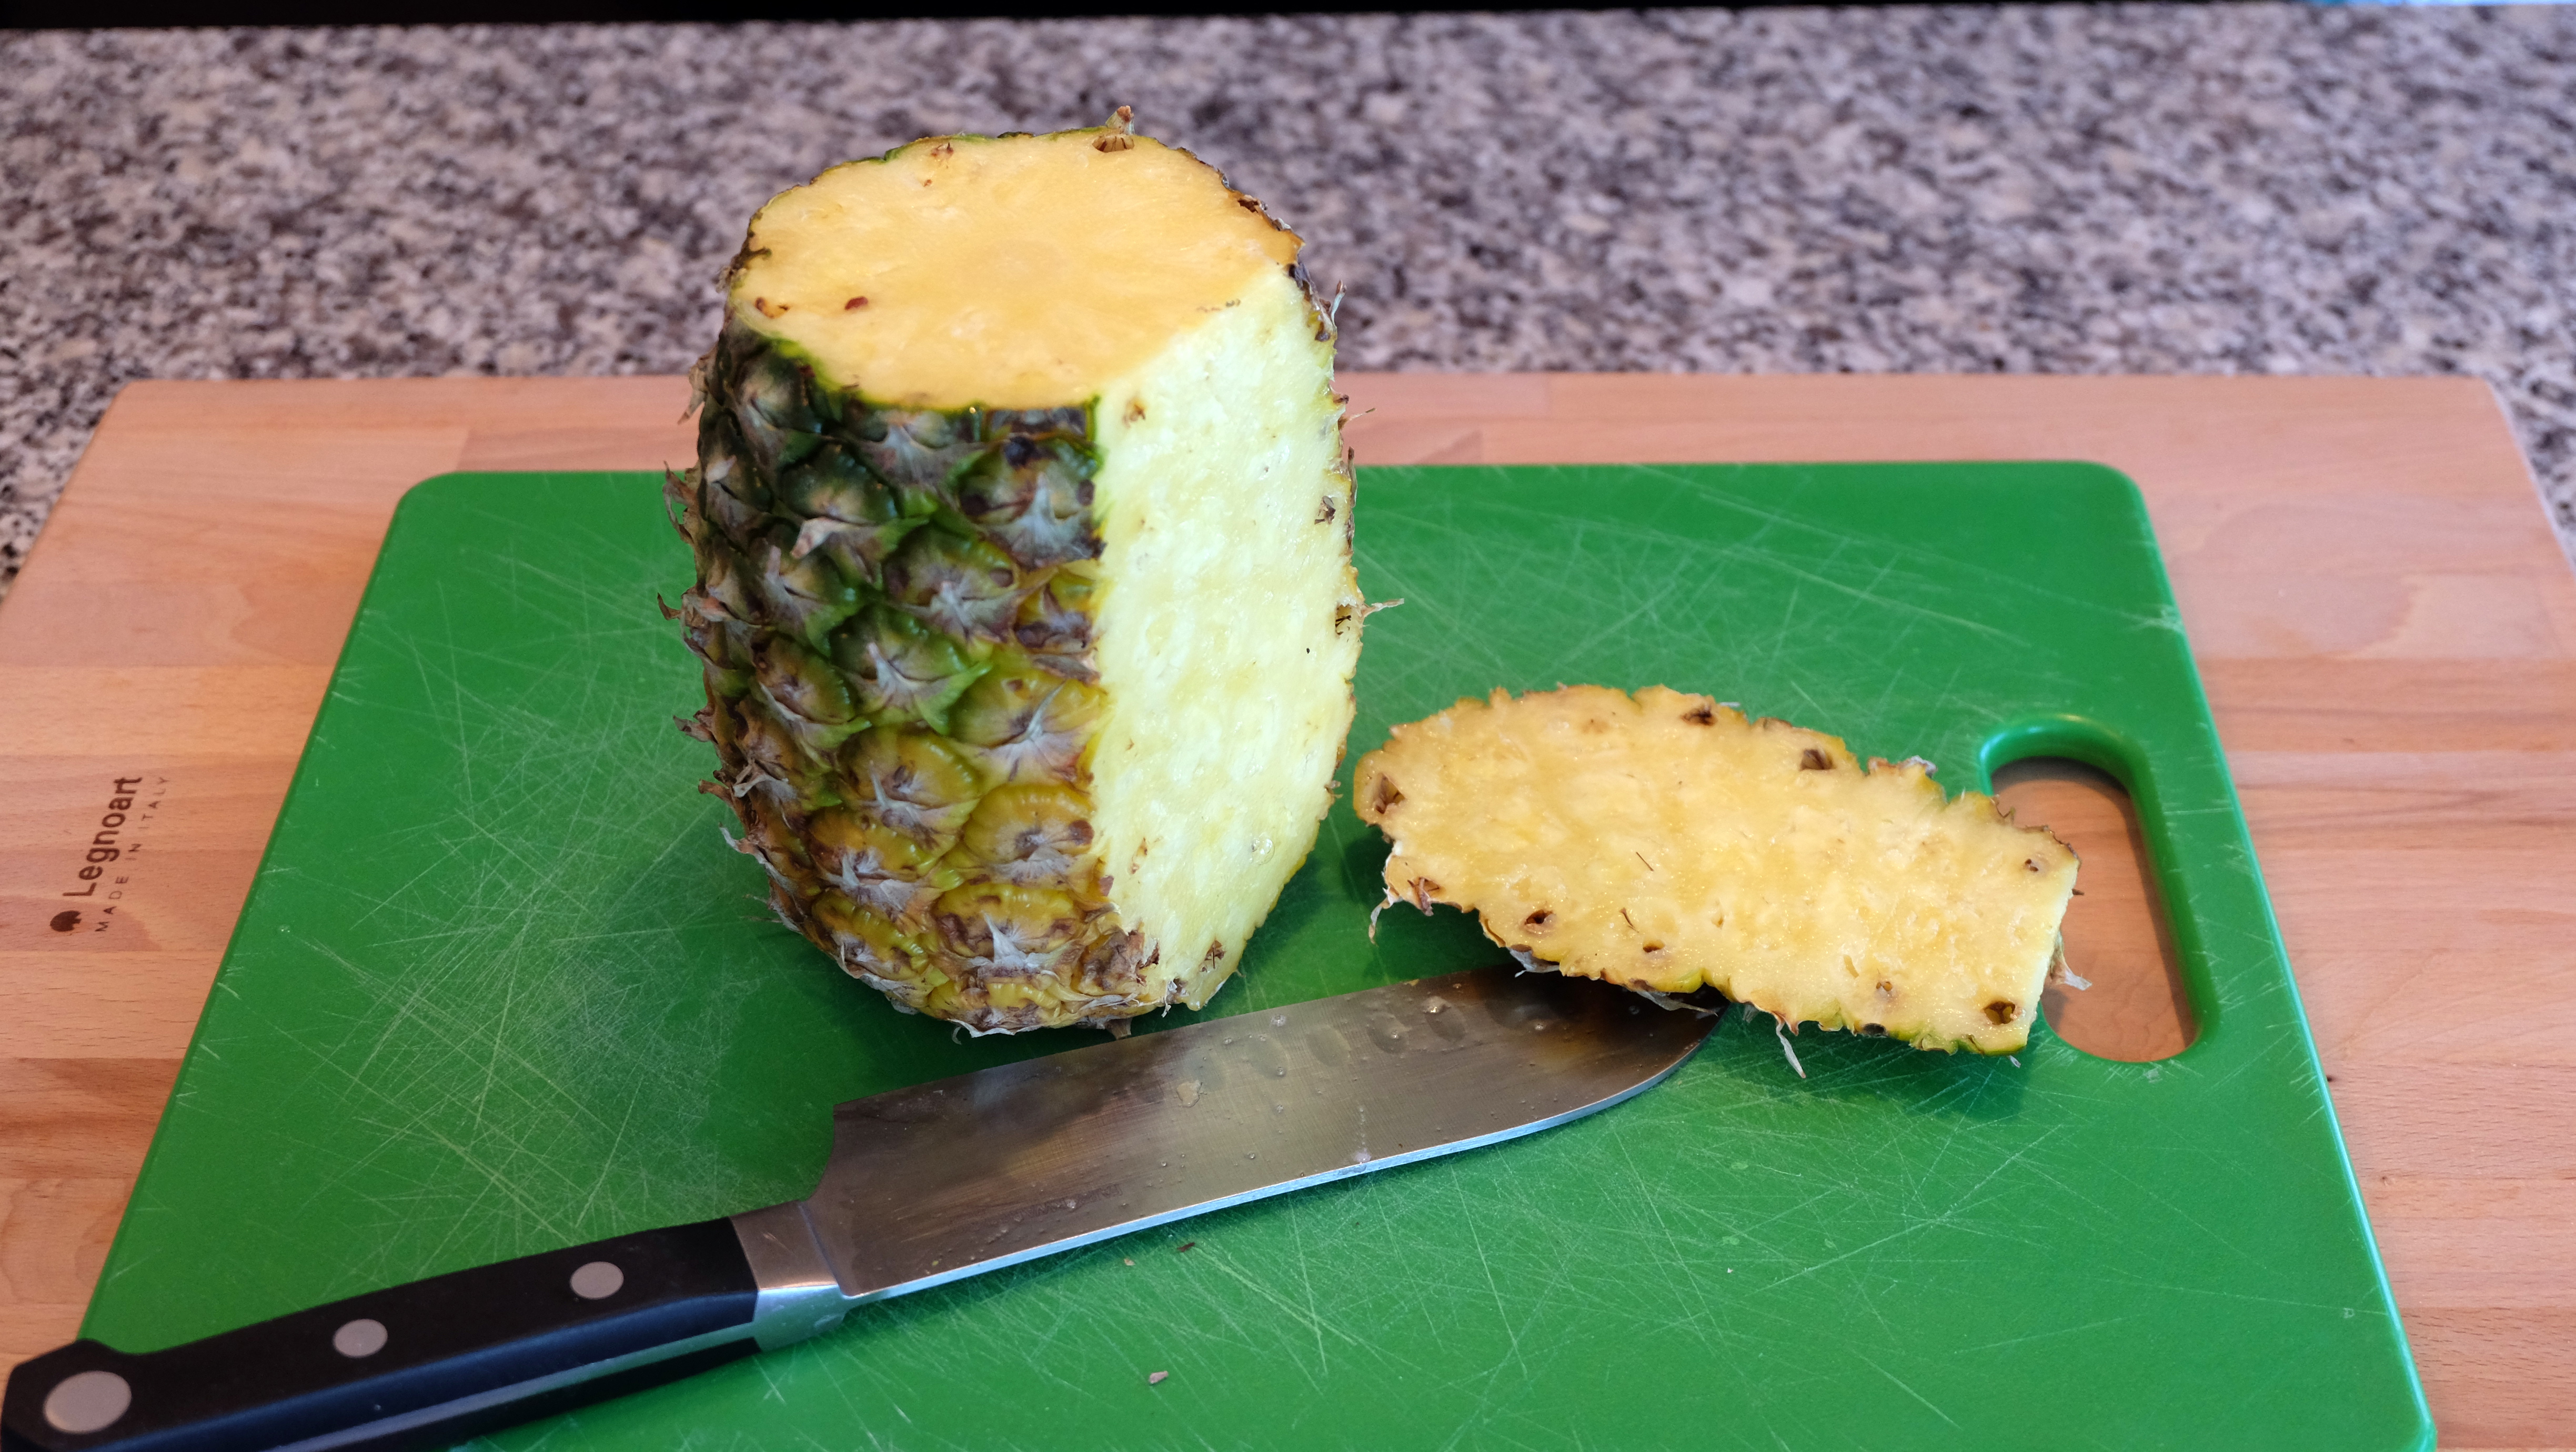
- Using a sharp knife, slice off the crown and stem end of the pineapple. With the pineapple upright, trim the peel working the knife down the sides. Be sure to remove any remaining brown eyes
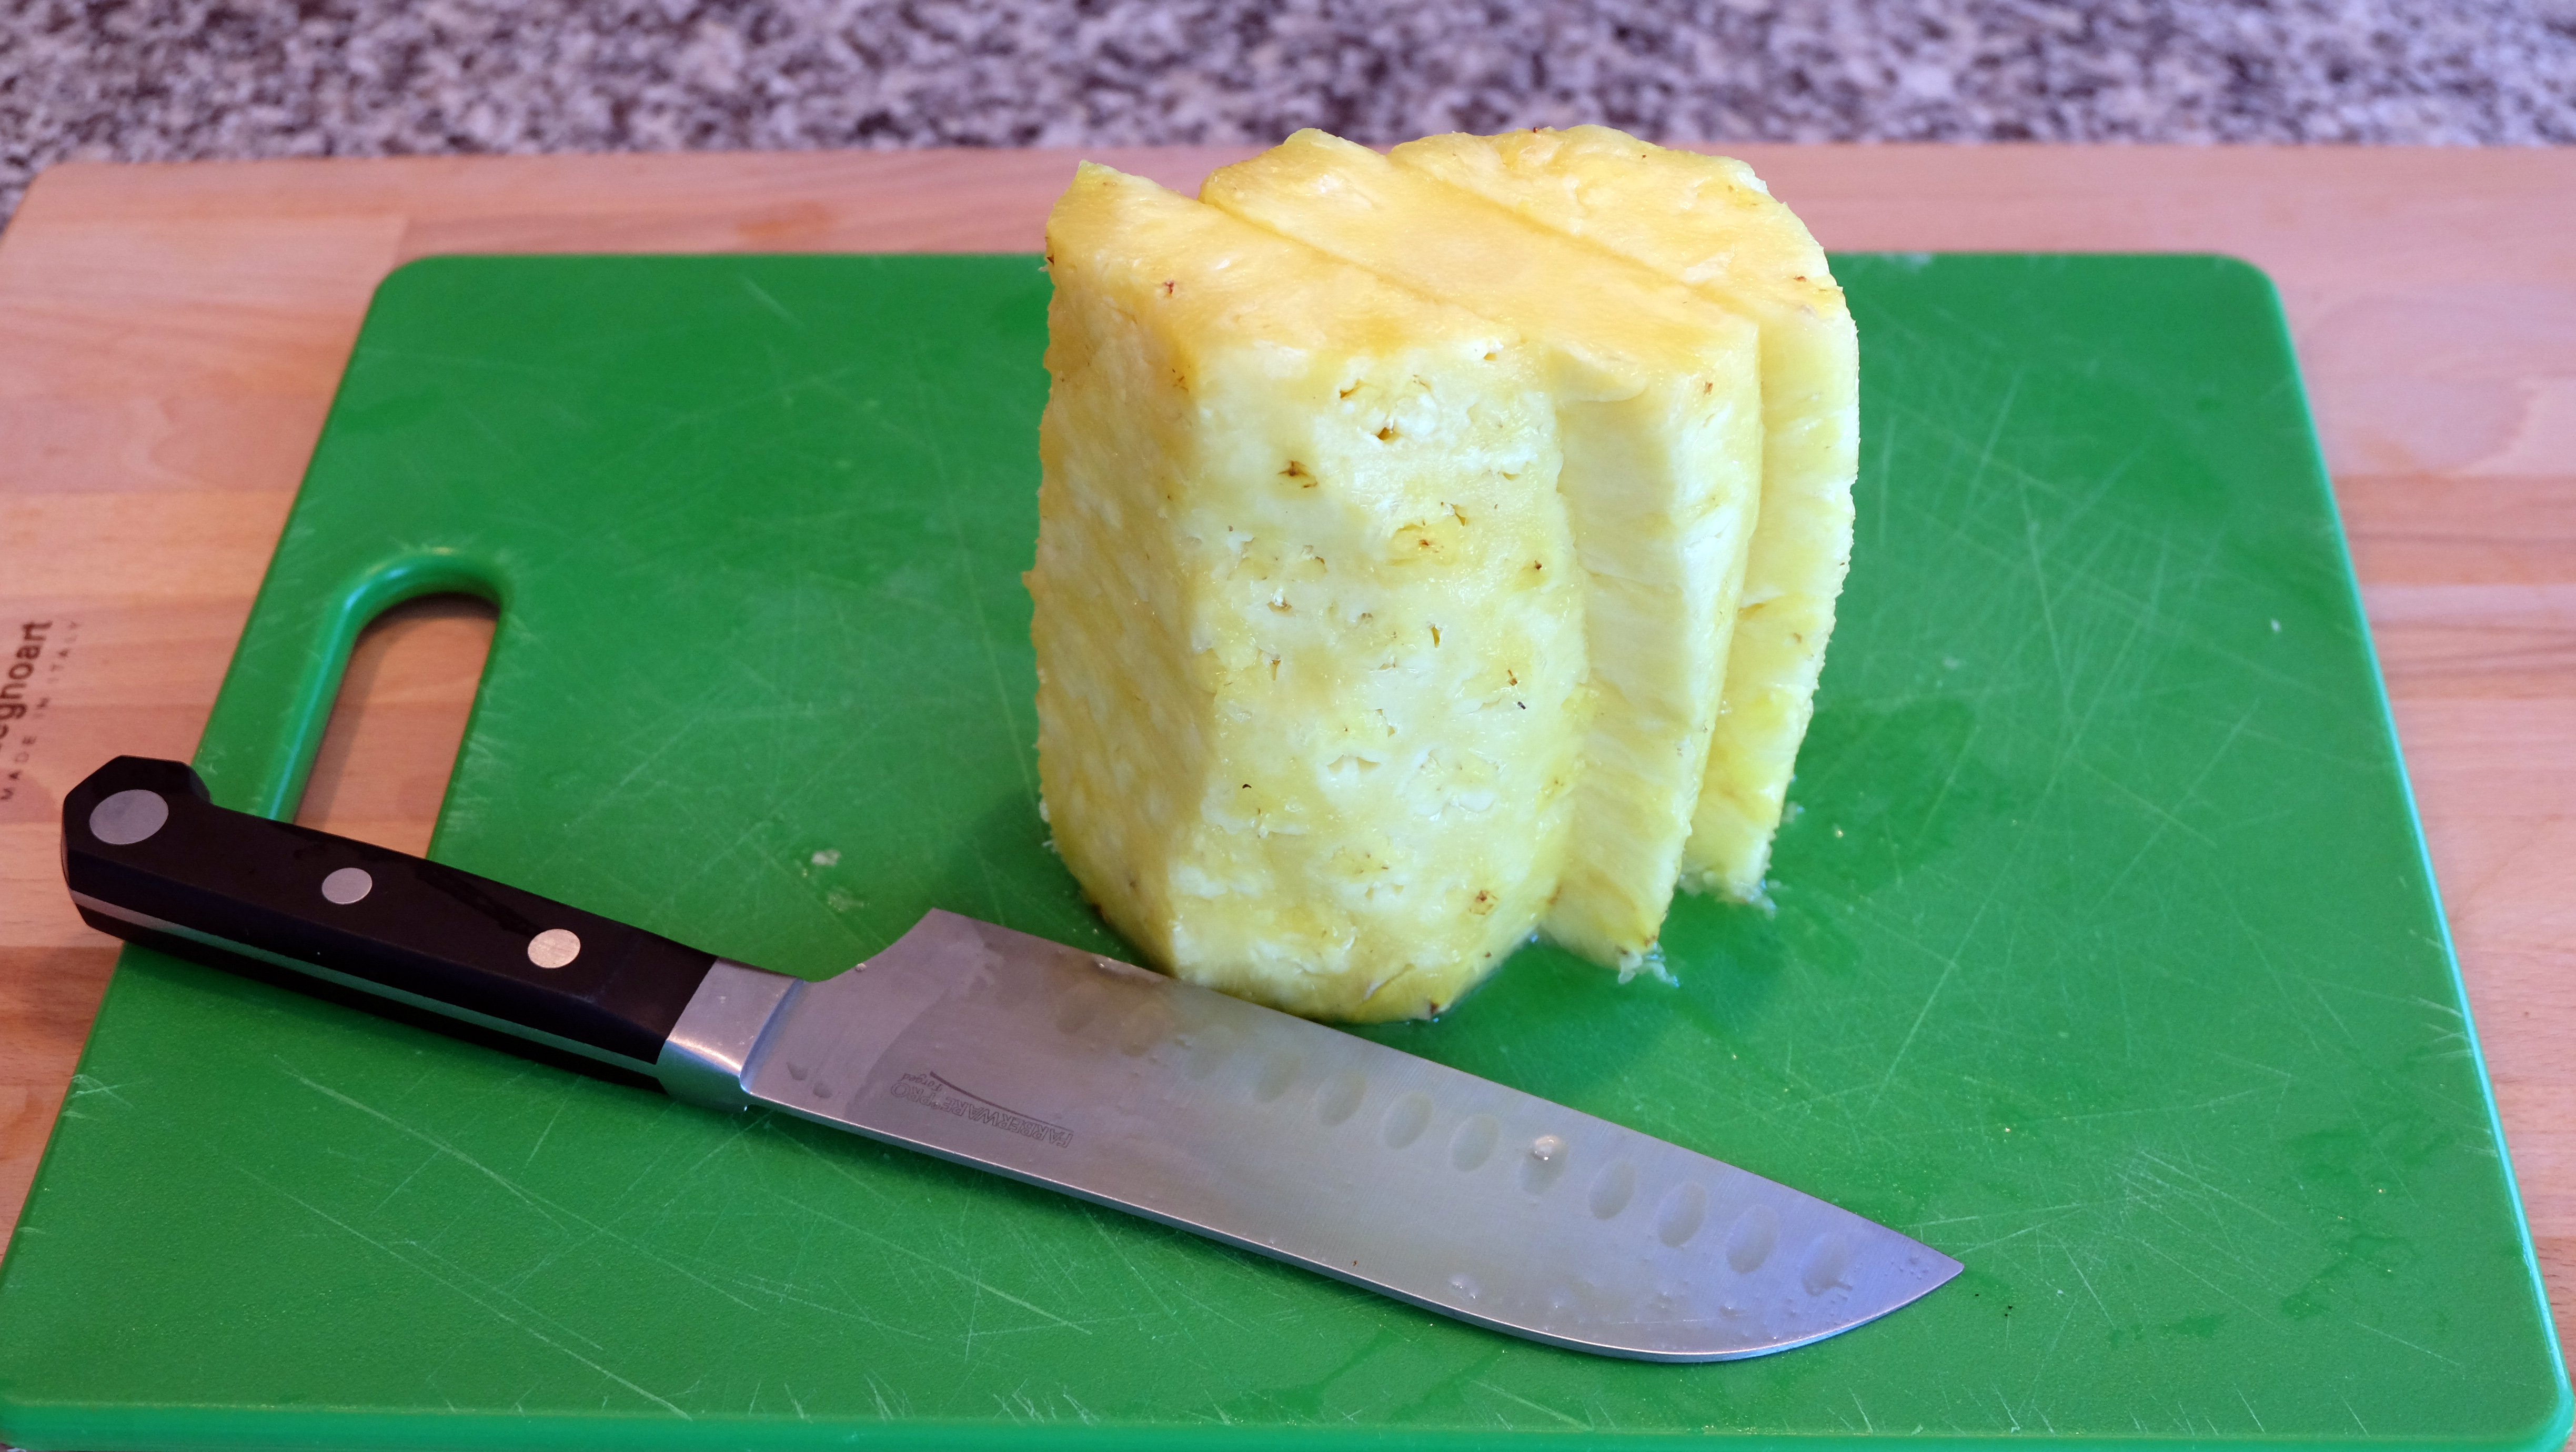
- Slice the pineapple lengthwise on either side of the core. The goal is to end up with flat steaks of pineapple that can be grilled easily
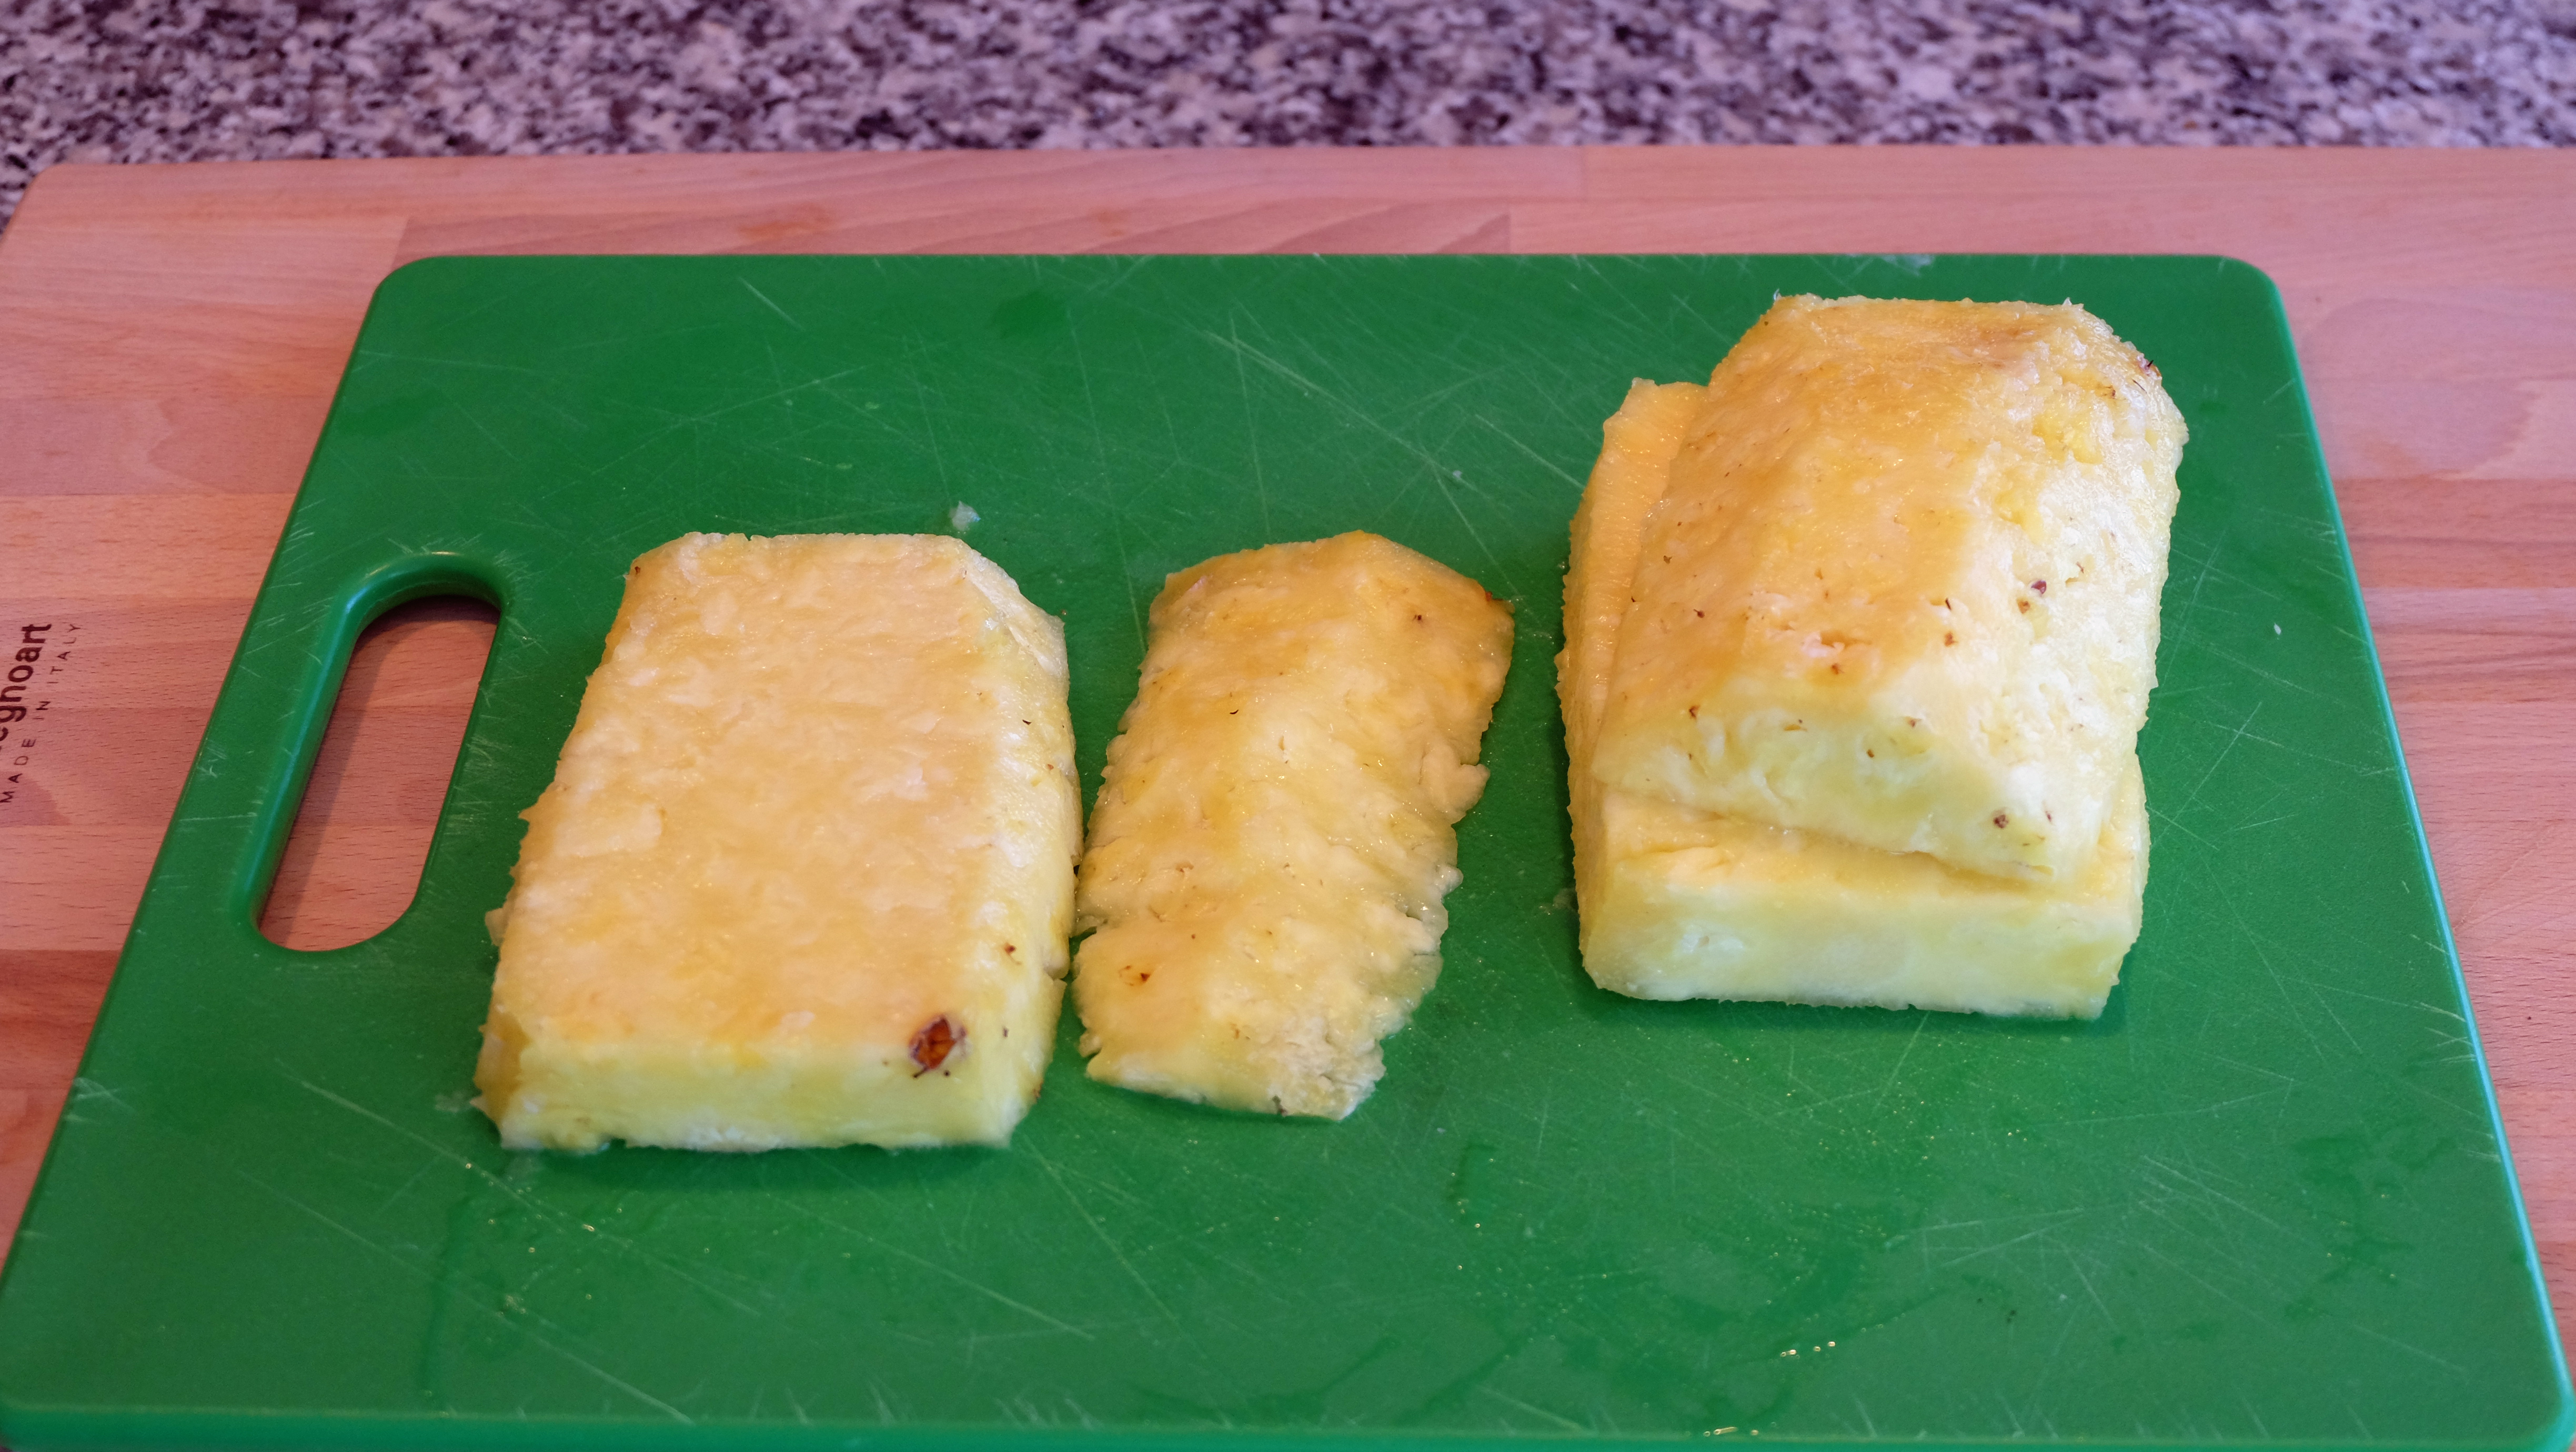
- Slice each steak in half. For the middle steak, cut on either side to remove the core and discard it
- To make the dressing, combine 1 tbsp olive oil, blood orange juice, jalapeño and cilantro in a medium bowl and set aside
- Rub the pineapple with 1 tbsp olive oil and season with 1/2 tsp ancho chili powder, salt and pepper
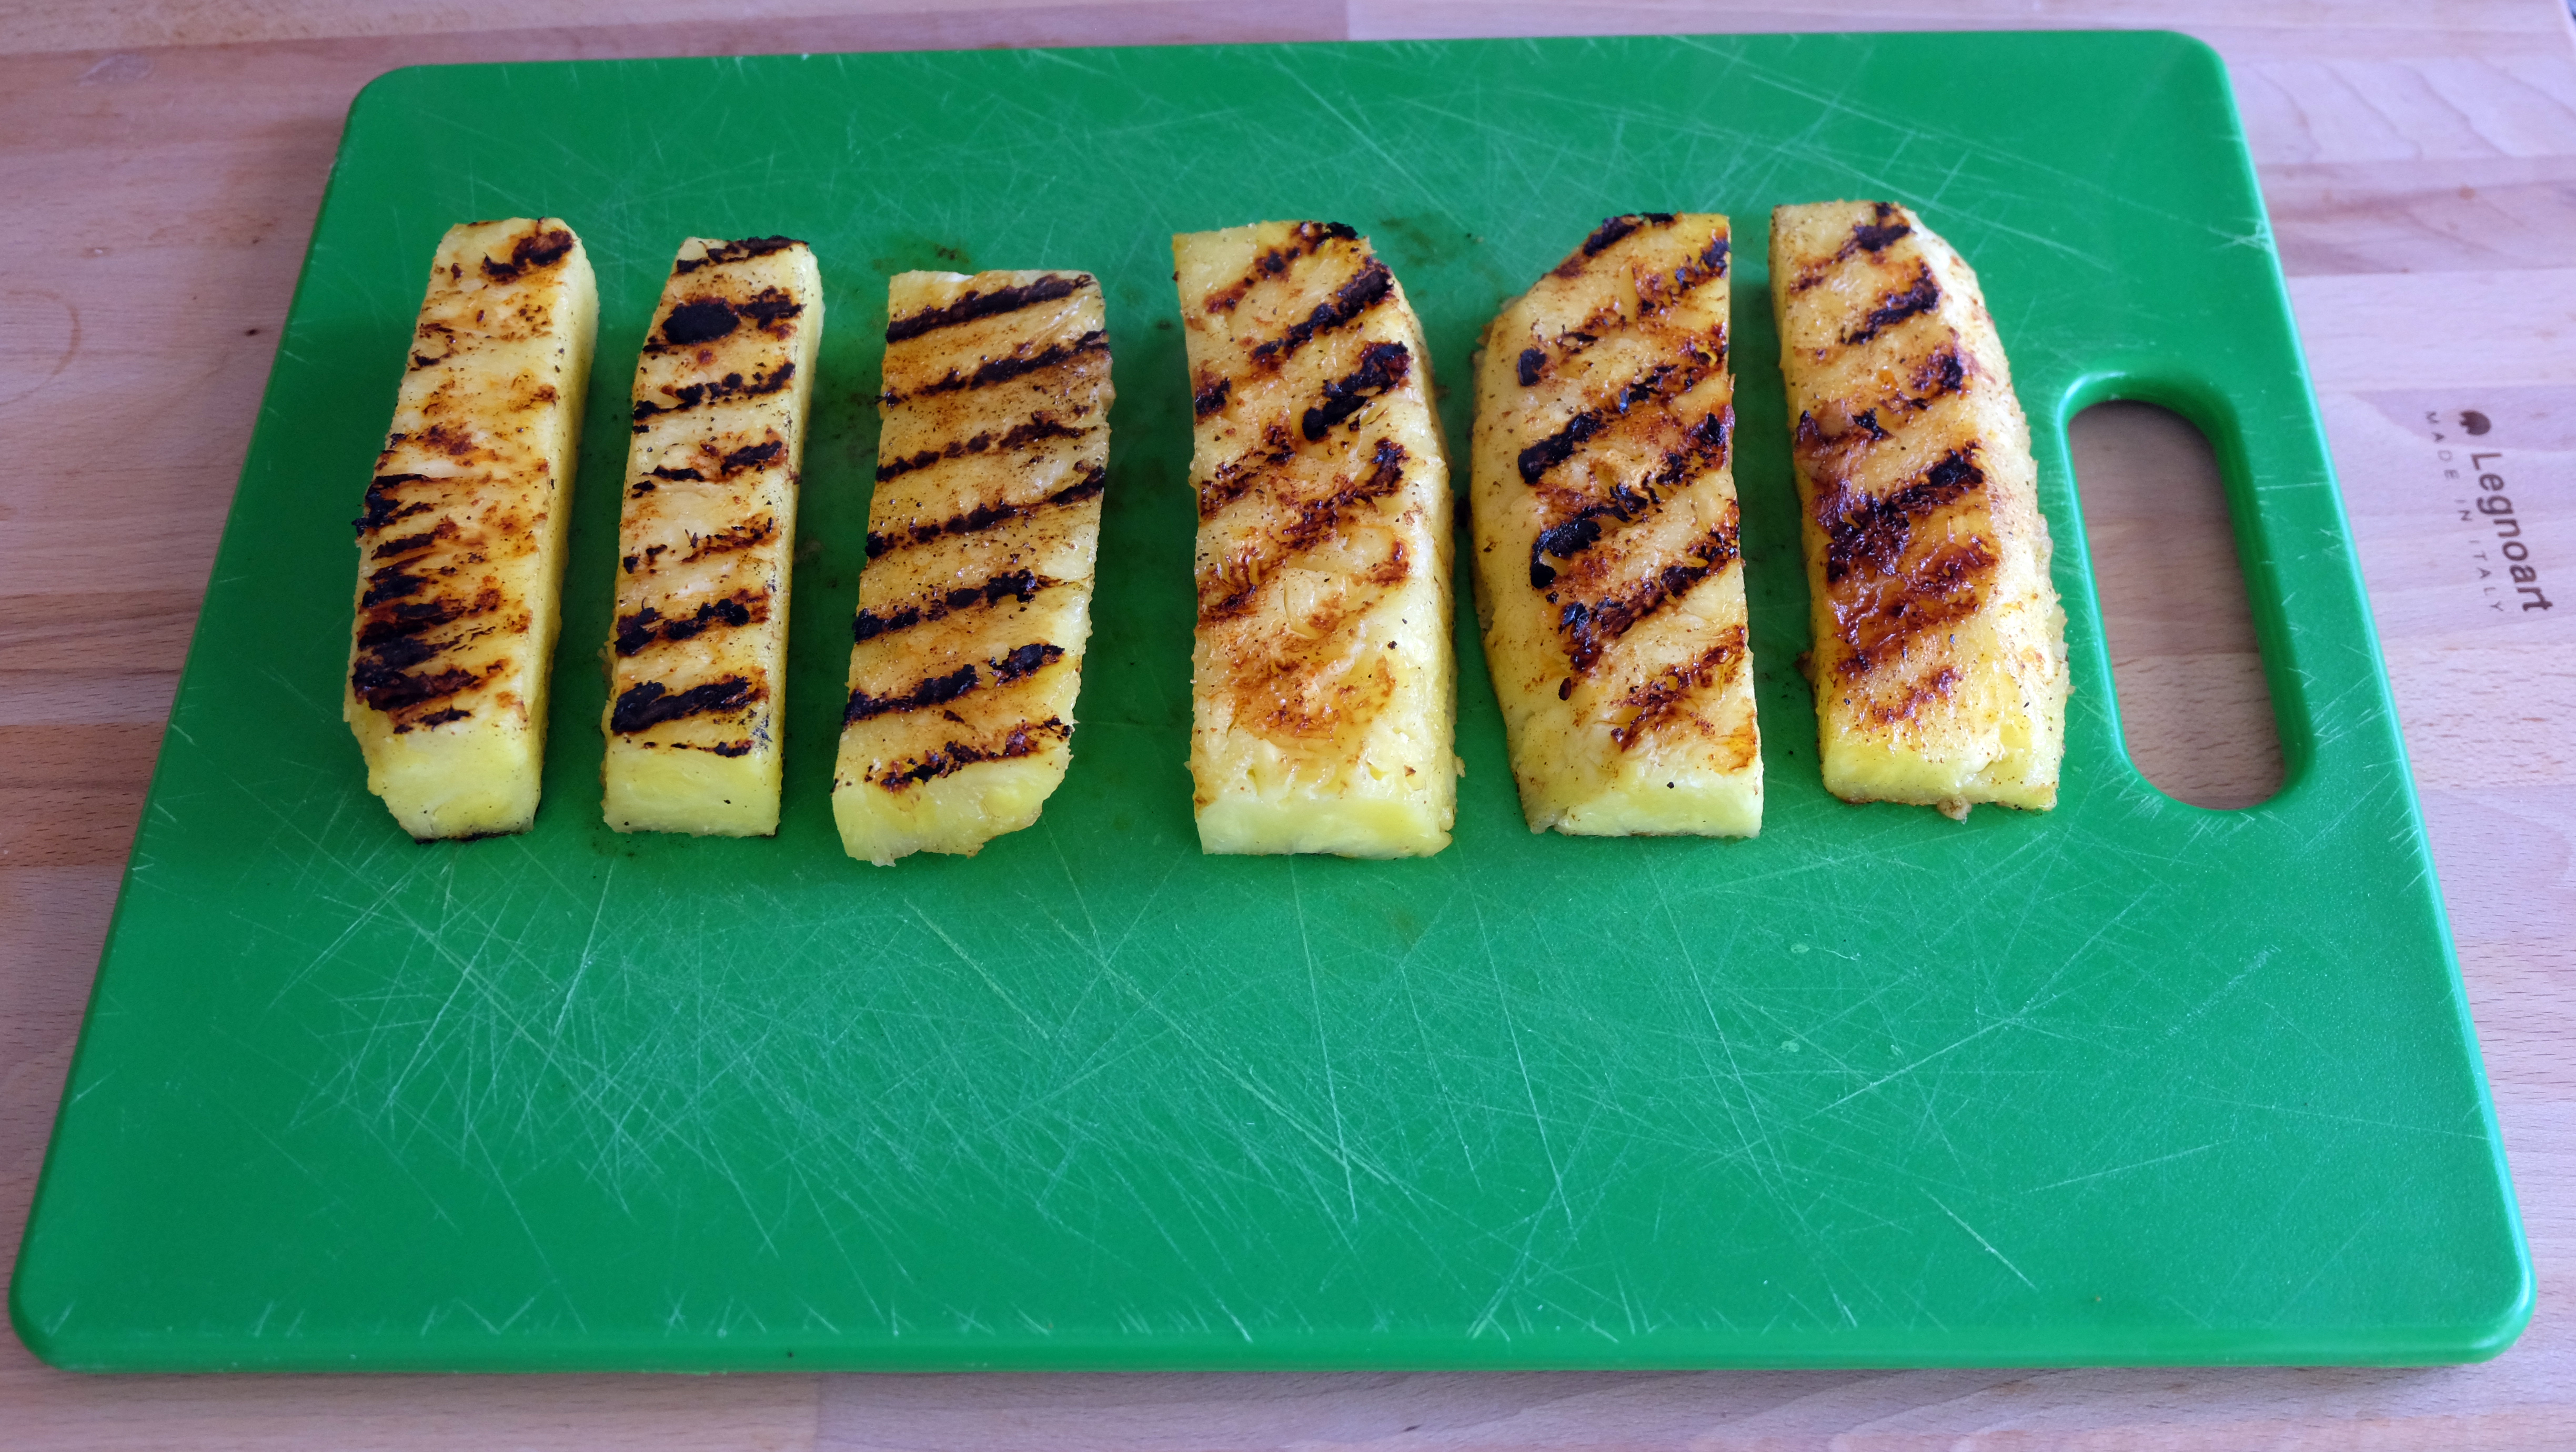
- In a grill pan over medium-high heat, grill the pineapple 2 – 3 minutes per side, then remove and cut into 1/2-inch chunks. Set aside
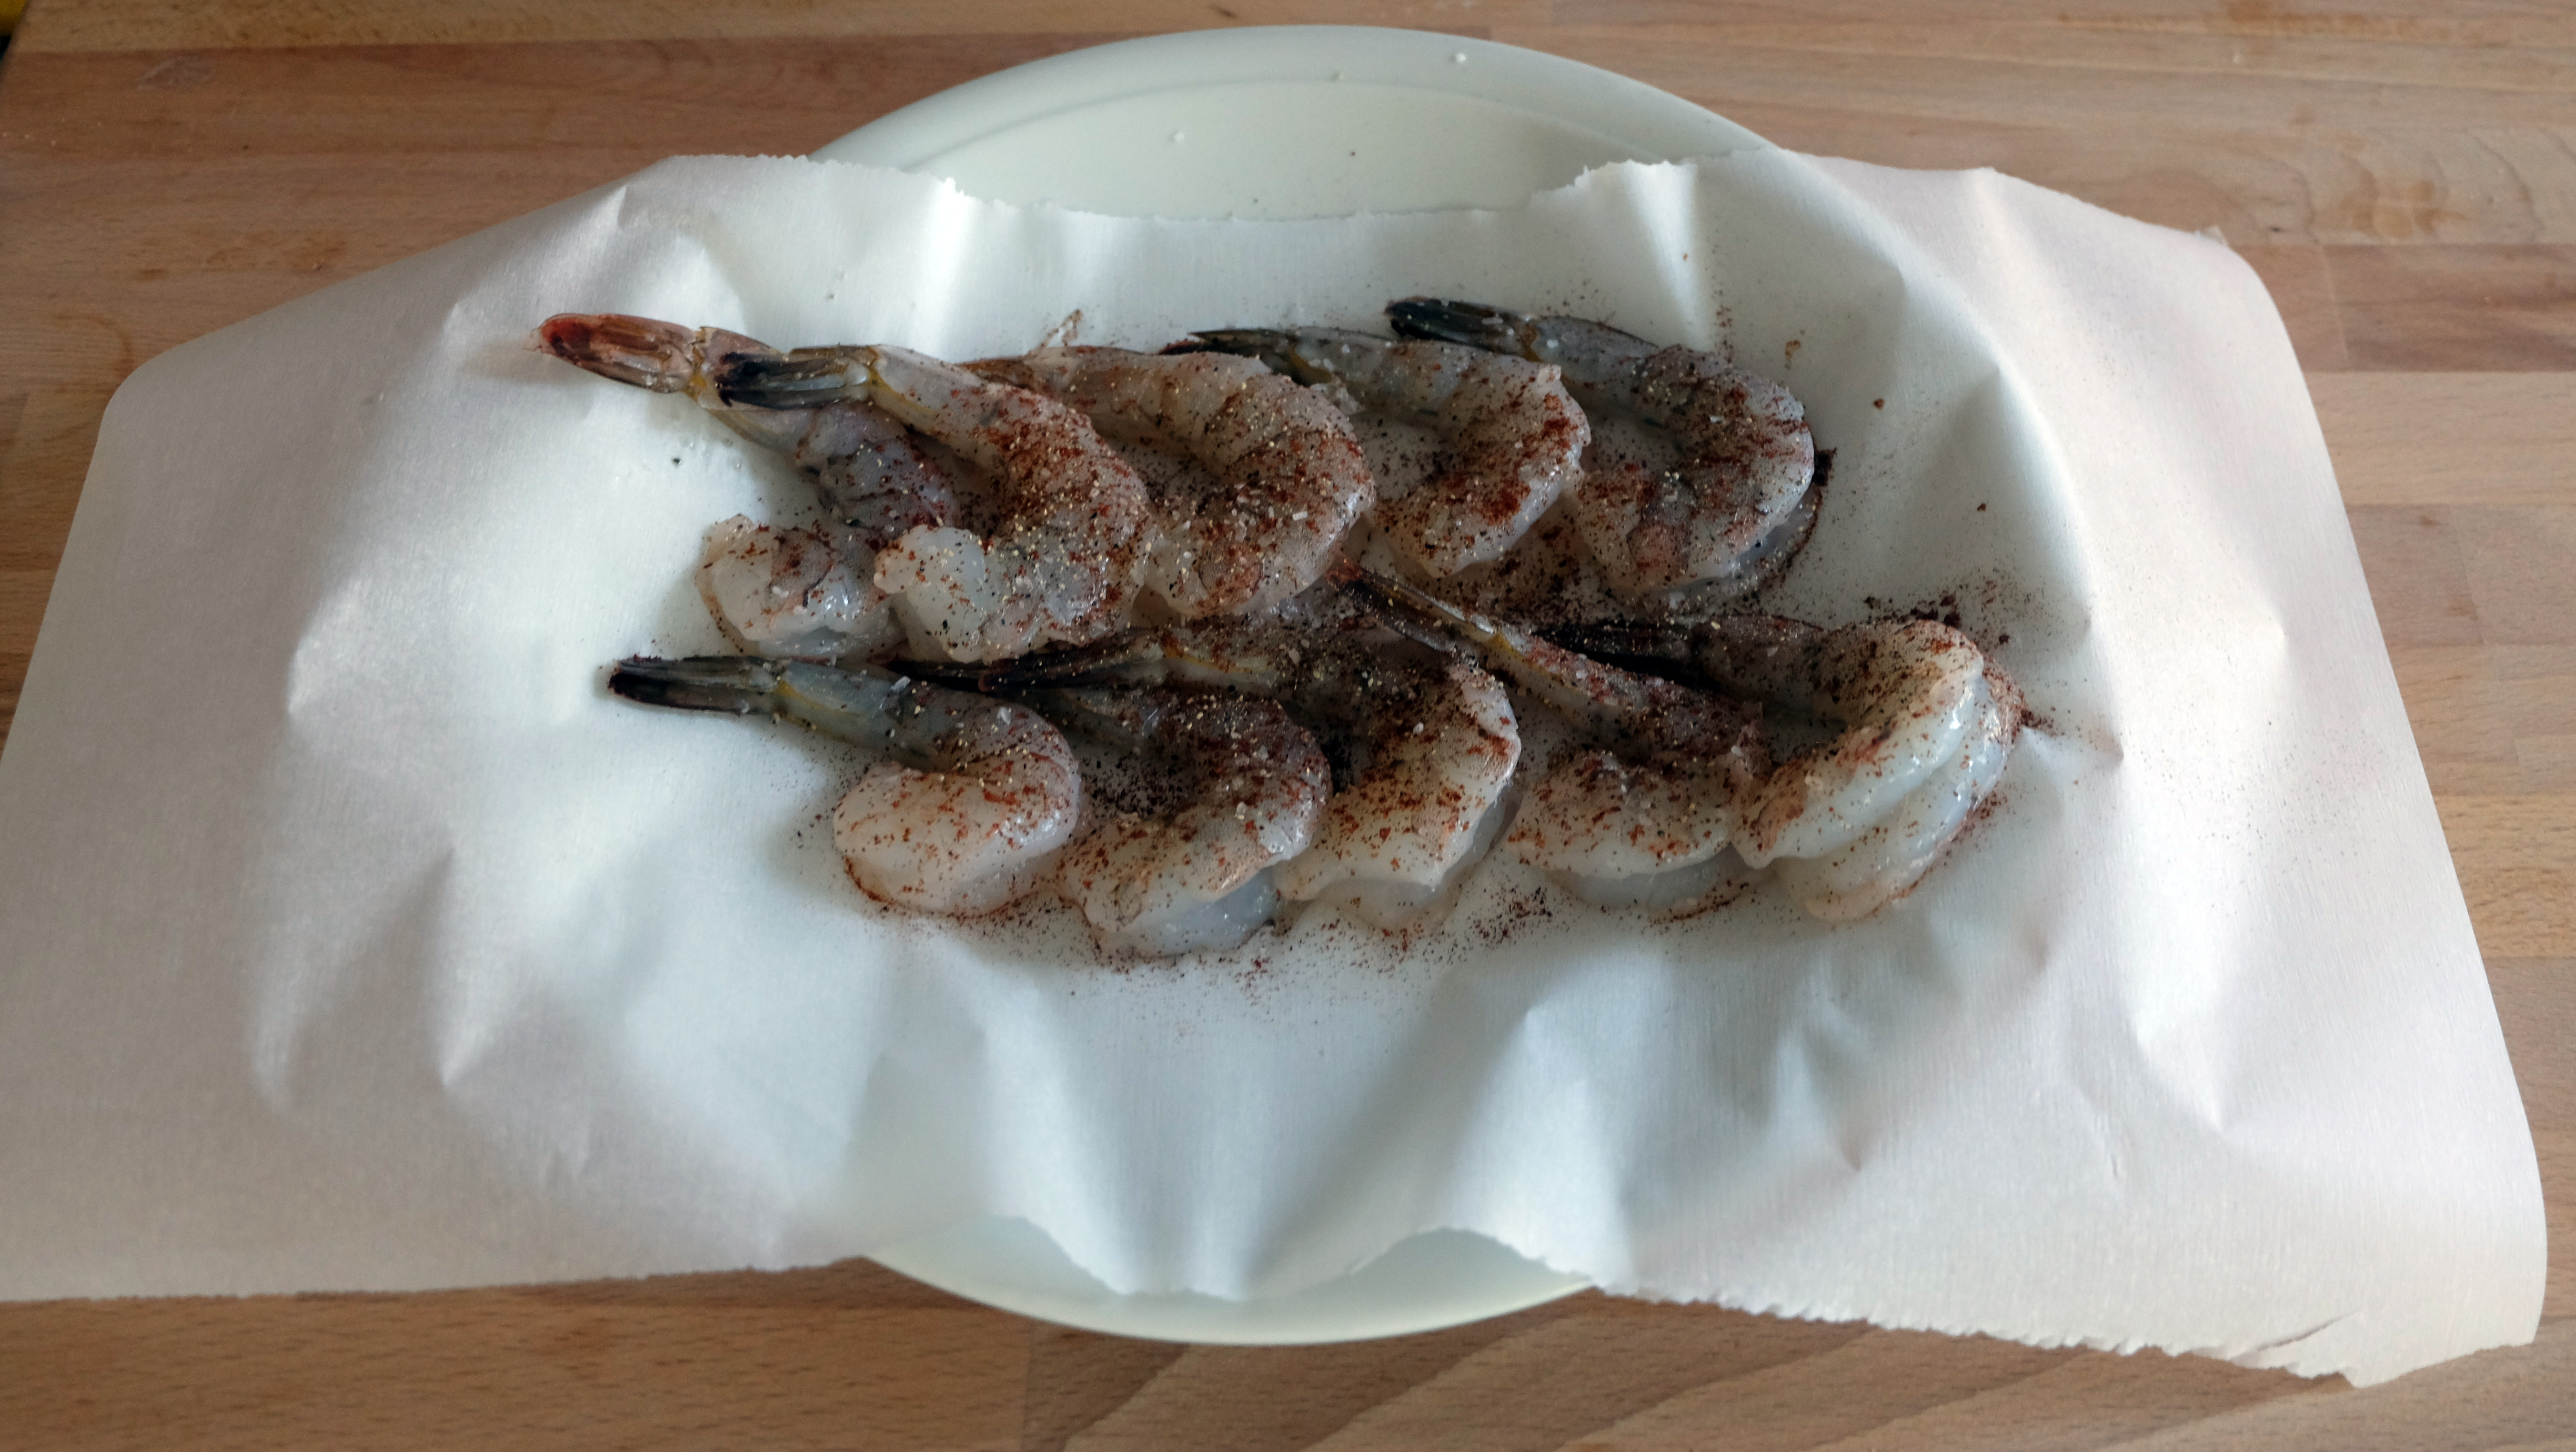
- Season the shrimp with remaining olive oil, 1/2 tsp chili powder, salt and pepper. Cook in the grill pan 2 minutes per side
- Gently toss the pineapple and shrimp in the dressing and arrange on a plate, garnishing with a few cilantro leaves and thin slices of jalapeño

Baked Halibut en Papillote
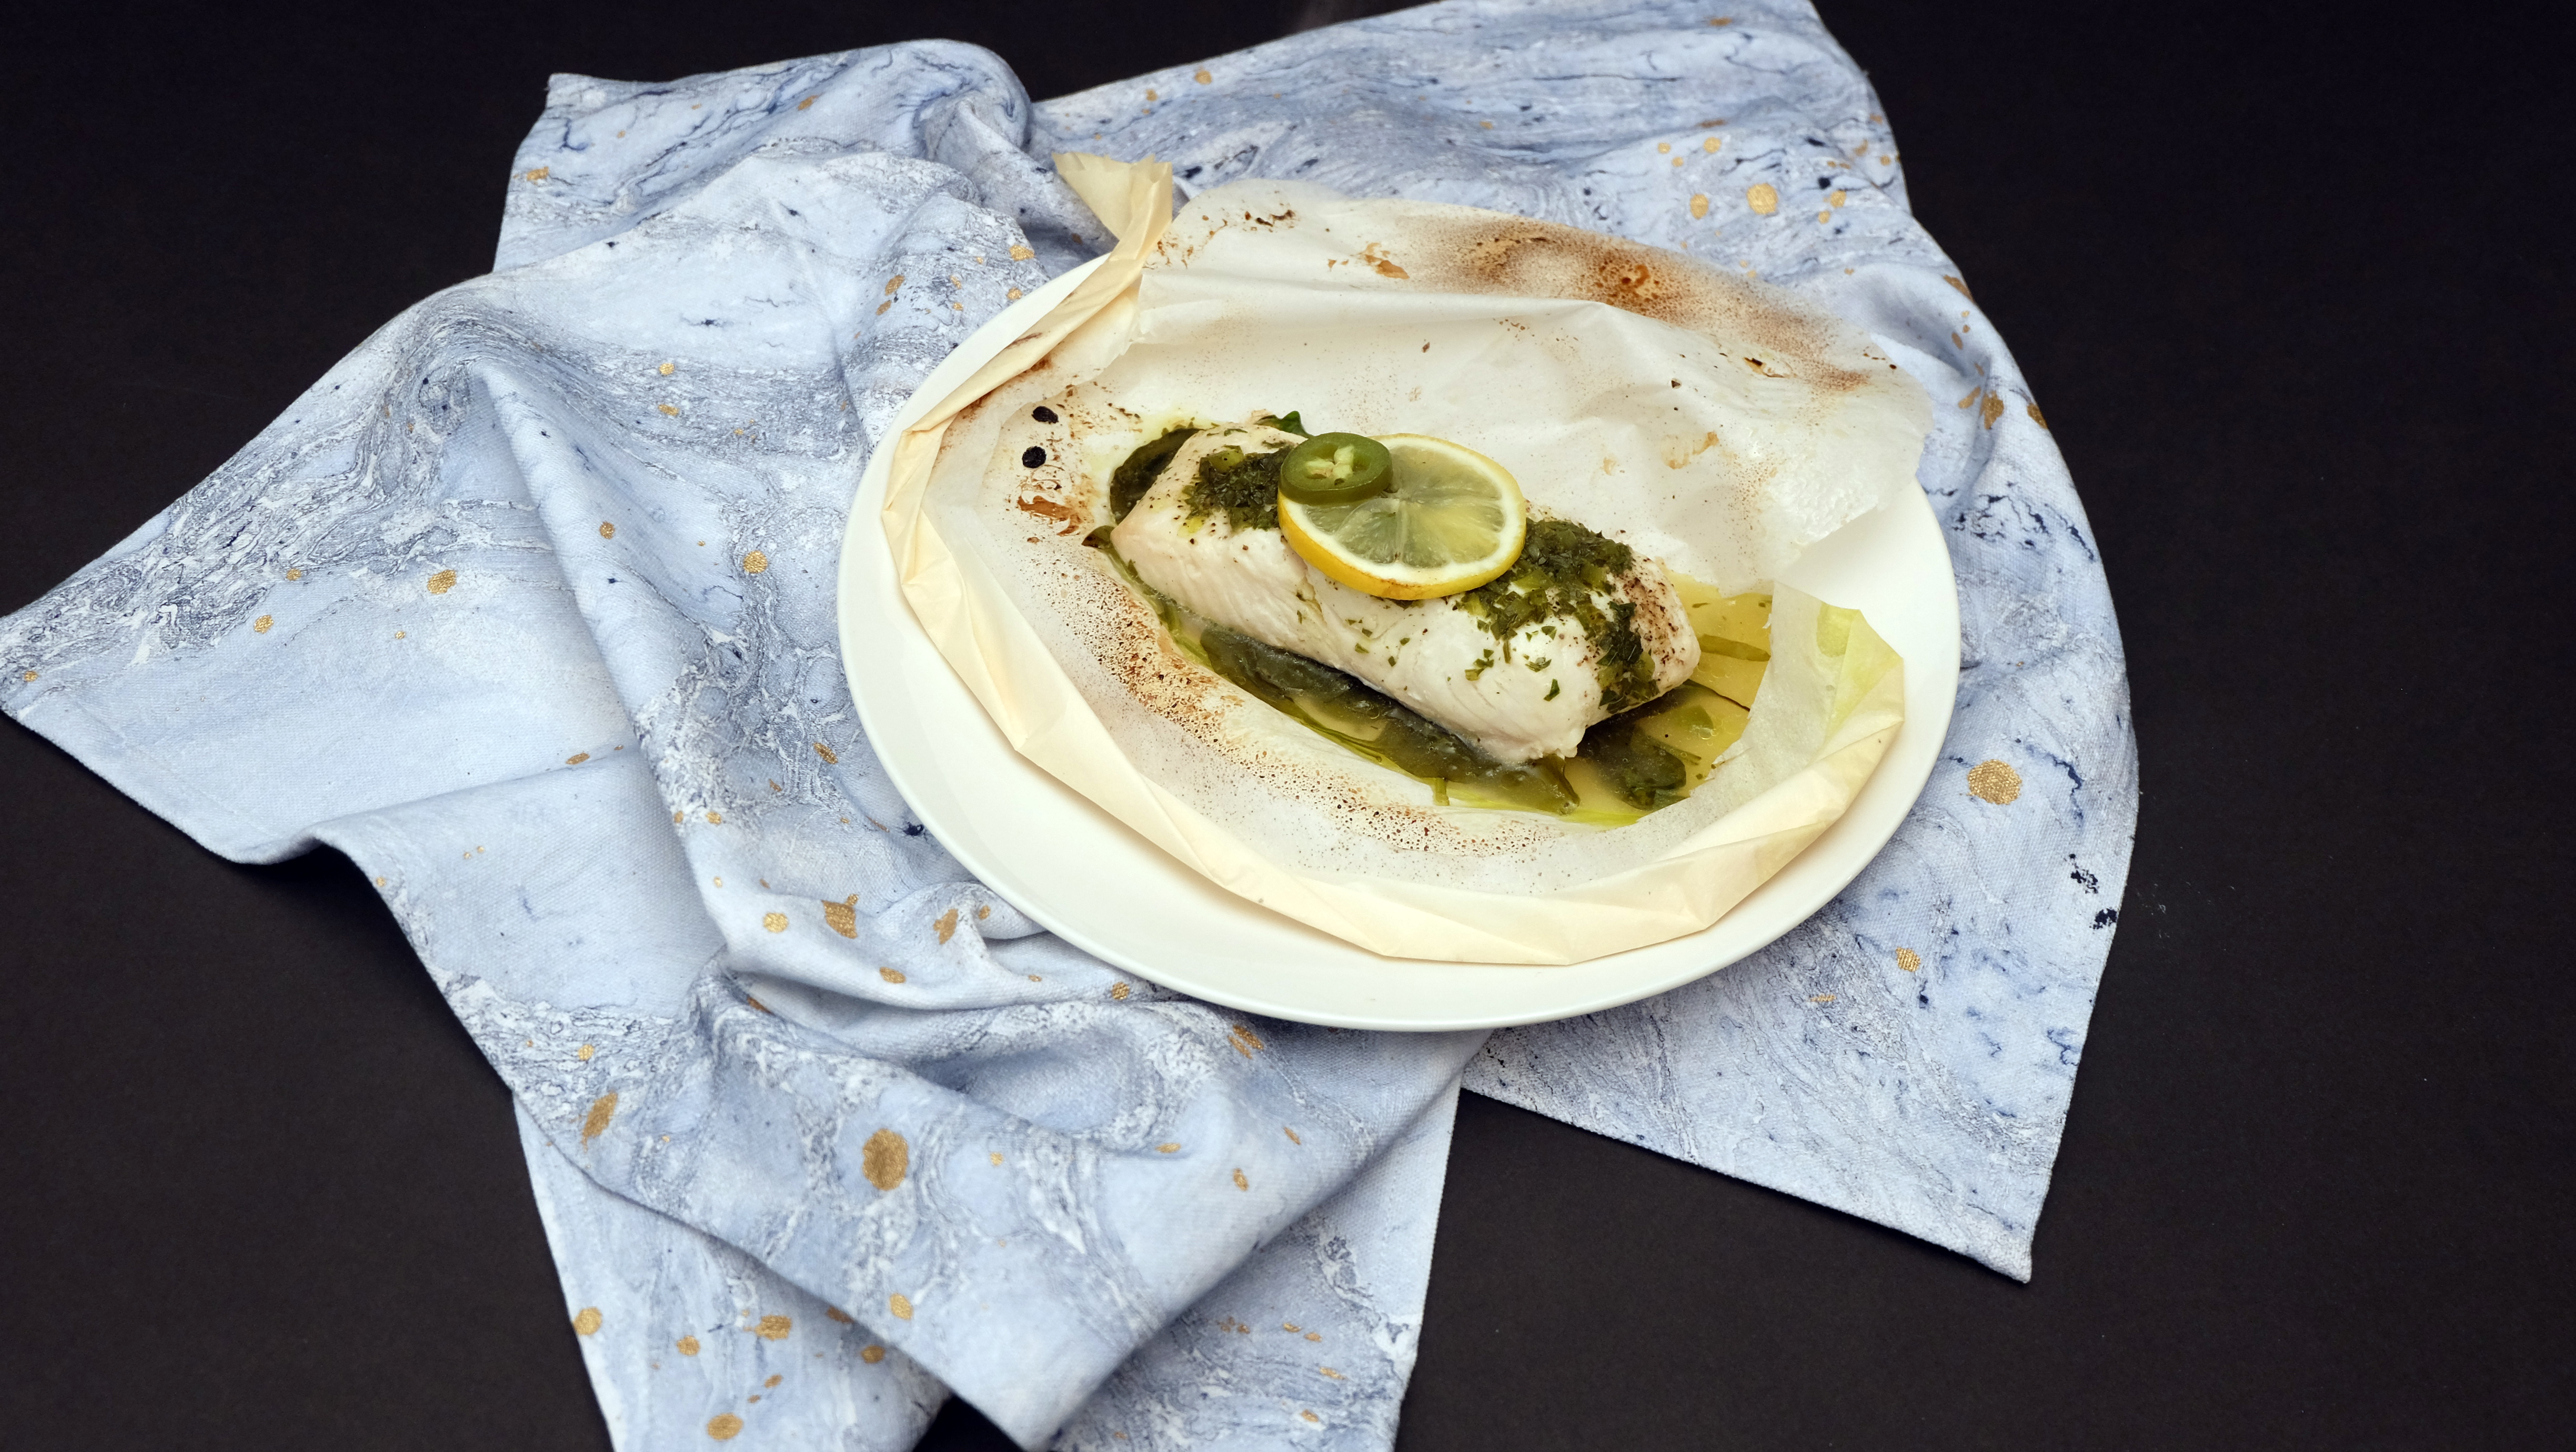
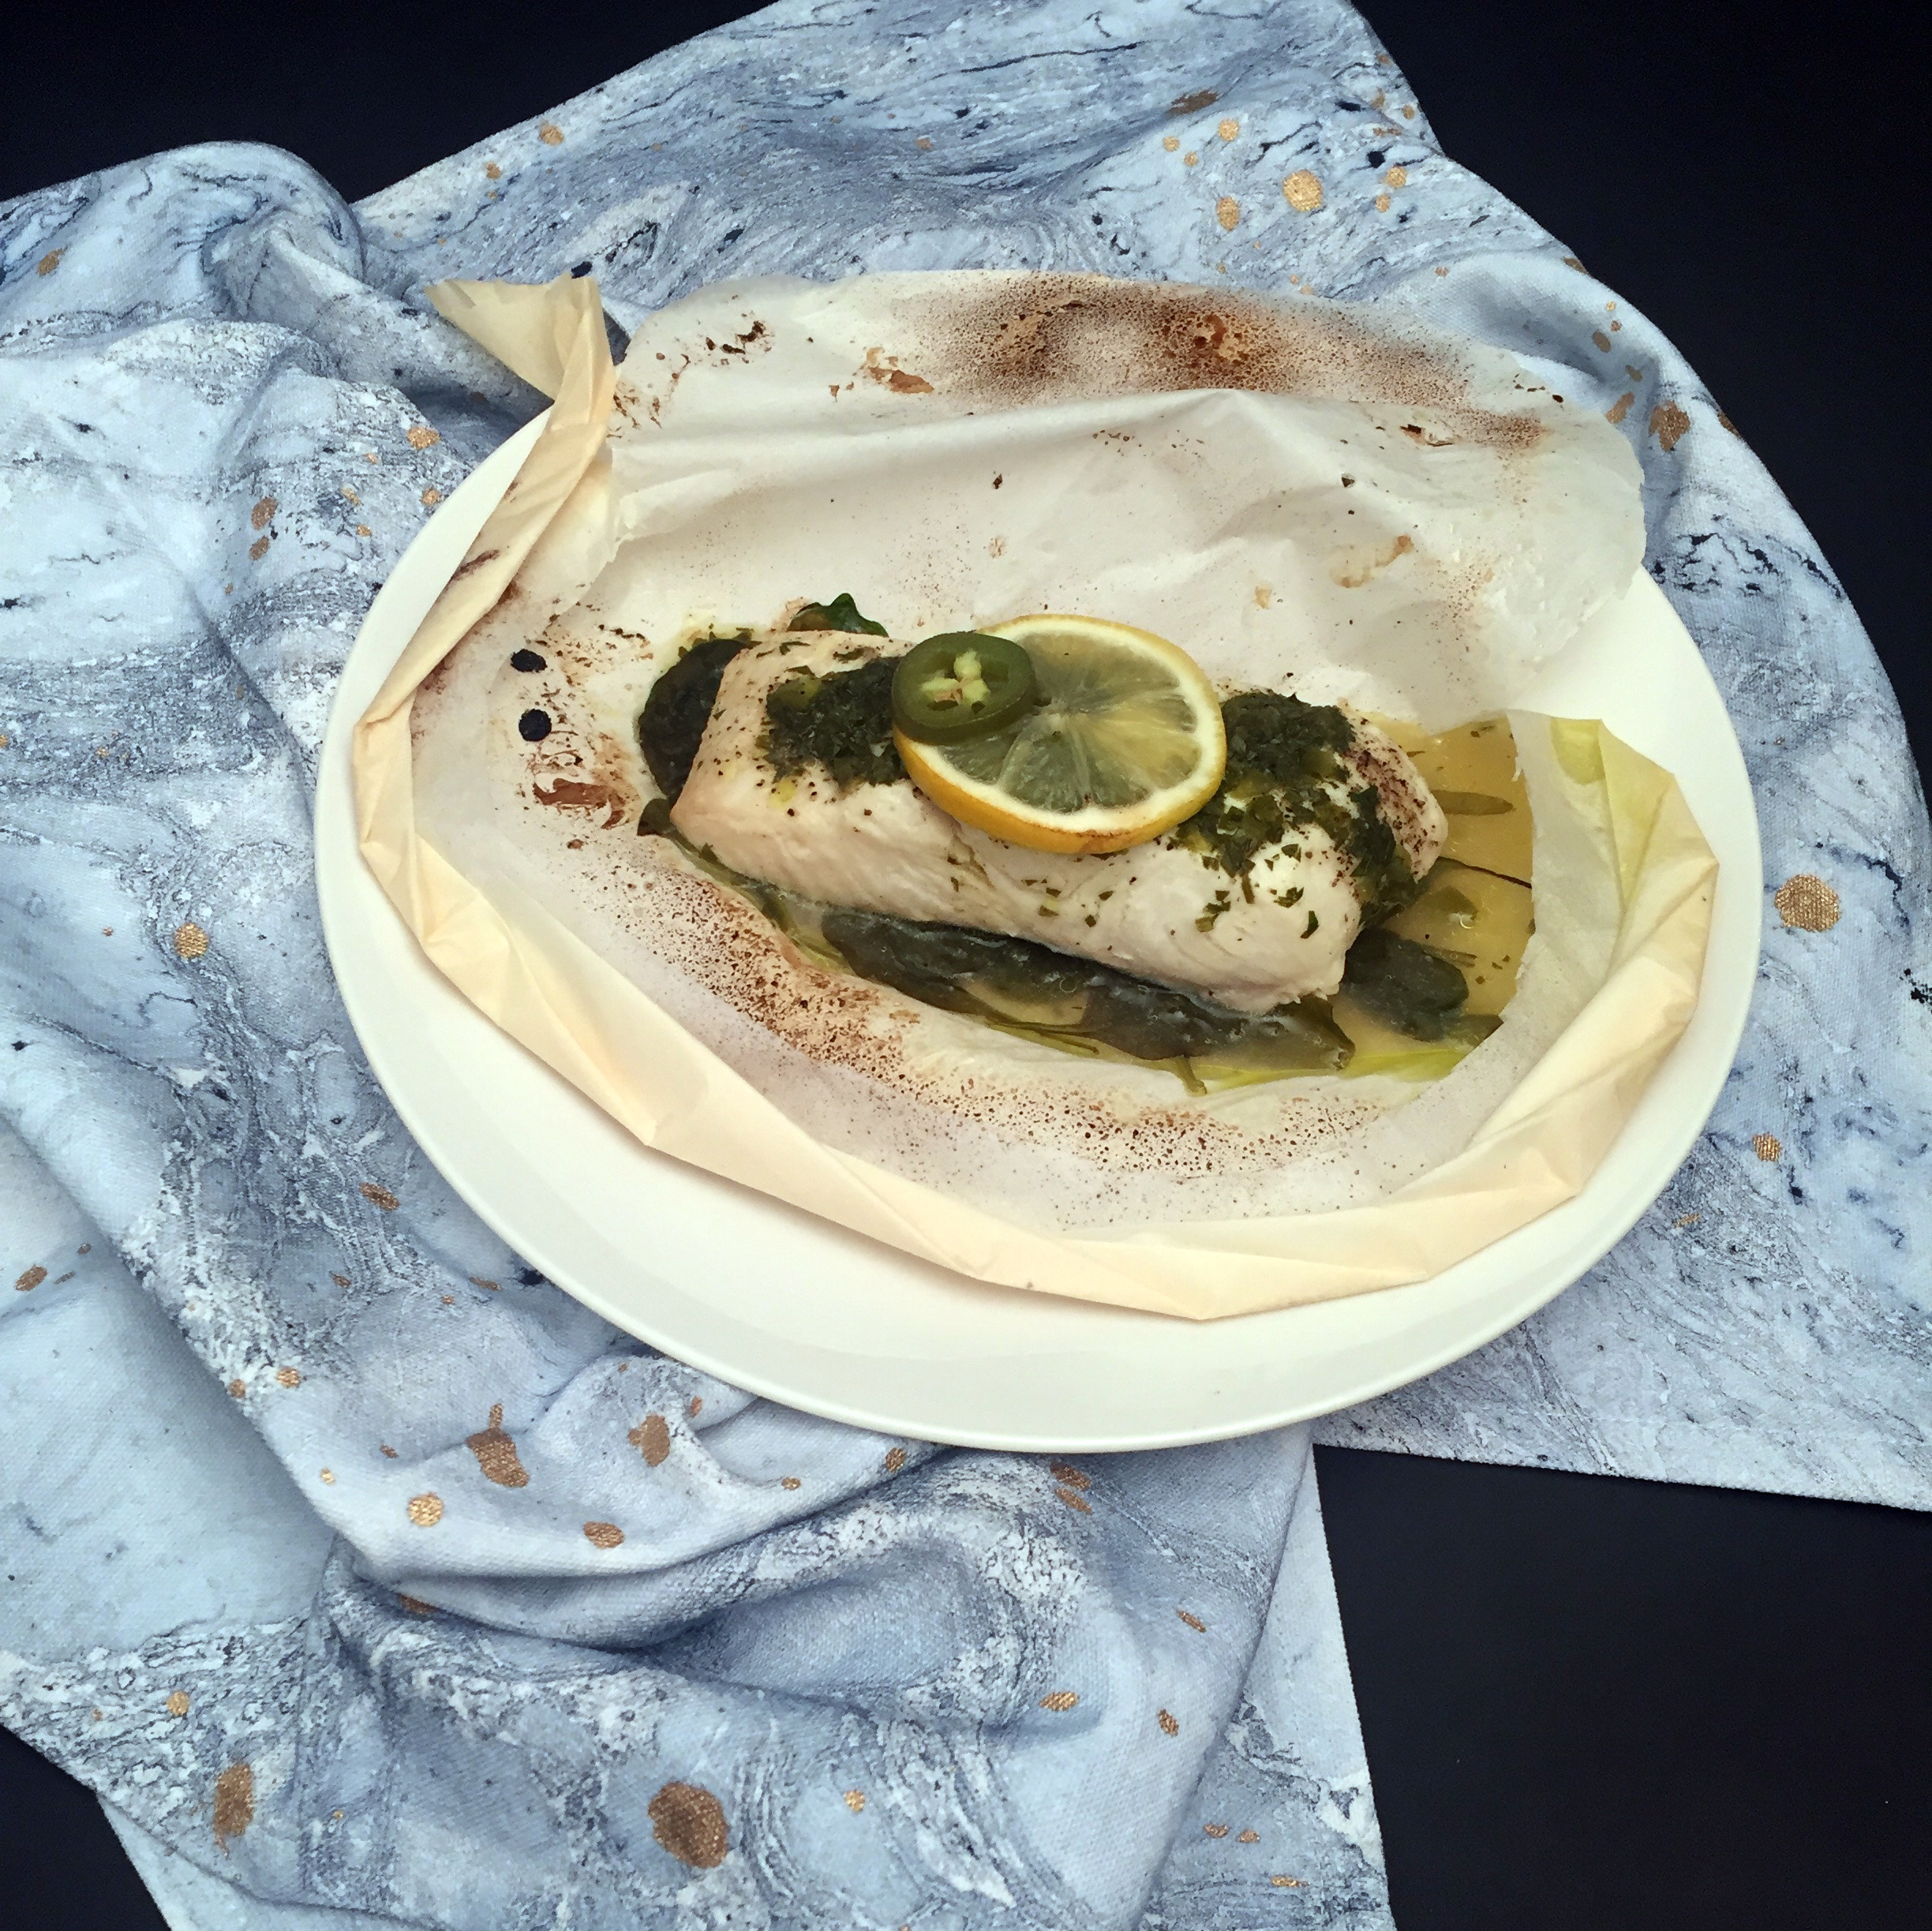 This is such an elegant way to prepare and serve fish or chicken. It’s also an incredibly healthy cooking method as the fish steams in a small amount of liquid, wrapped in a parchment paper pouch with minimal fat. The result is a moist, flavourful dish that makes an impression as you slice the pouch open tableside.
TIP: the parchment packages can be prepped a few hours in advance and stored in the refrigerator.
Ingredients
- 2 x 6-ounce halibut filets (check for bones and remove before cooking)
- 1 cup spinach leaves
- juice of ½ a lemon
- 1 tbsp extra virgin olive oil
- 2 tbsp jalapeño, finely chopped
- salt and pepper to taste
- 2 x 15-inch squares of parchment paper
Method
- Preheat oven to 400°F
- Combine the olive oil, lemon juice and jalapeño in a small bowl, set aside
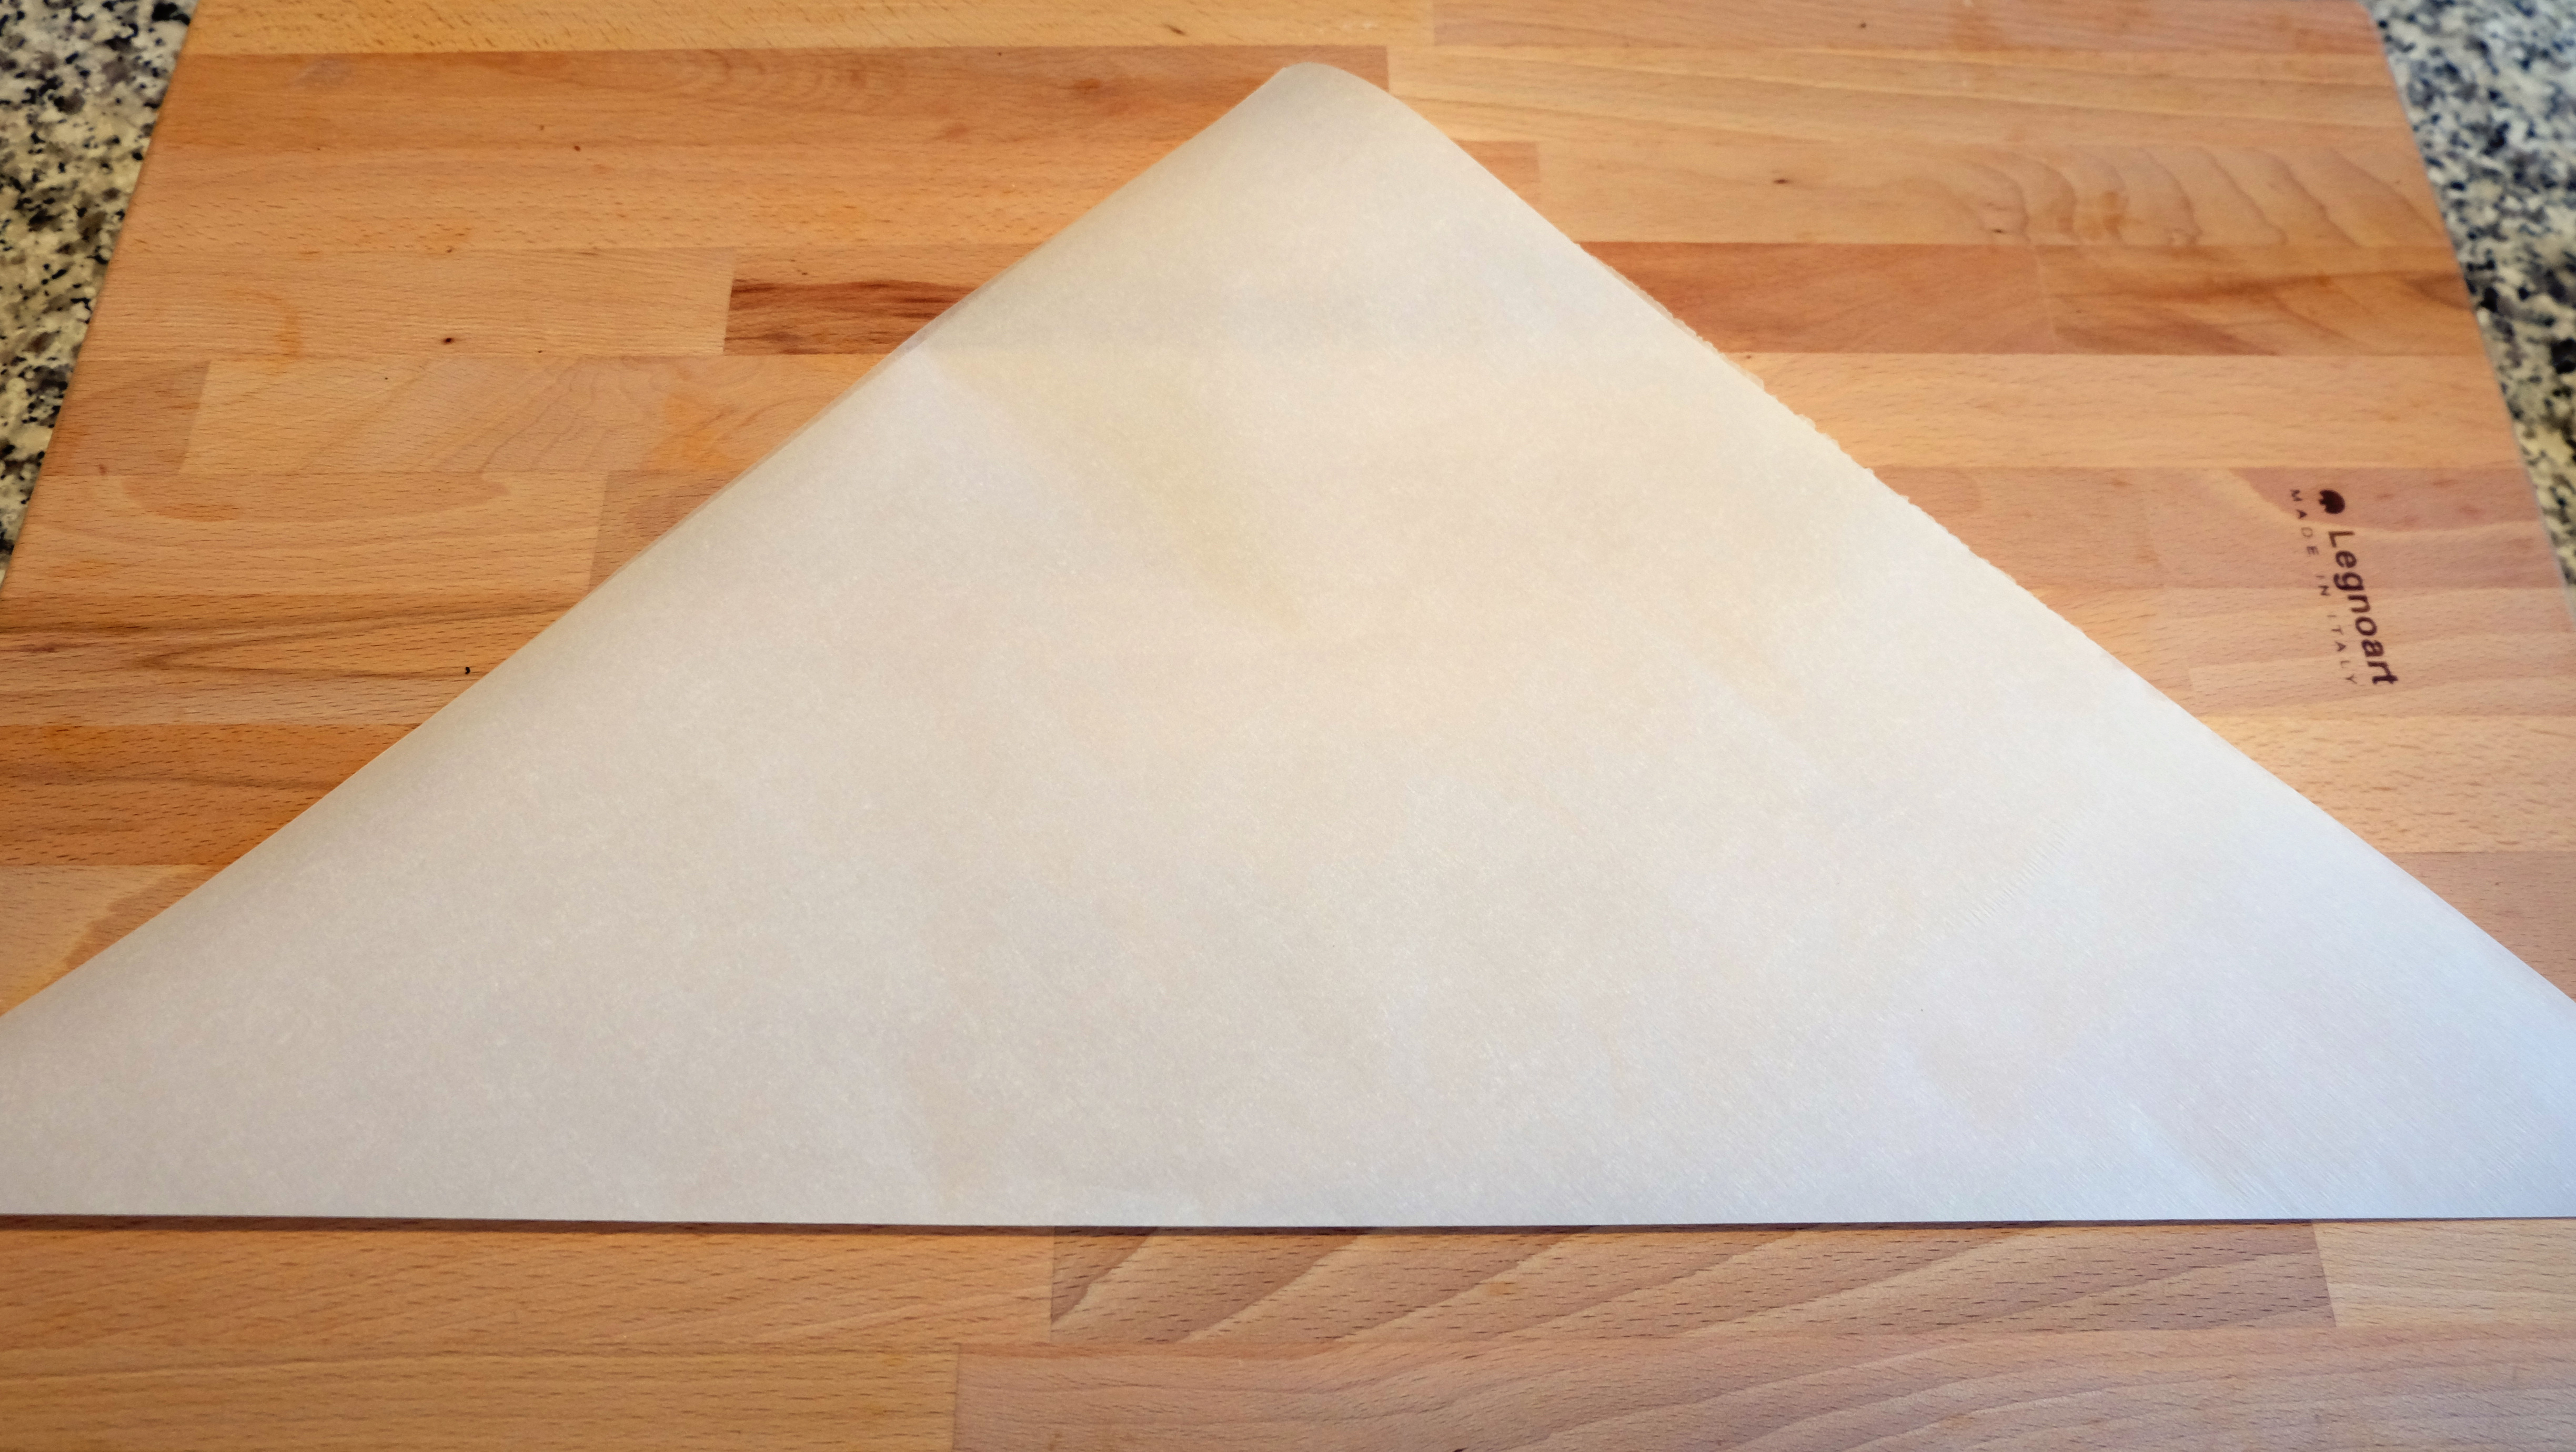
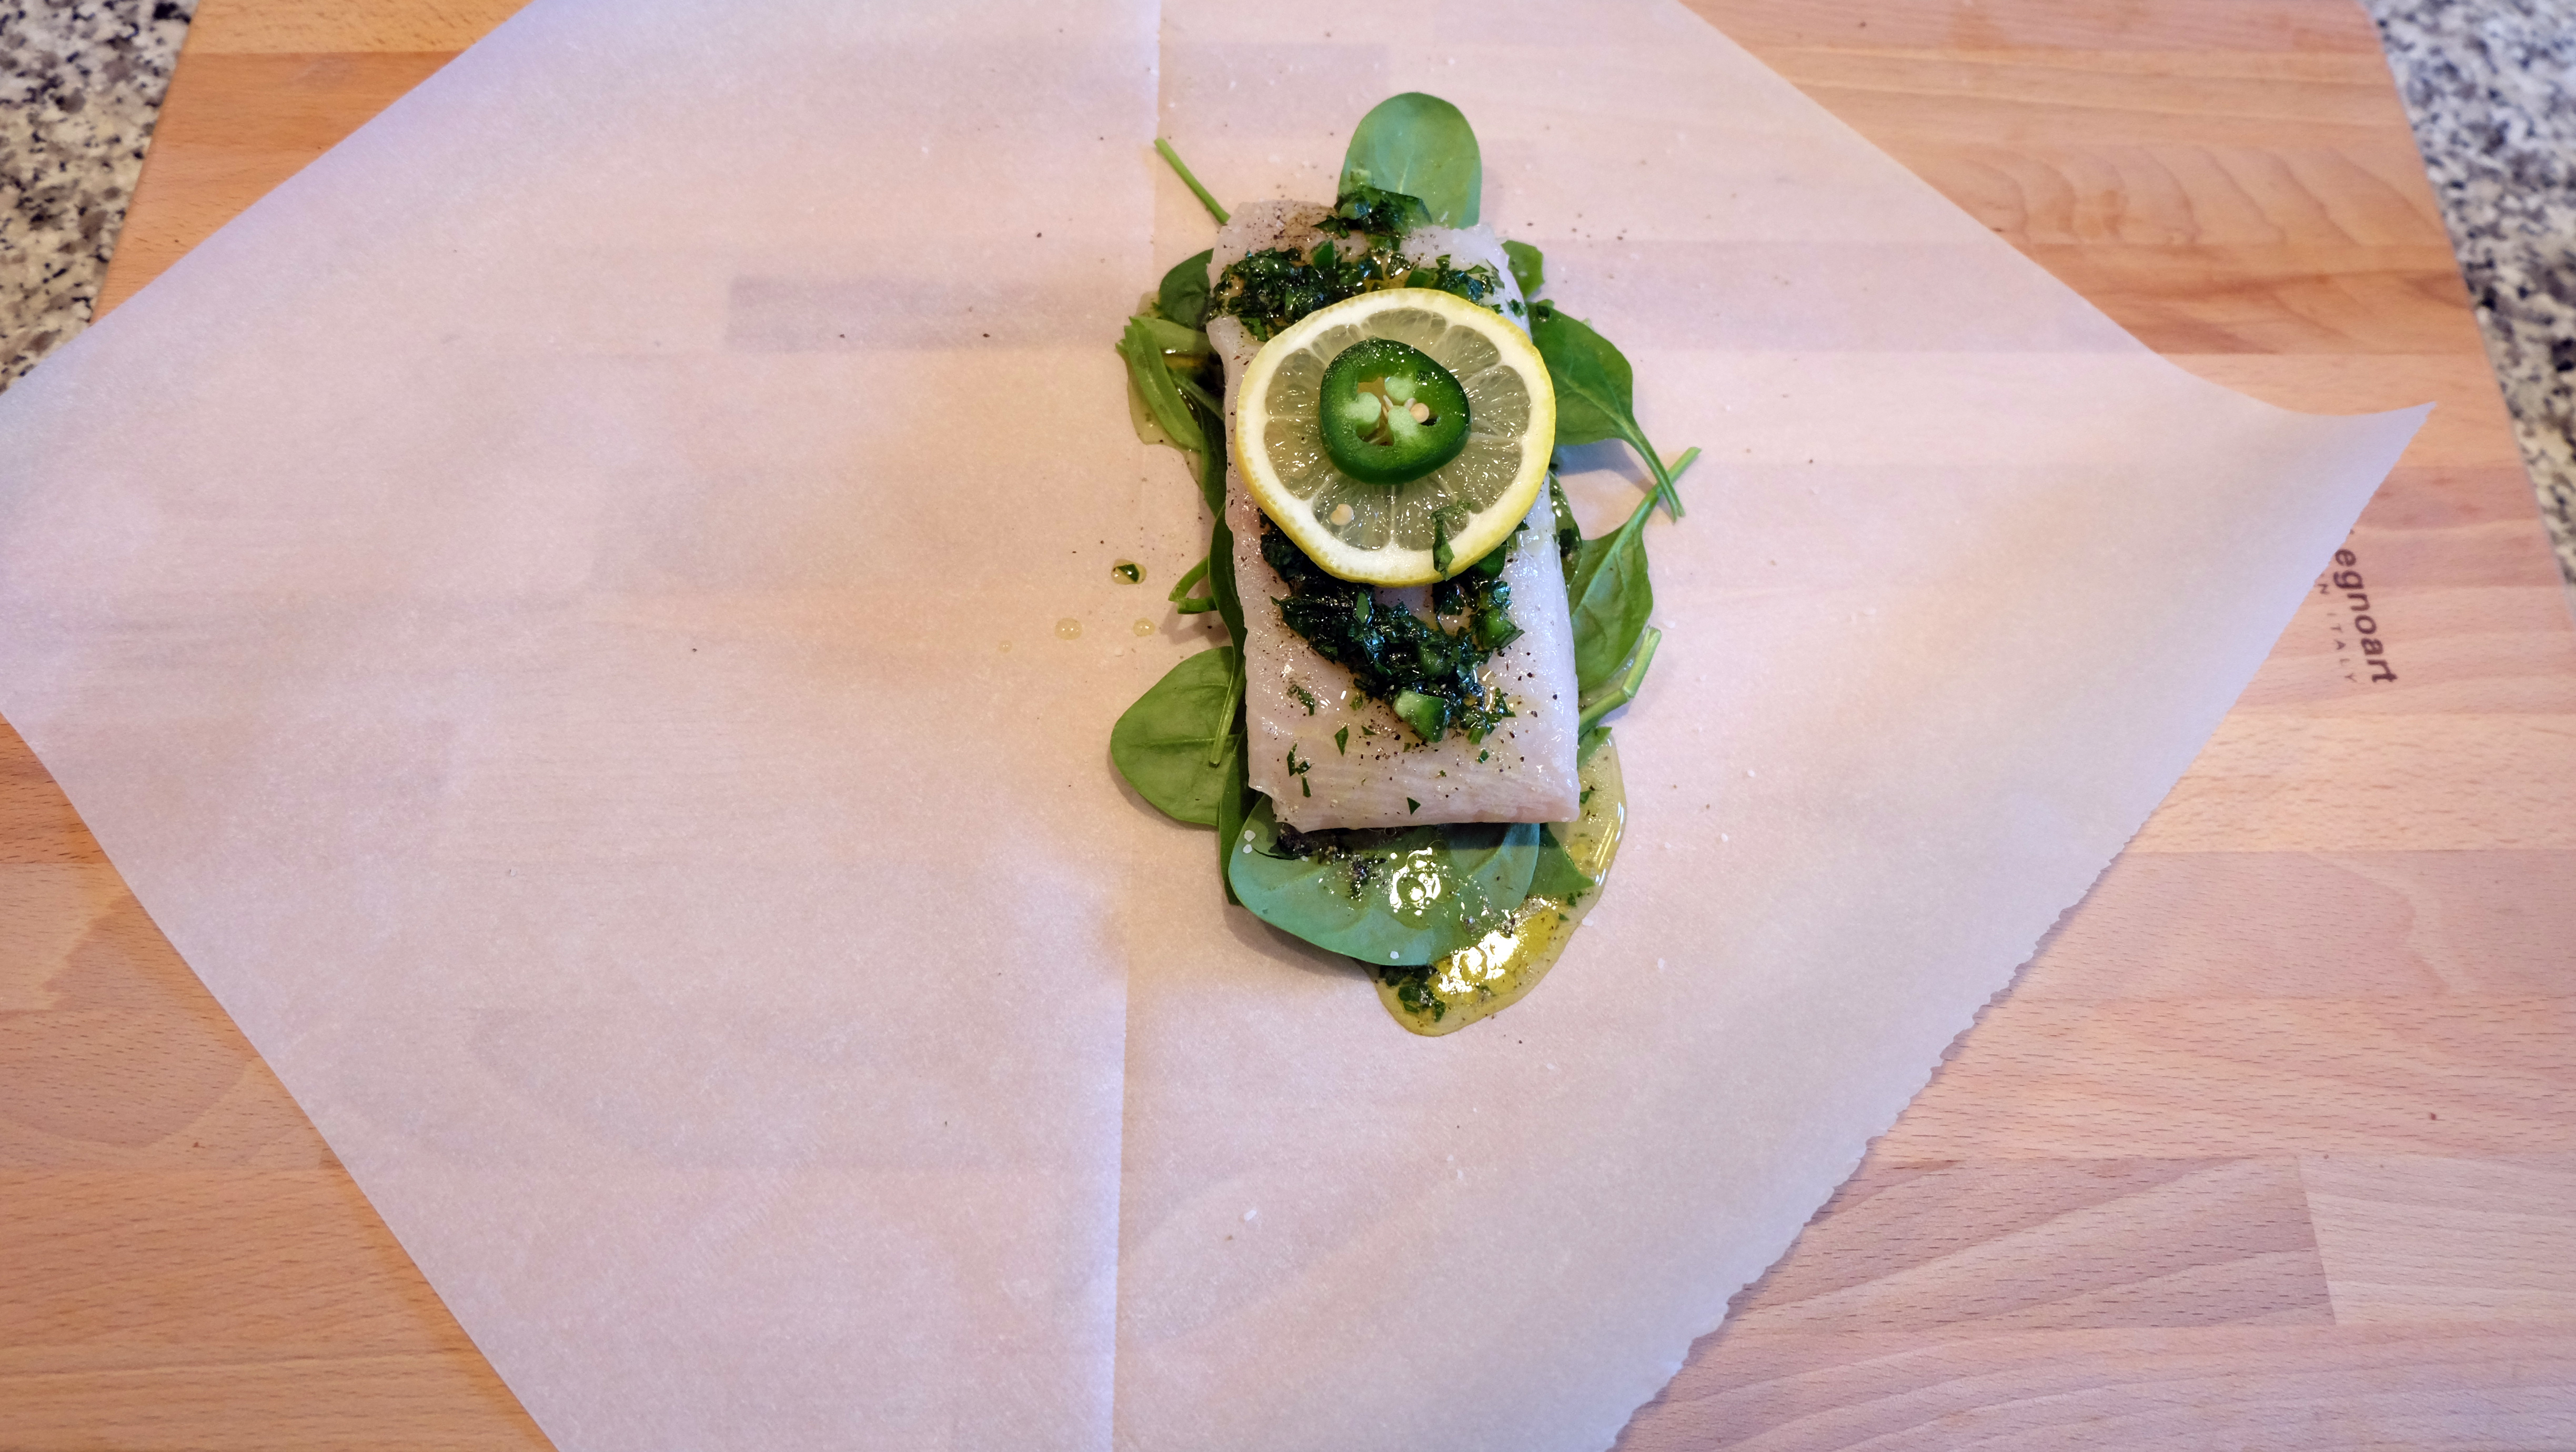
- Fold each parchment square in half diagonally. Using ½ cup of spinach per sheet, place the leaves in a small mound centered just before the diagonal fold. Place a halibut filet on top of the spinach leaves
- Spoon 1 tablespoon of the lemon jalapeño dressing on top of each filet, season with salt and pepper to taste
- Place a few thin slices of jalapeño and lemon on top of each filet
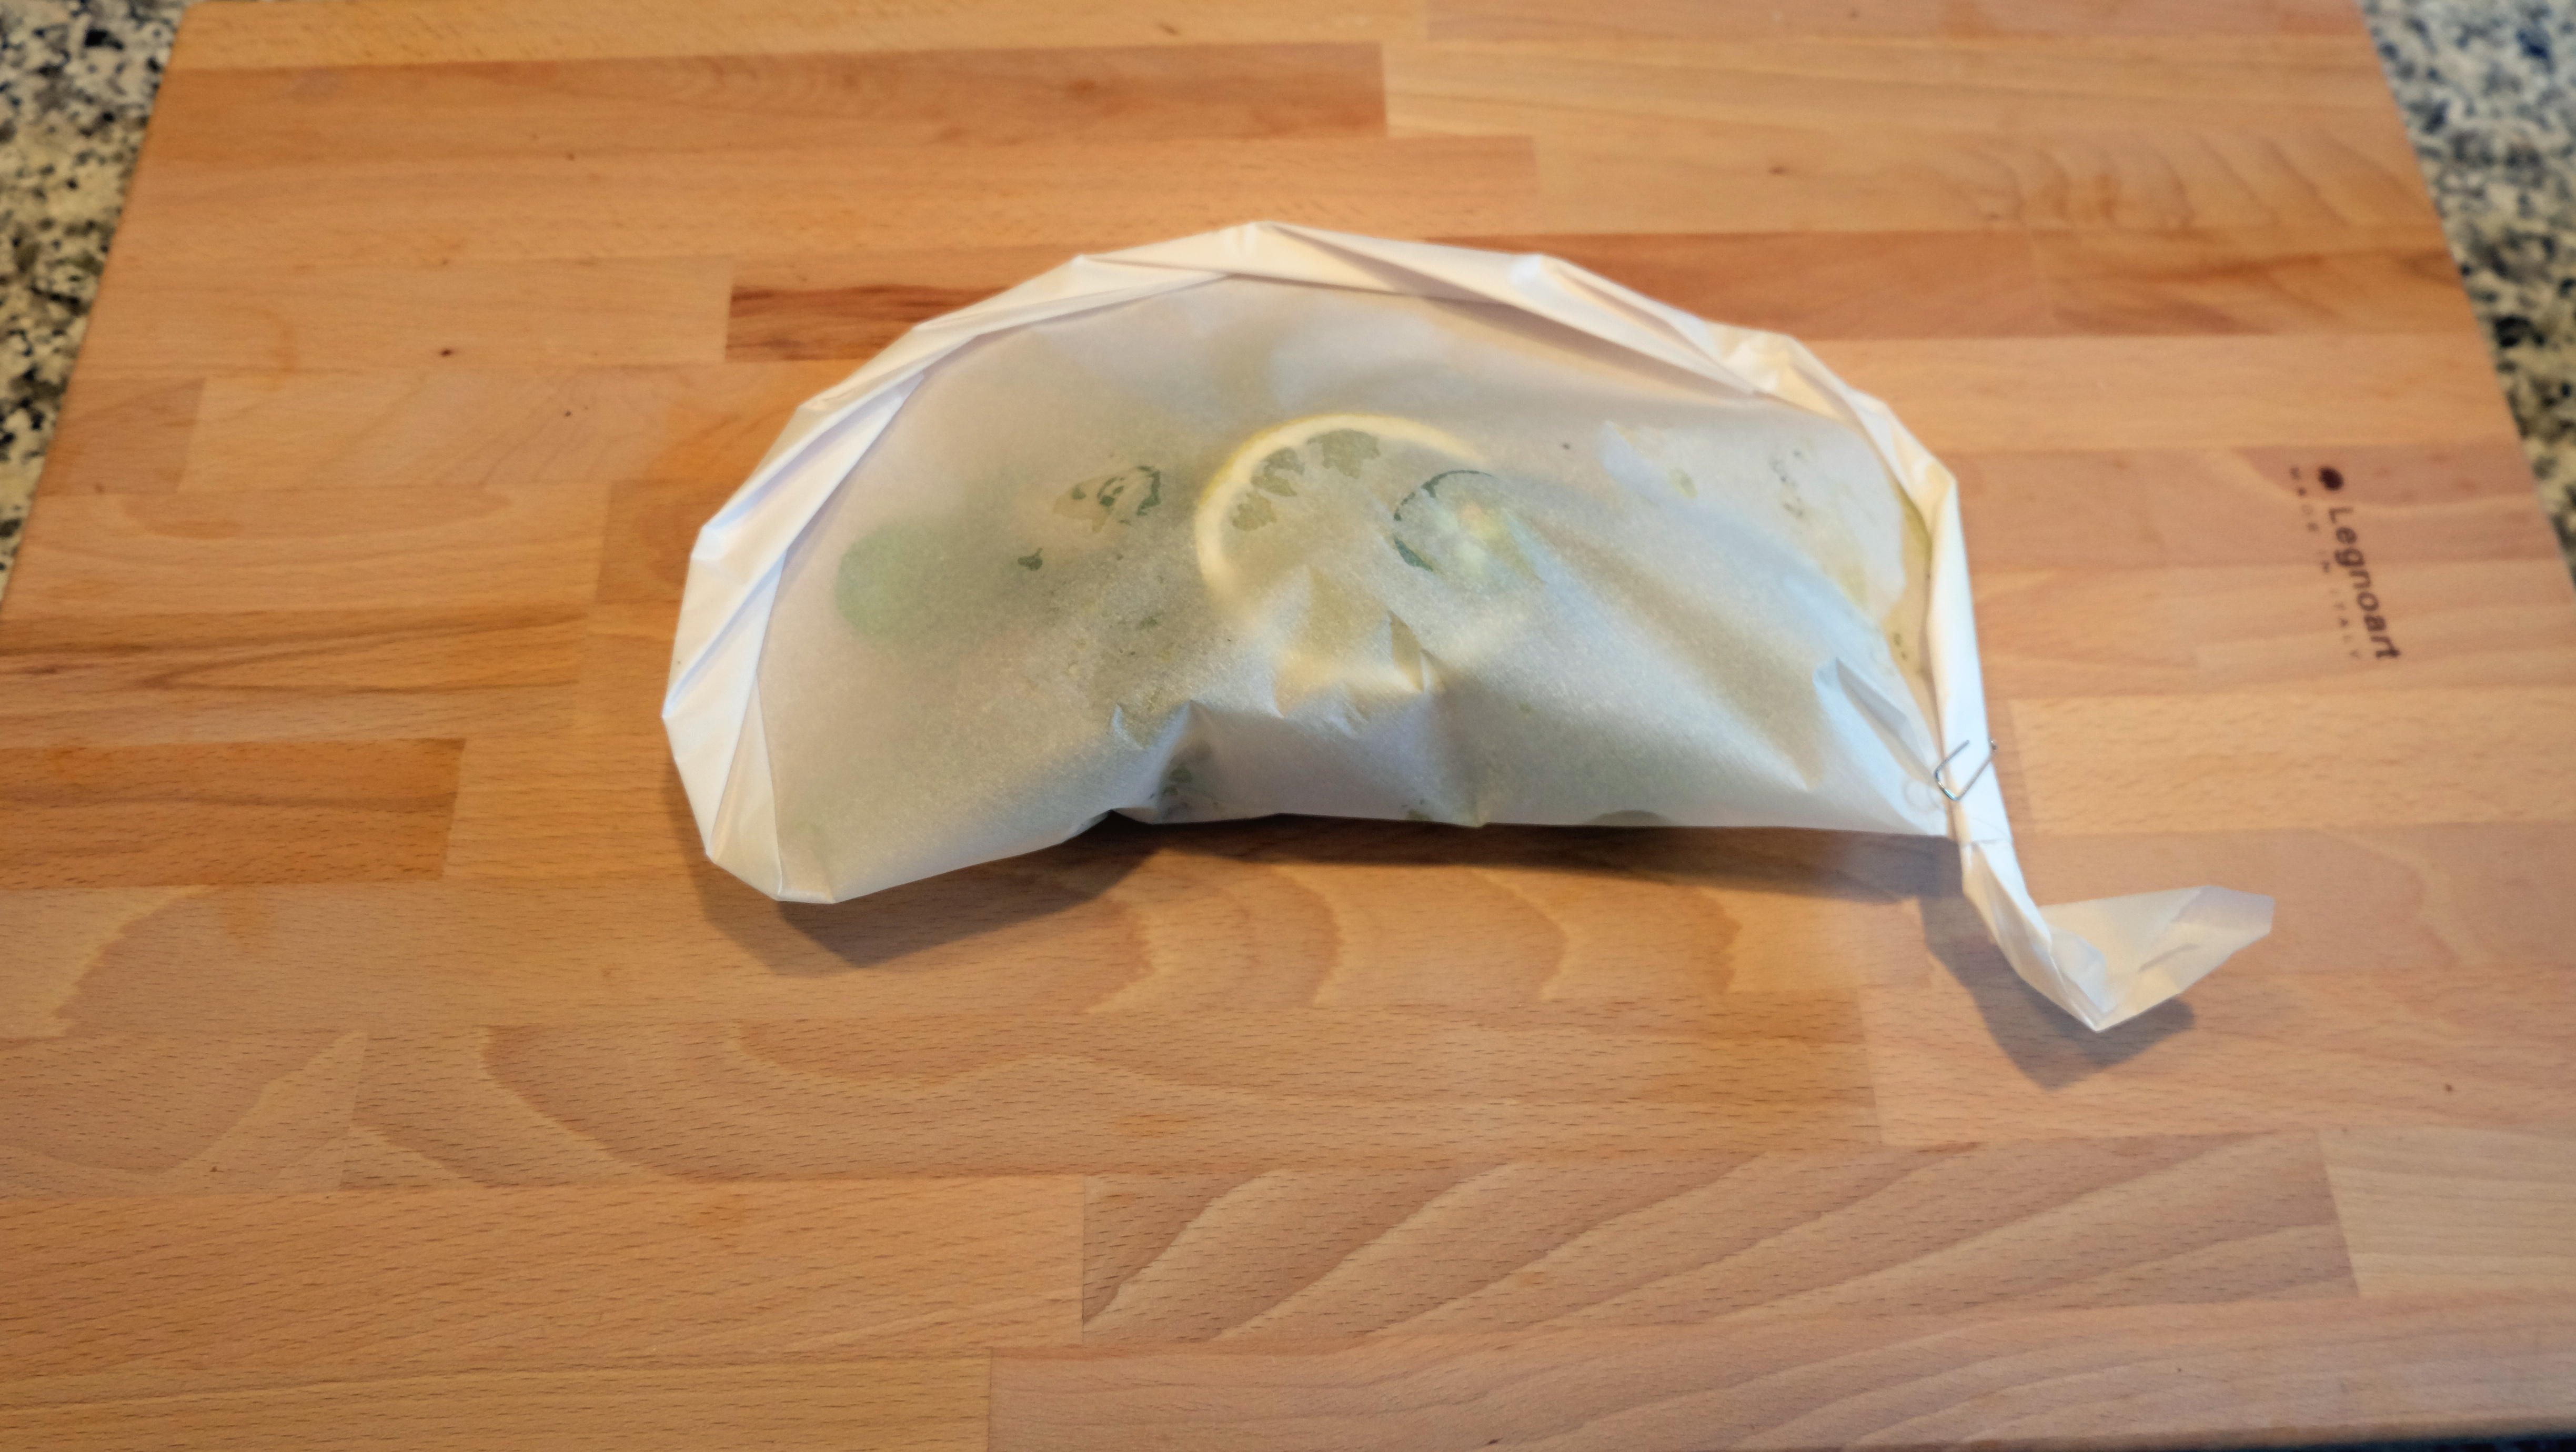
- Now to seal the pouch. Fold the parchment square in half covering the fish, forming a triangle. Then, starting from the left side of the triangle fold the edge in itself pressing tightly on each fold – this is what will seal in the liquid and steam. Work your way around the package and secure the resulting parchment tail with a paperclip
- Place the parchment packages on a baking sheet and bake for 13 – 35 minutes
- Remove from the oven and place each packet on a dinner plate. Using a pair of kitchen shears, cut open the parchment along the outside border and fold back the flap. Be careful of the hot steam!
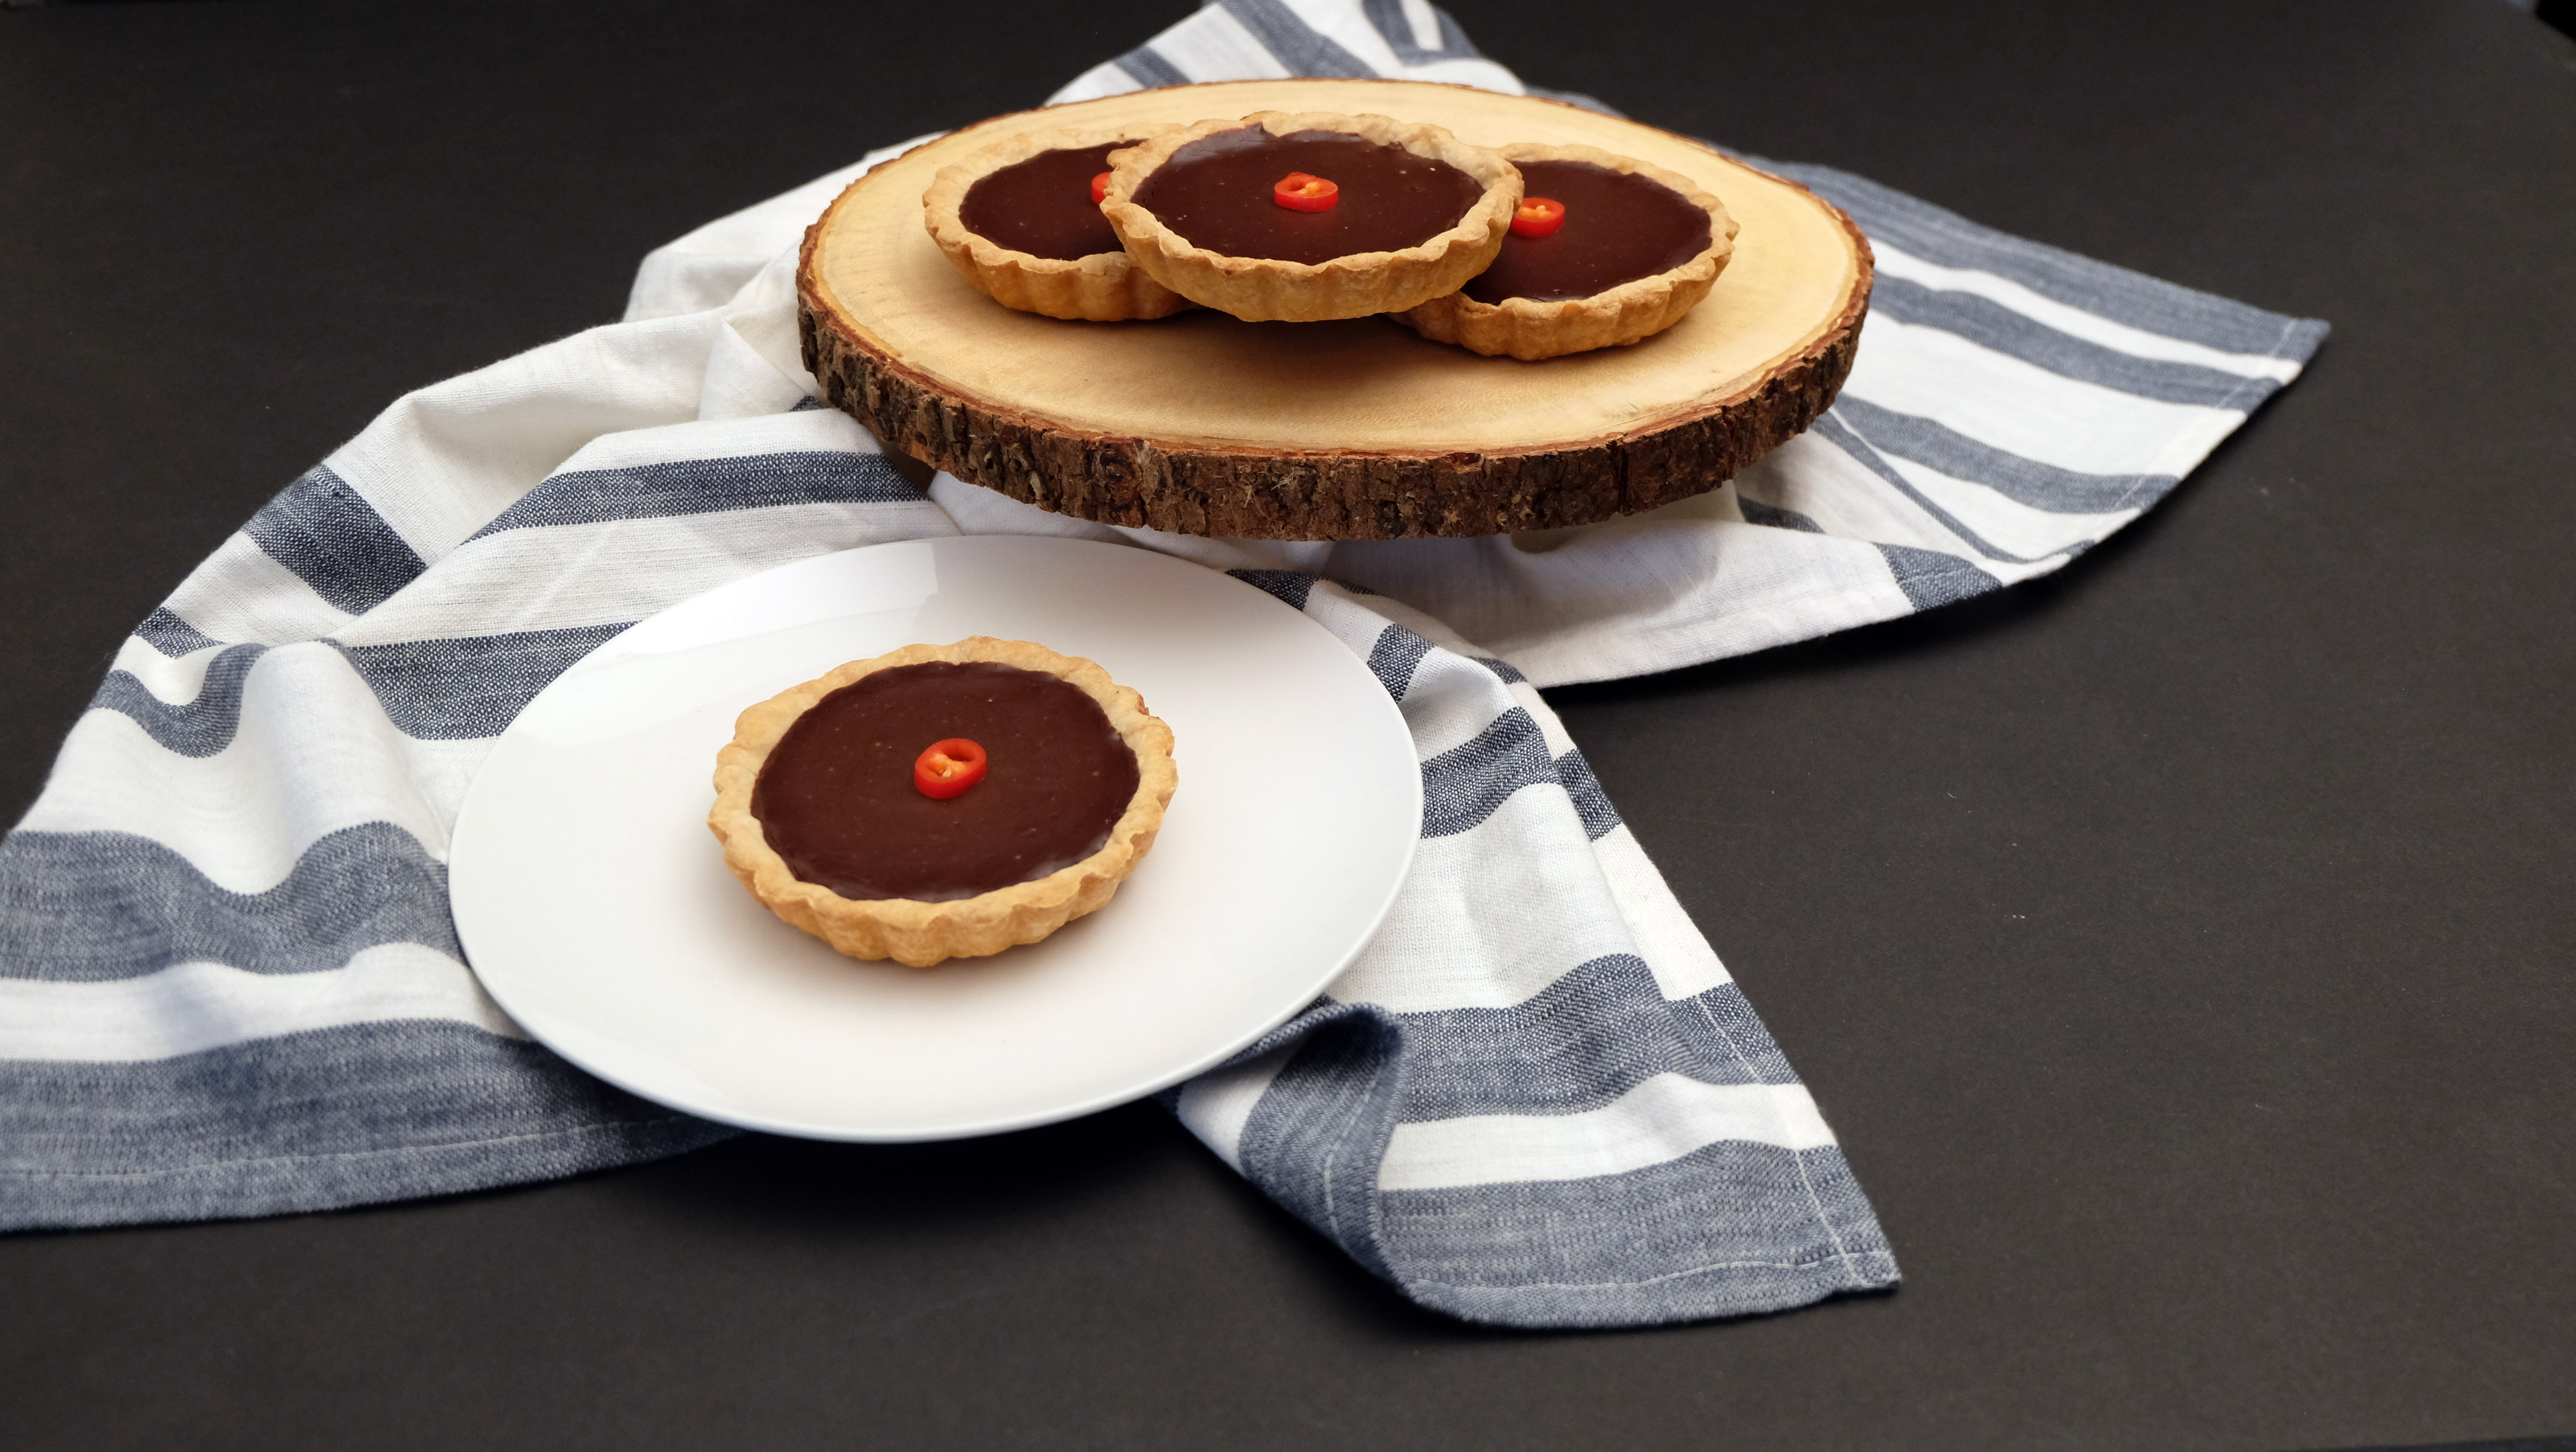
Spiced Chocolate Tart
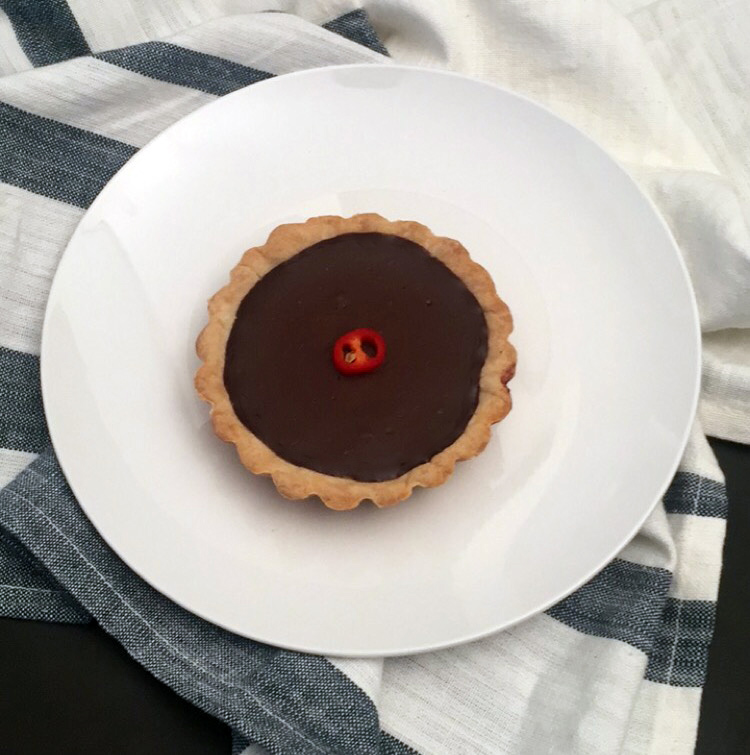 One of the compounds contained in chocolate, phenylethylamine, is the same chemical released in the brain when we fall in love so it’s quintessential for Valentine’s Day. Who doesn’t love a good warm and fuzzy feeling? Adding sea salt to dark chocolate has been the rage for a few years now – the salty and sweet combination just works. But for something a little more adventurous, this chocolate ganache tart combines the heat of cayenne pepper and a touch of cinnamon.
TIP: since there are only a few ingredients in this tart, you’ll want to look for a premium quality chocolate. I used Lindt Excellence 70% cocoa bars here – I tried a few other specialty brands but had the best consistent results with Lindt. Milk chocolate could also work but I like the slight bitterness of dark chocolate.
Makes 4 x 4-inch mini tarts
Ingredients
Pastry
- 1 ½ cups all purpose flour
- ½ cup (1 stick) unsalted cold butter, cut into small cubes
- ¼ tsp salt
- 1/3 cup ice water
Chocolate Ganache Filling
- 4 oz dark chocolate (70% cocoa)
- 6 oz heavy cream
- 1 oz unsalted butter
- 1/8 tsp cayenne pepper
- 1 tsp ground cinnamon
Method
Pastry
- Preheat oven to Preheat oven to 400°F
- Stir the flour and salt together in a large mixing bowl. Using a hand-held pastry blender, cut in the butter and mix together so that pieces of butter remain visible throughout the flour. The mixture should resemble coarse sand. You can also pulse everything together in a food processor instead of using the hand-held pastry blender
- Add the ice water and mix quickly, just enough so the dough comes together – it will look a little dry at this point. It’s OK if you see small pieces of butter showing through the dough
- Turn the mixture onto a lightly floured surface and gently knead the dough until it comes together to form a ball – about 1 – 2 minutes. Don’t over-mix or the dough will become tough
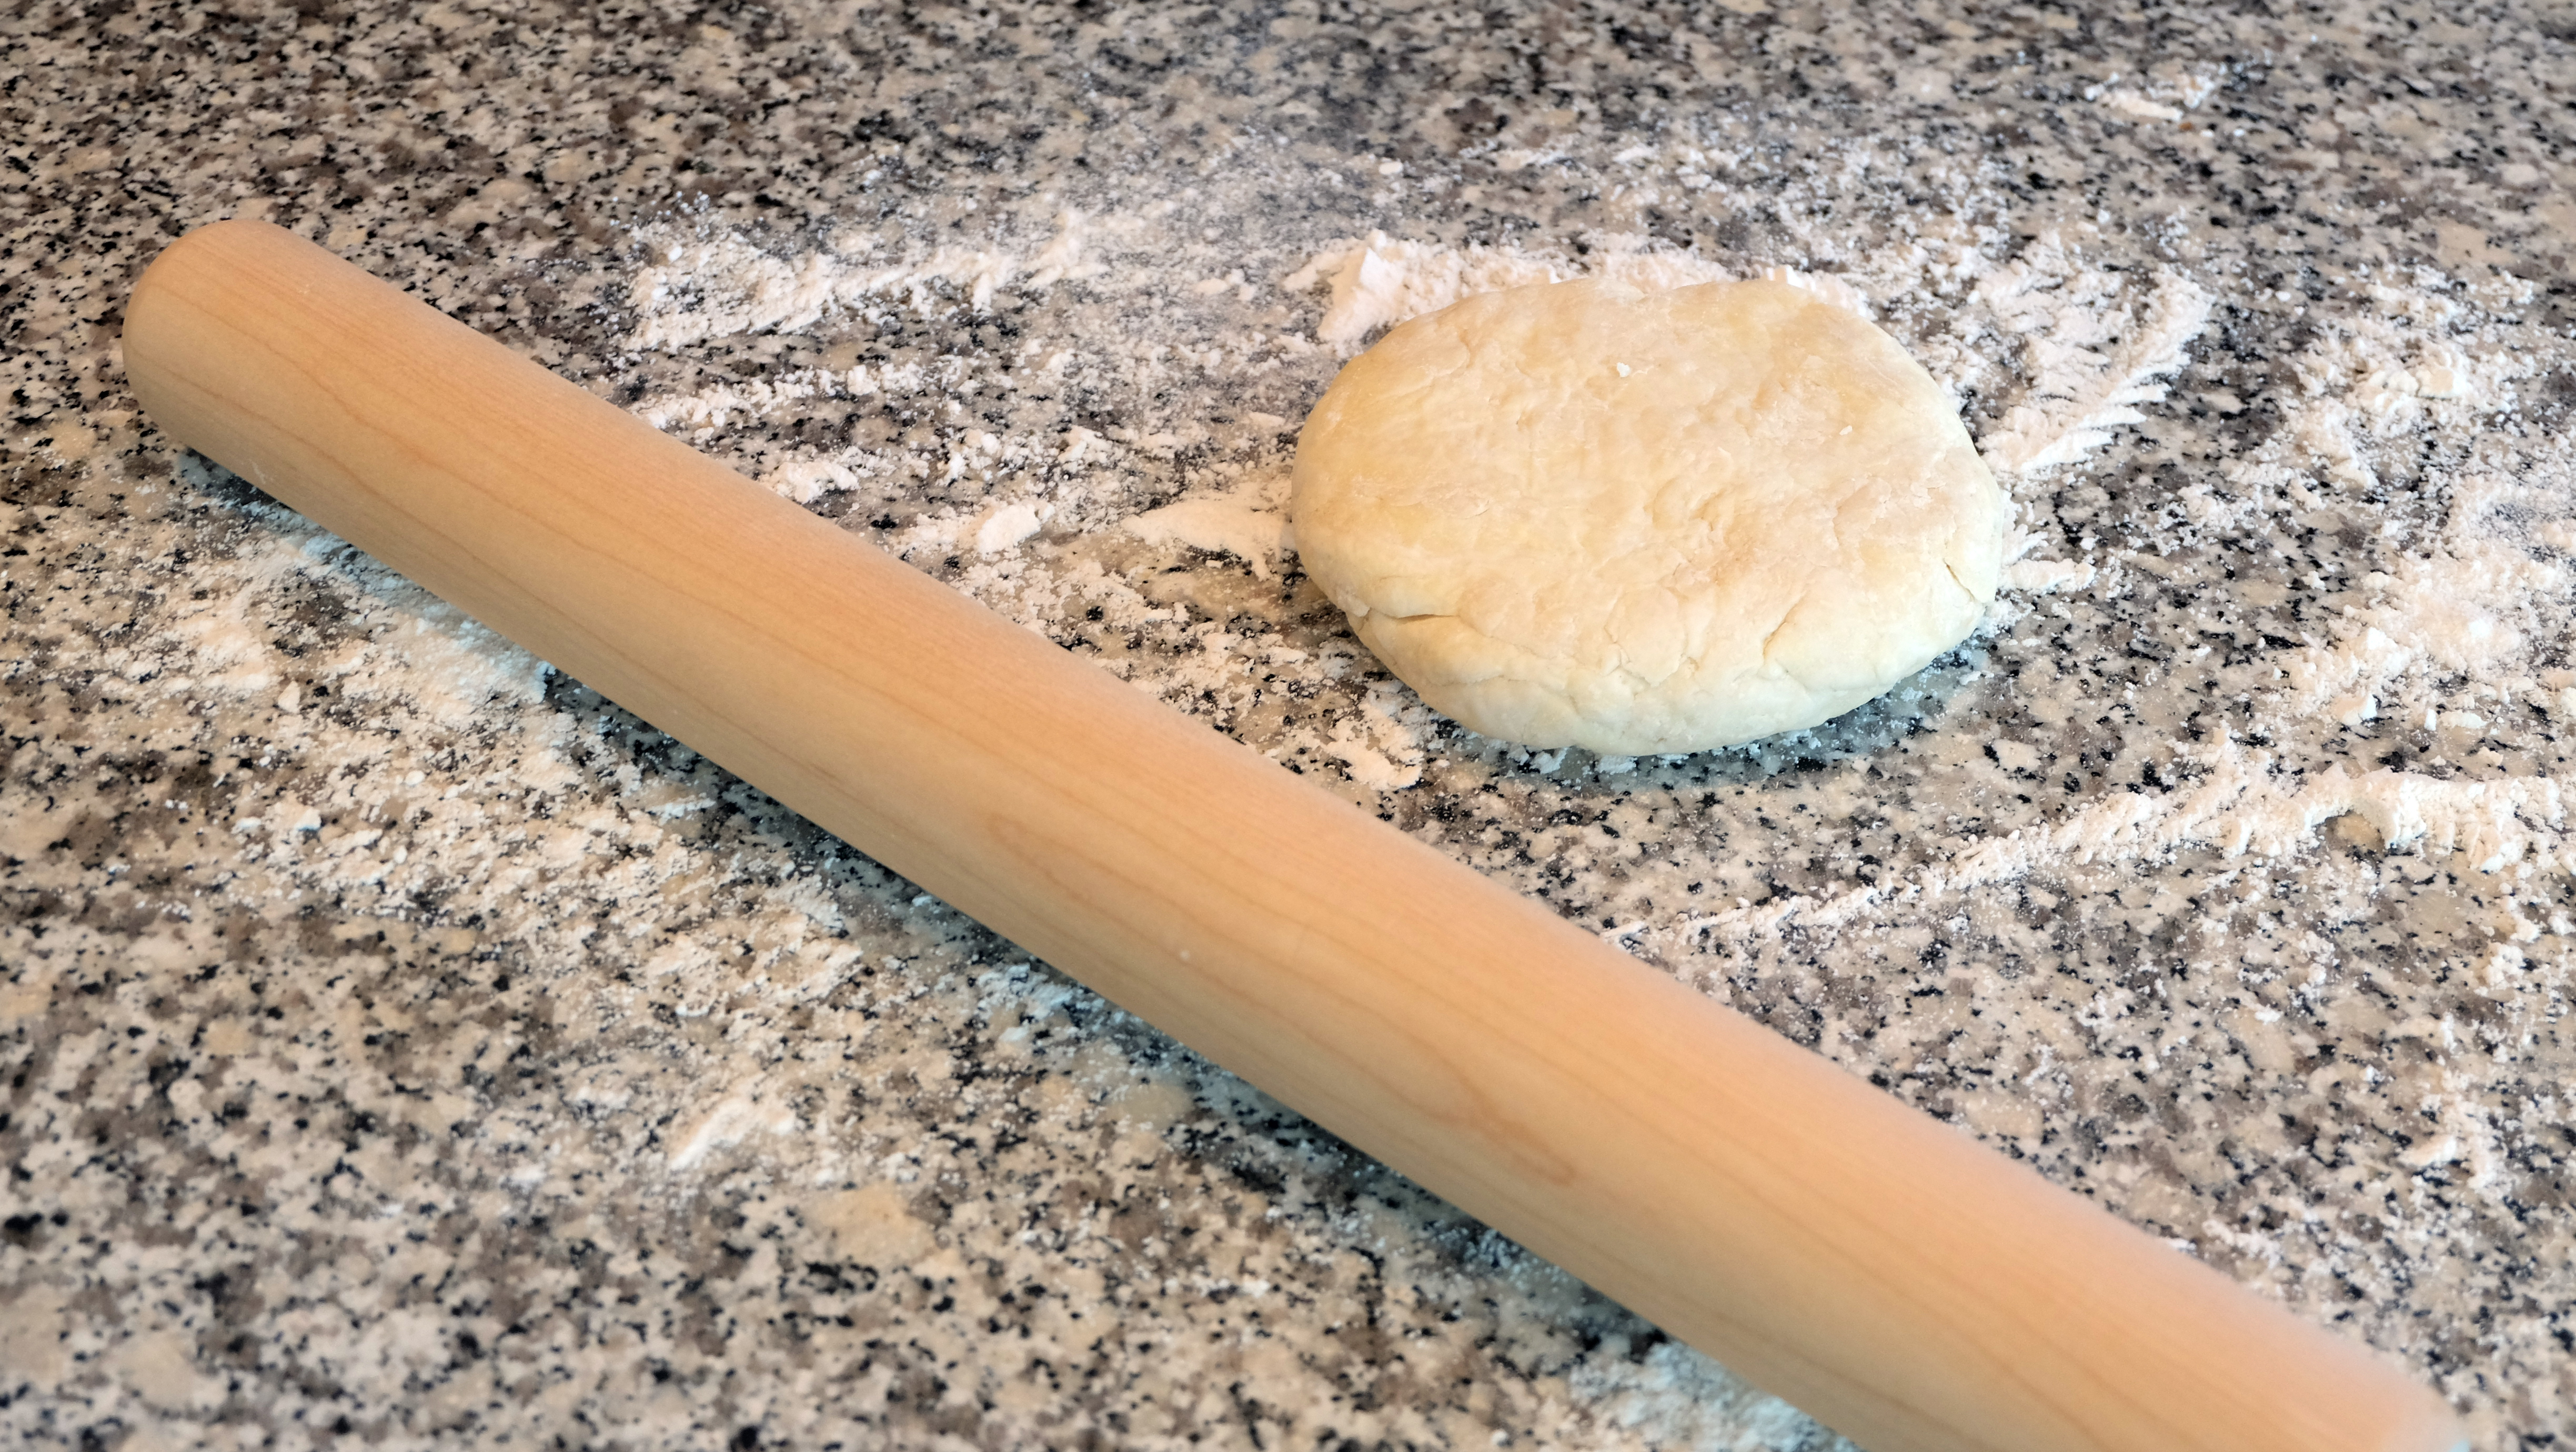
- Flatten and shape into a round, and wrap in plastic wrap. Chill in the fridge for at least 1 hour, or pop it into the freezer for 15 – 20 minutes (be careful it doesn’t freeze solid)
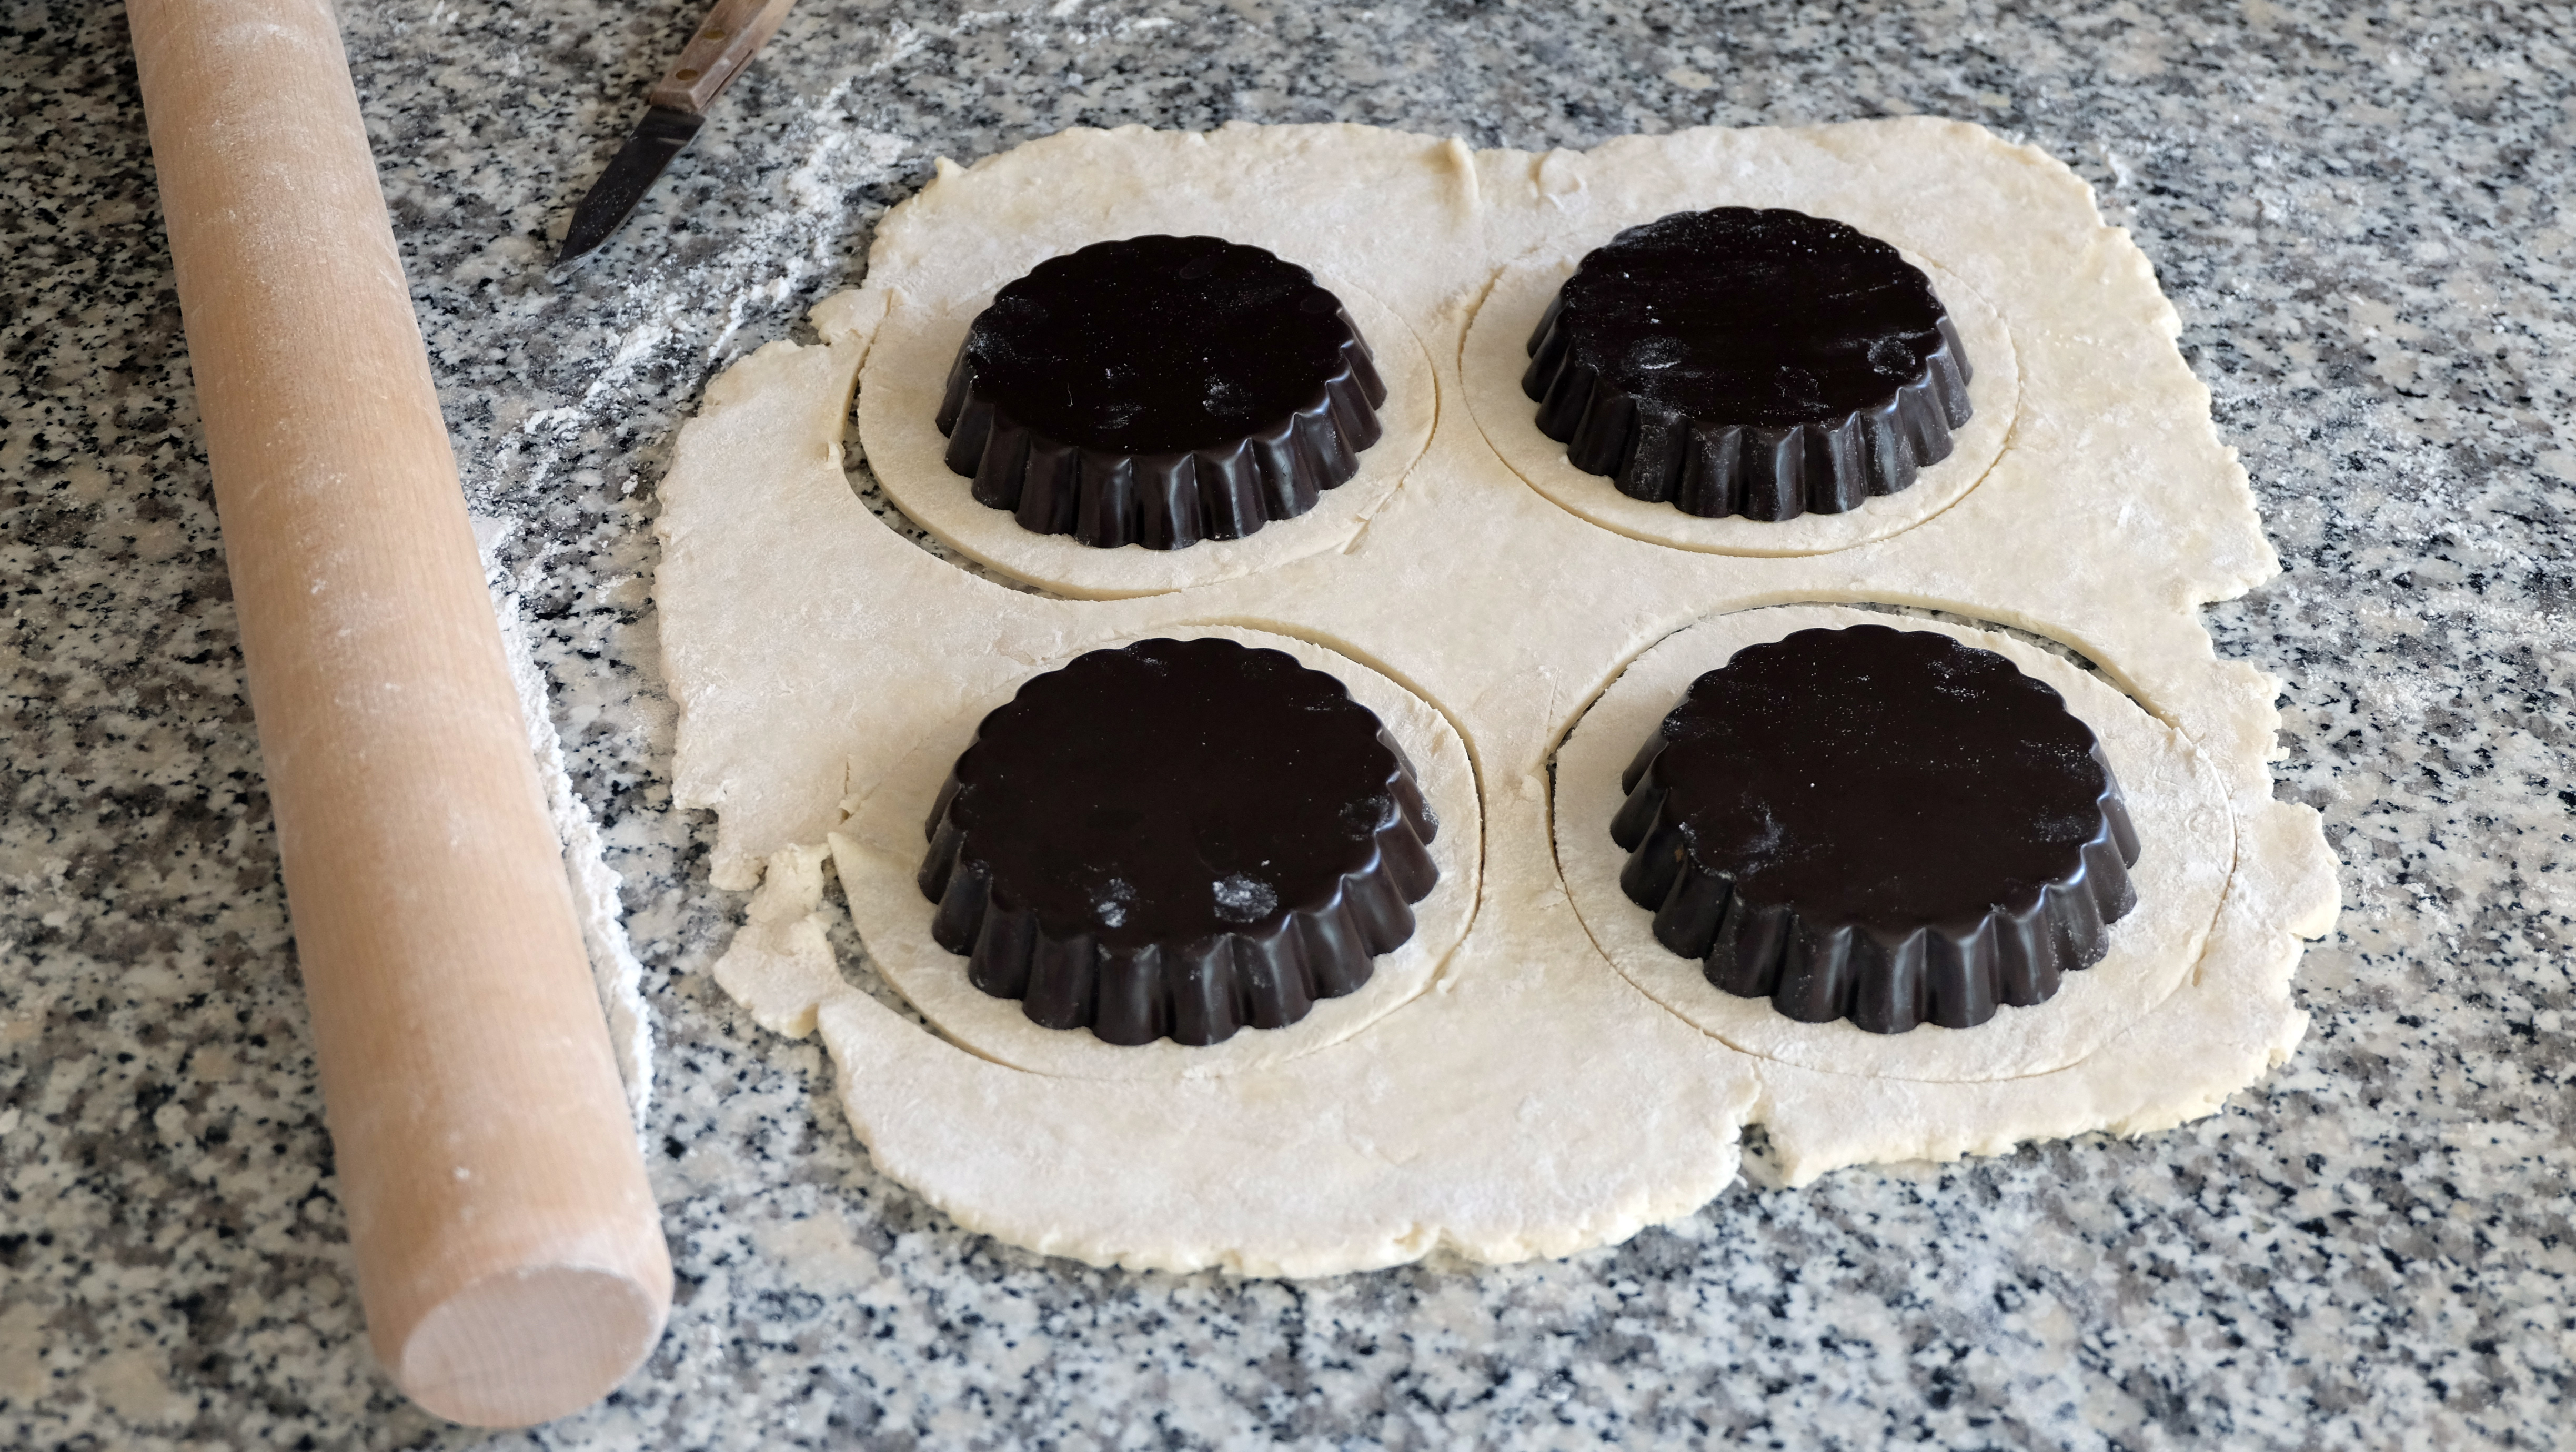
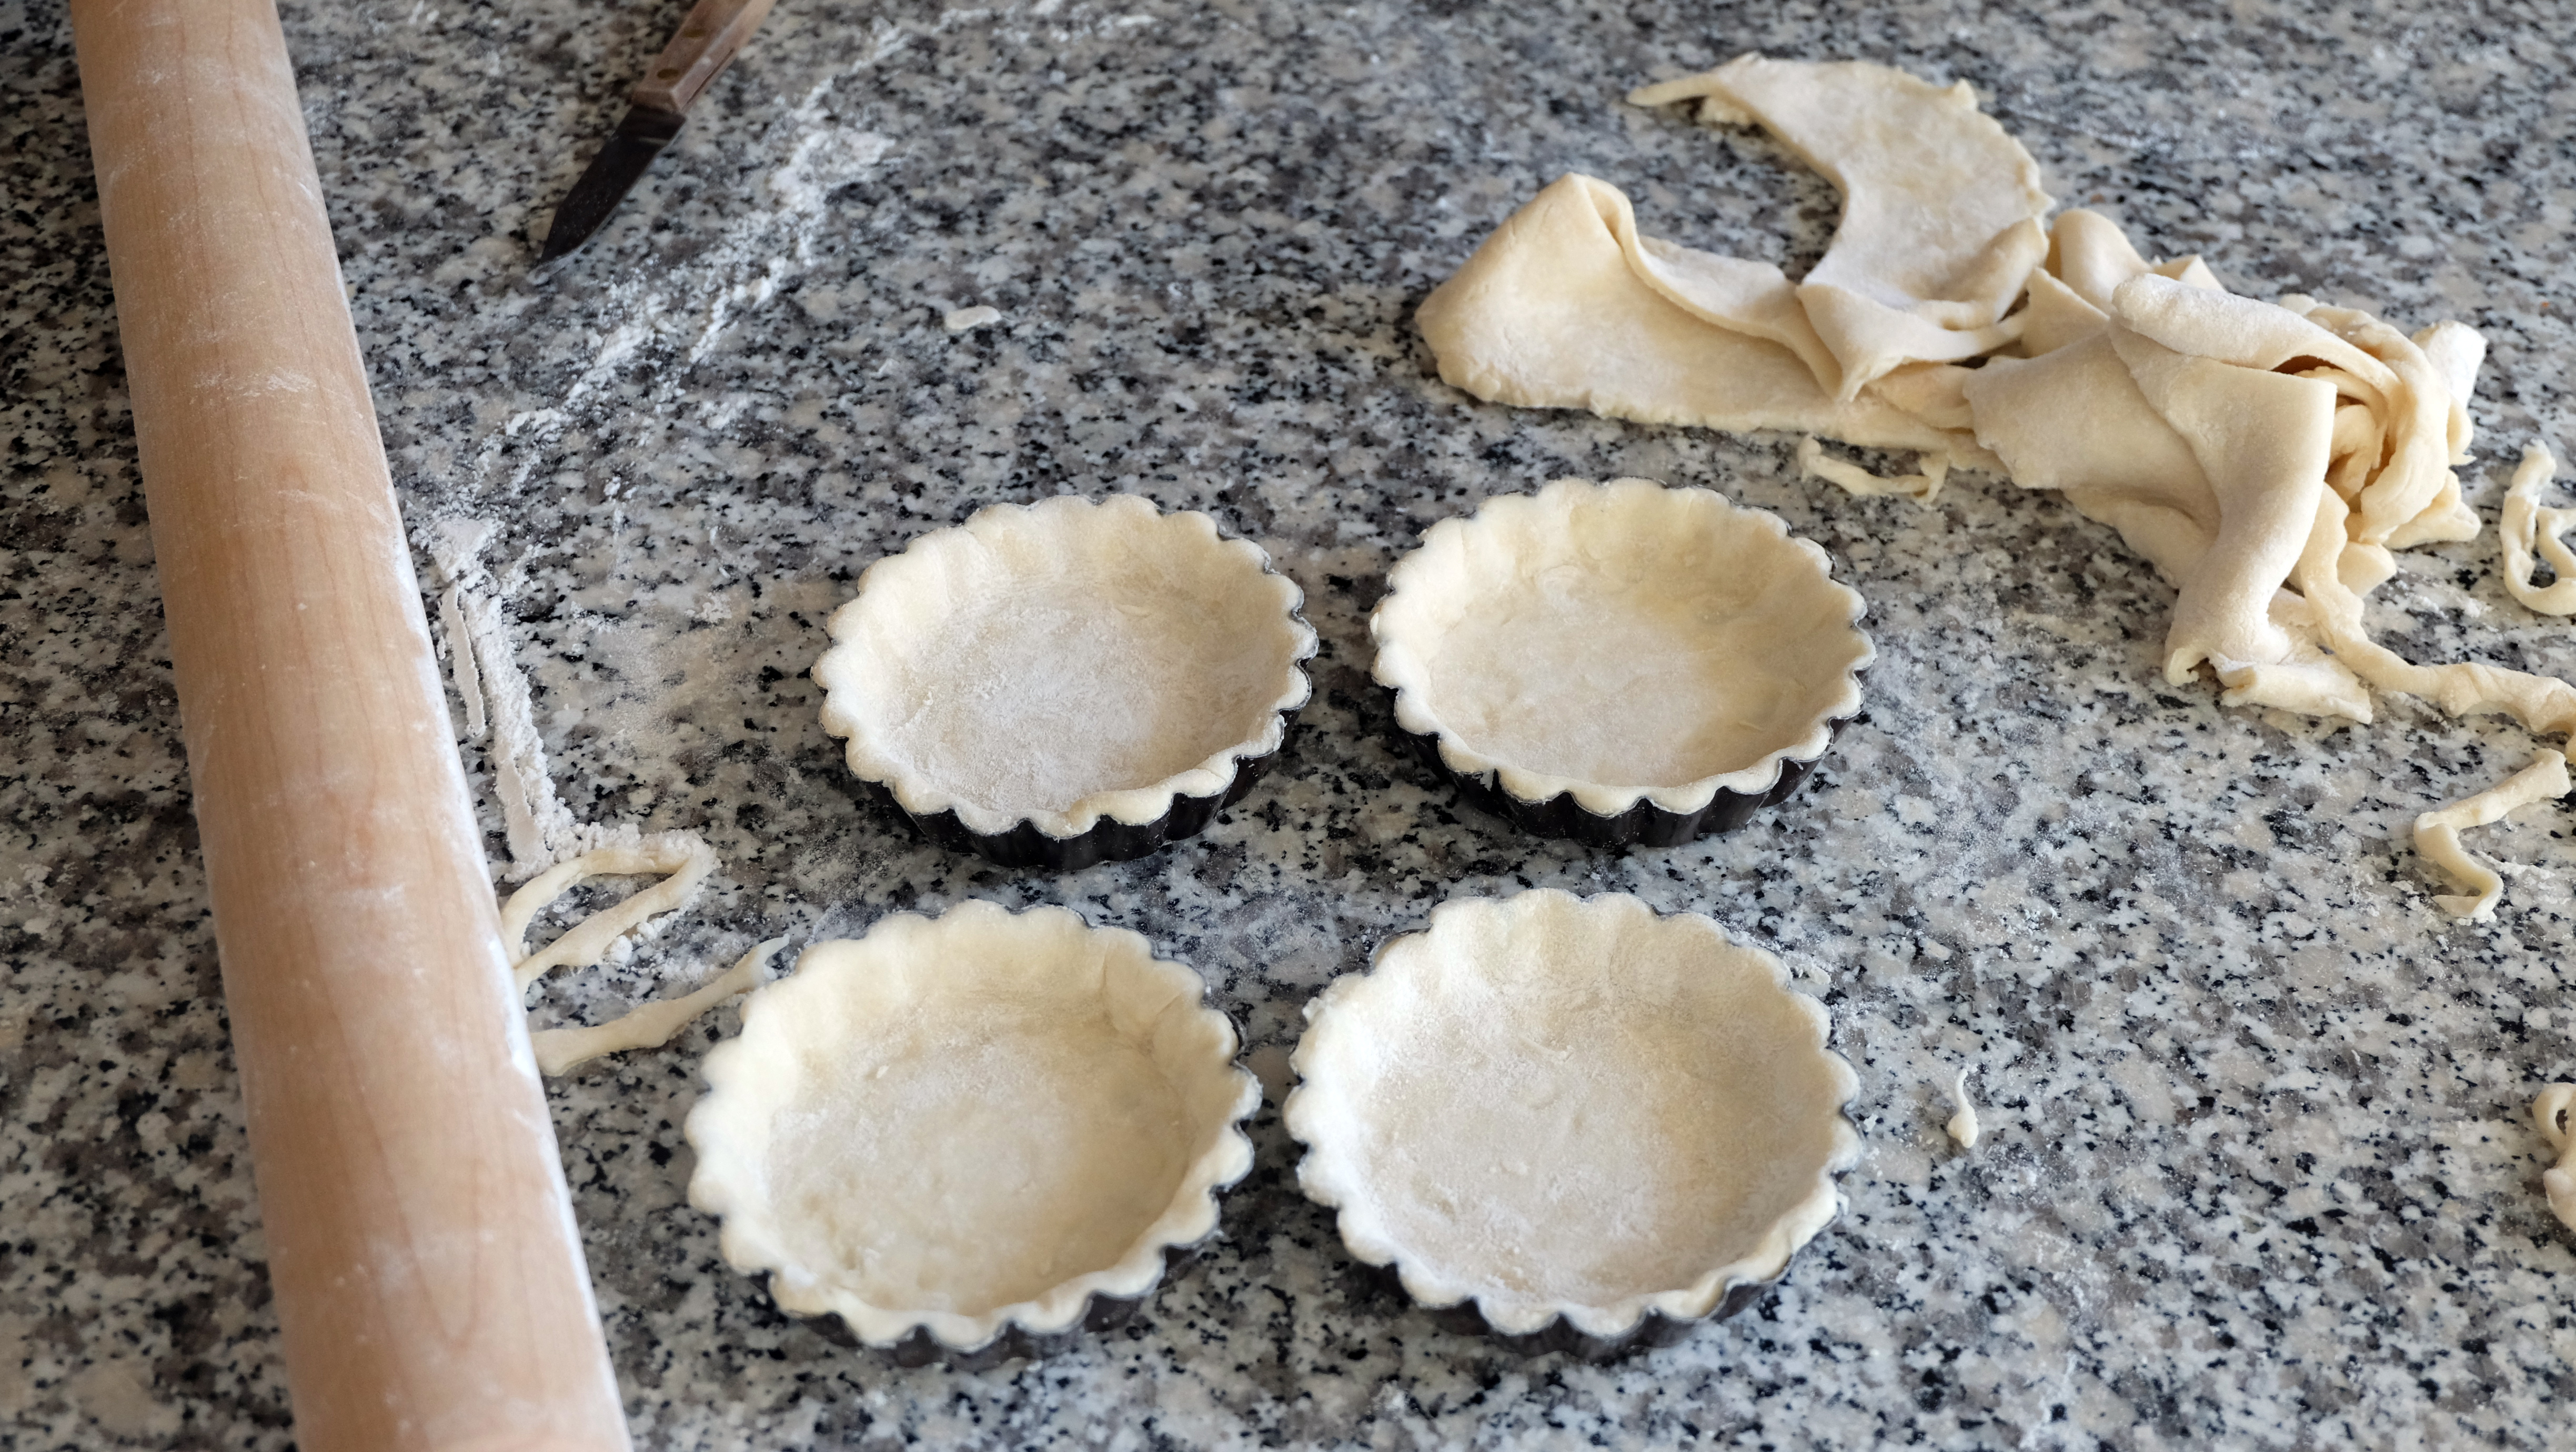
- Roll the pastry to a 1/8-inch thickness. Cut circles of dough about ¼-inch larger than the diameter of the mini tart pans – this will make sure there’s enough dough to create a strong edge
- Working quickly so the pastry stays cold, press the pastry into the tart pans and trim off any excess with the palm of your hand or roll the rolling pin gently across the rim
- Prick the base with a fork and get them into the freezer for at least 30 minutes. Baking the tart shells from frozen will help them retain their shape and result in a flakier crust
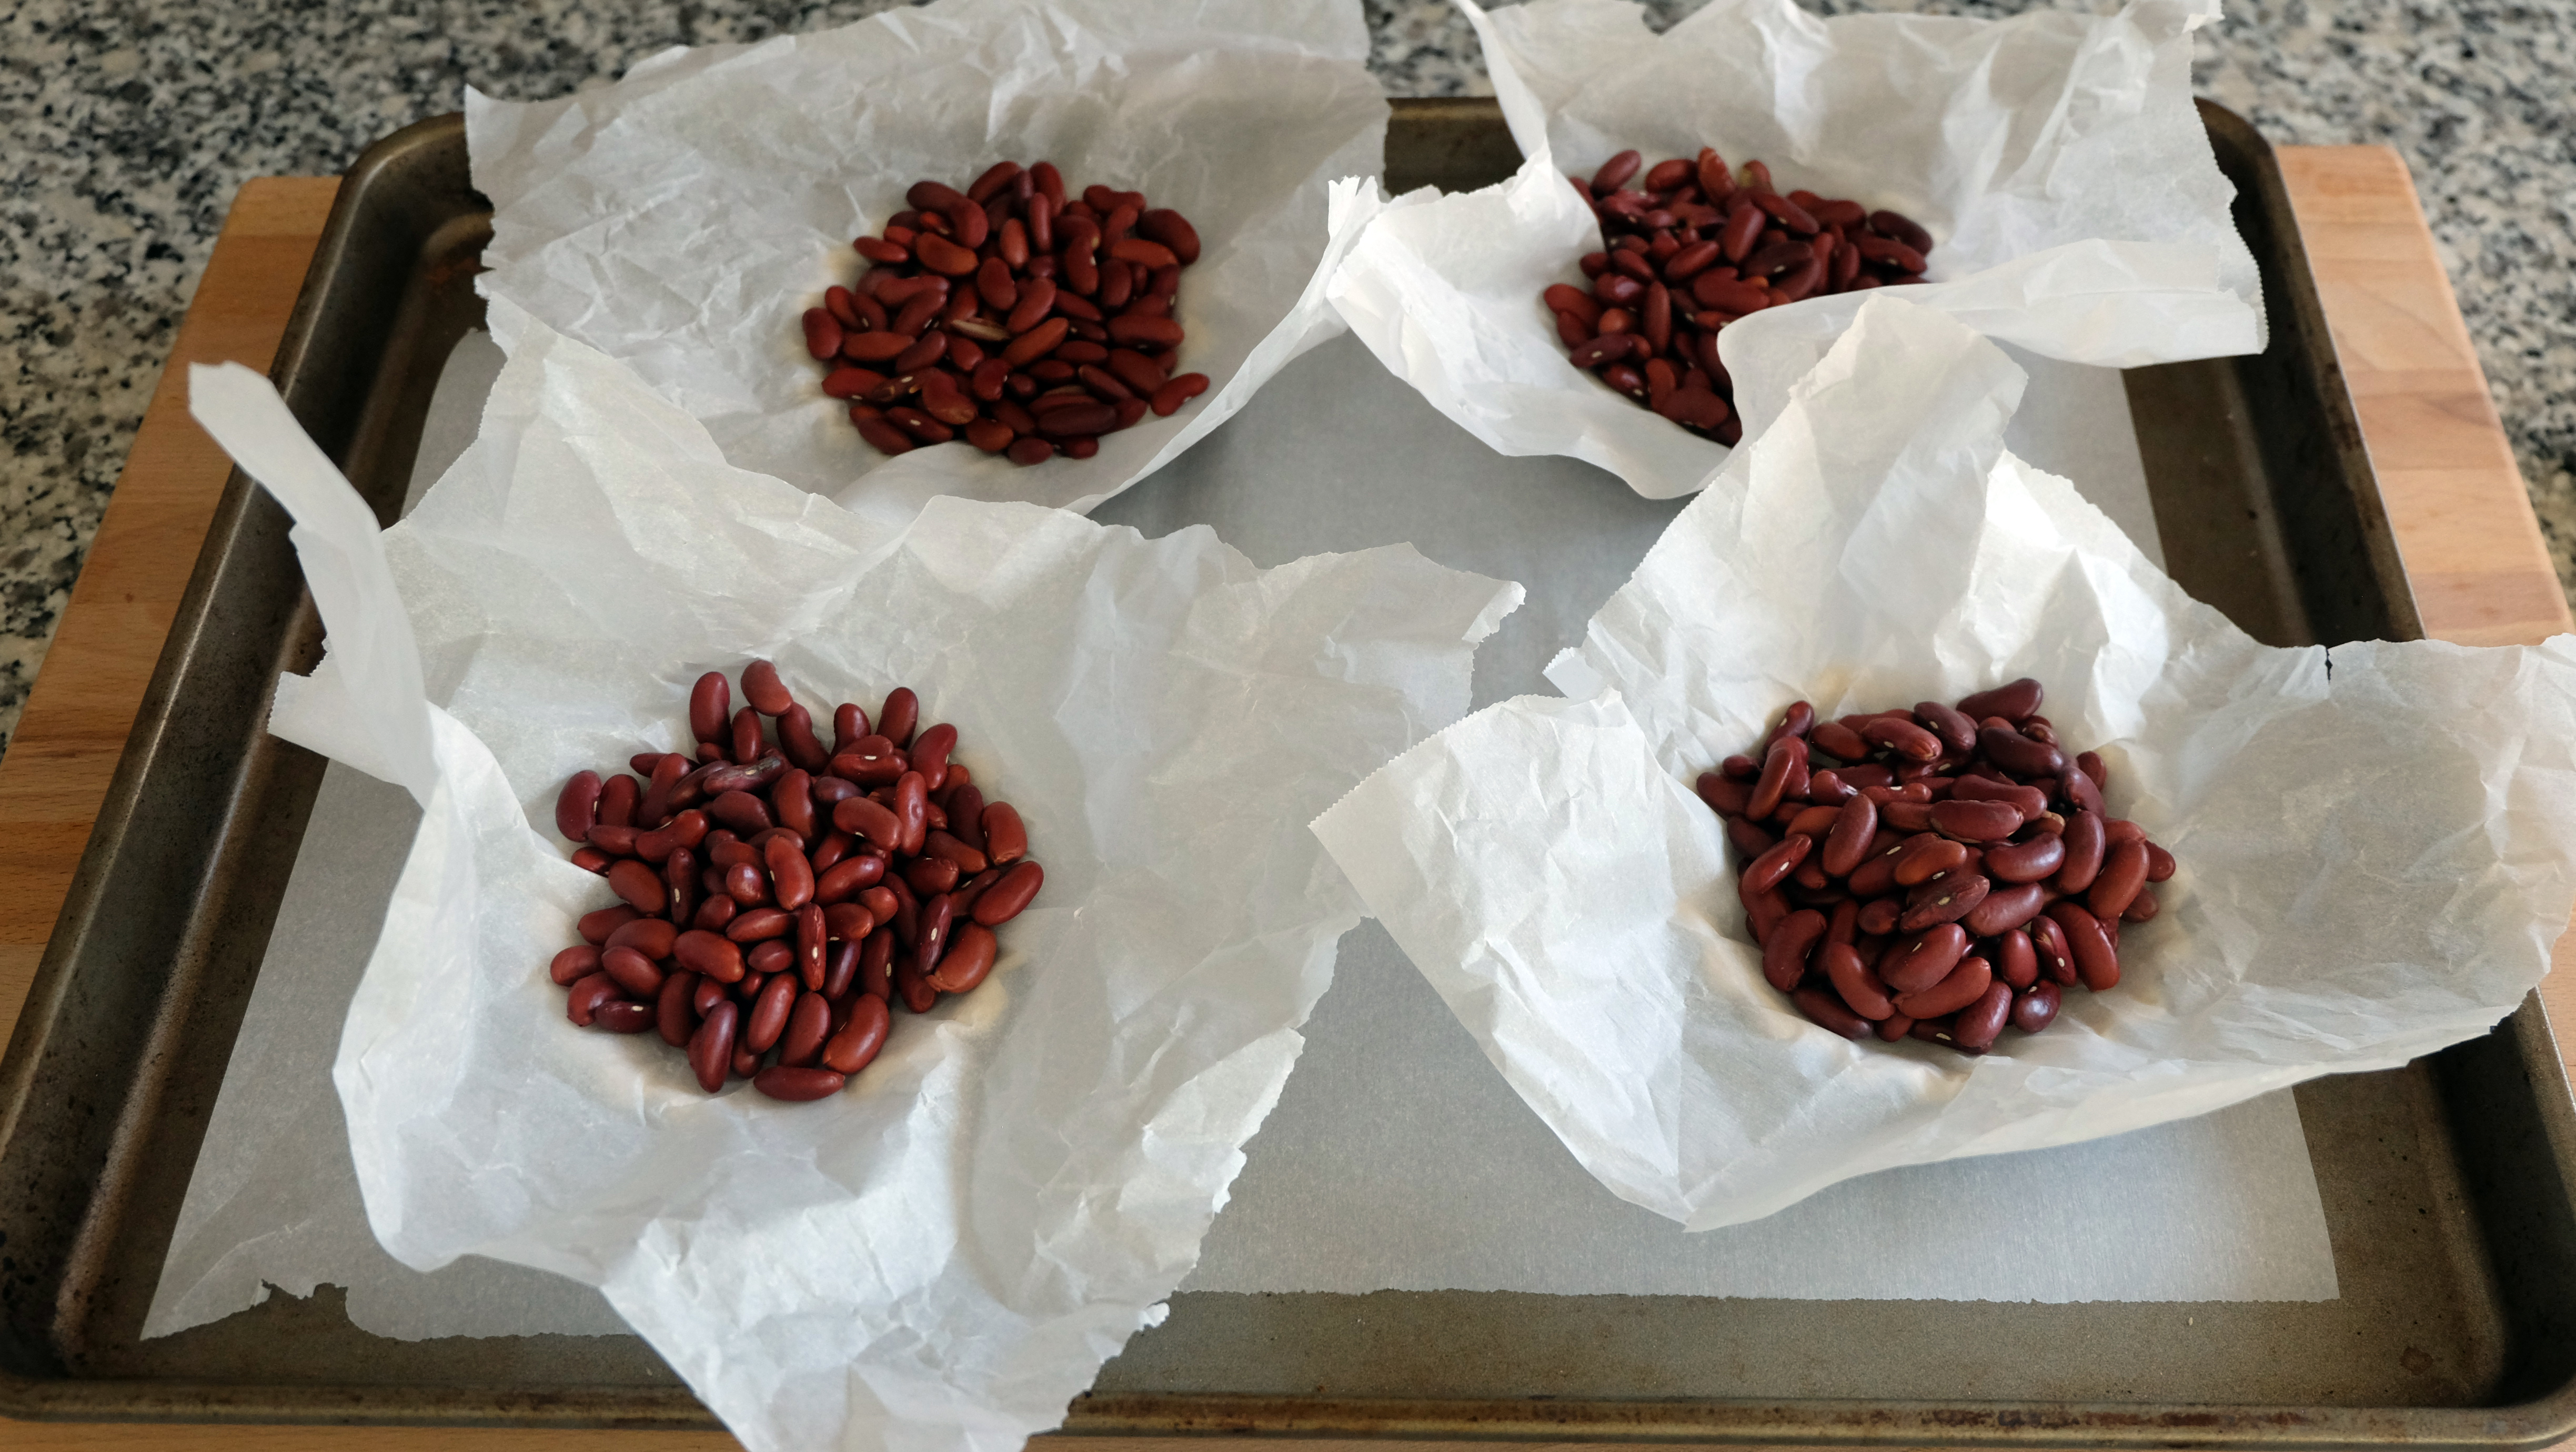
- Before baking, line each shell with a piece of parchment paper and fill with a handful of dry beans. This will keep the tart’s shape while it bakes and avoid puffing up
- Place the frozen pastry shells on a baking sheet and bake for 30 minutes. Remove the parchment and beans, and bake uncovered for another 8 – 10 minutes or so until the pastry is uniformly lightly golden brown
- Let cool completely in the tart pans before filling

Chocolate Ganache Filling
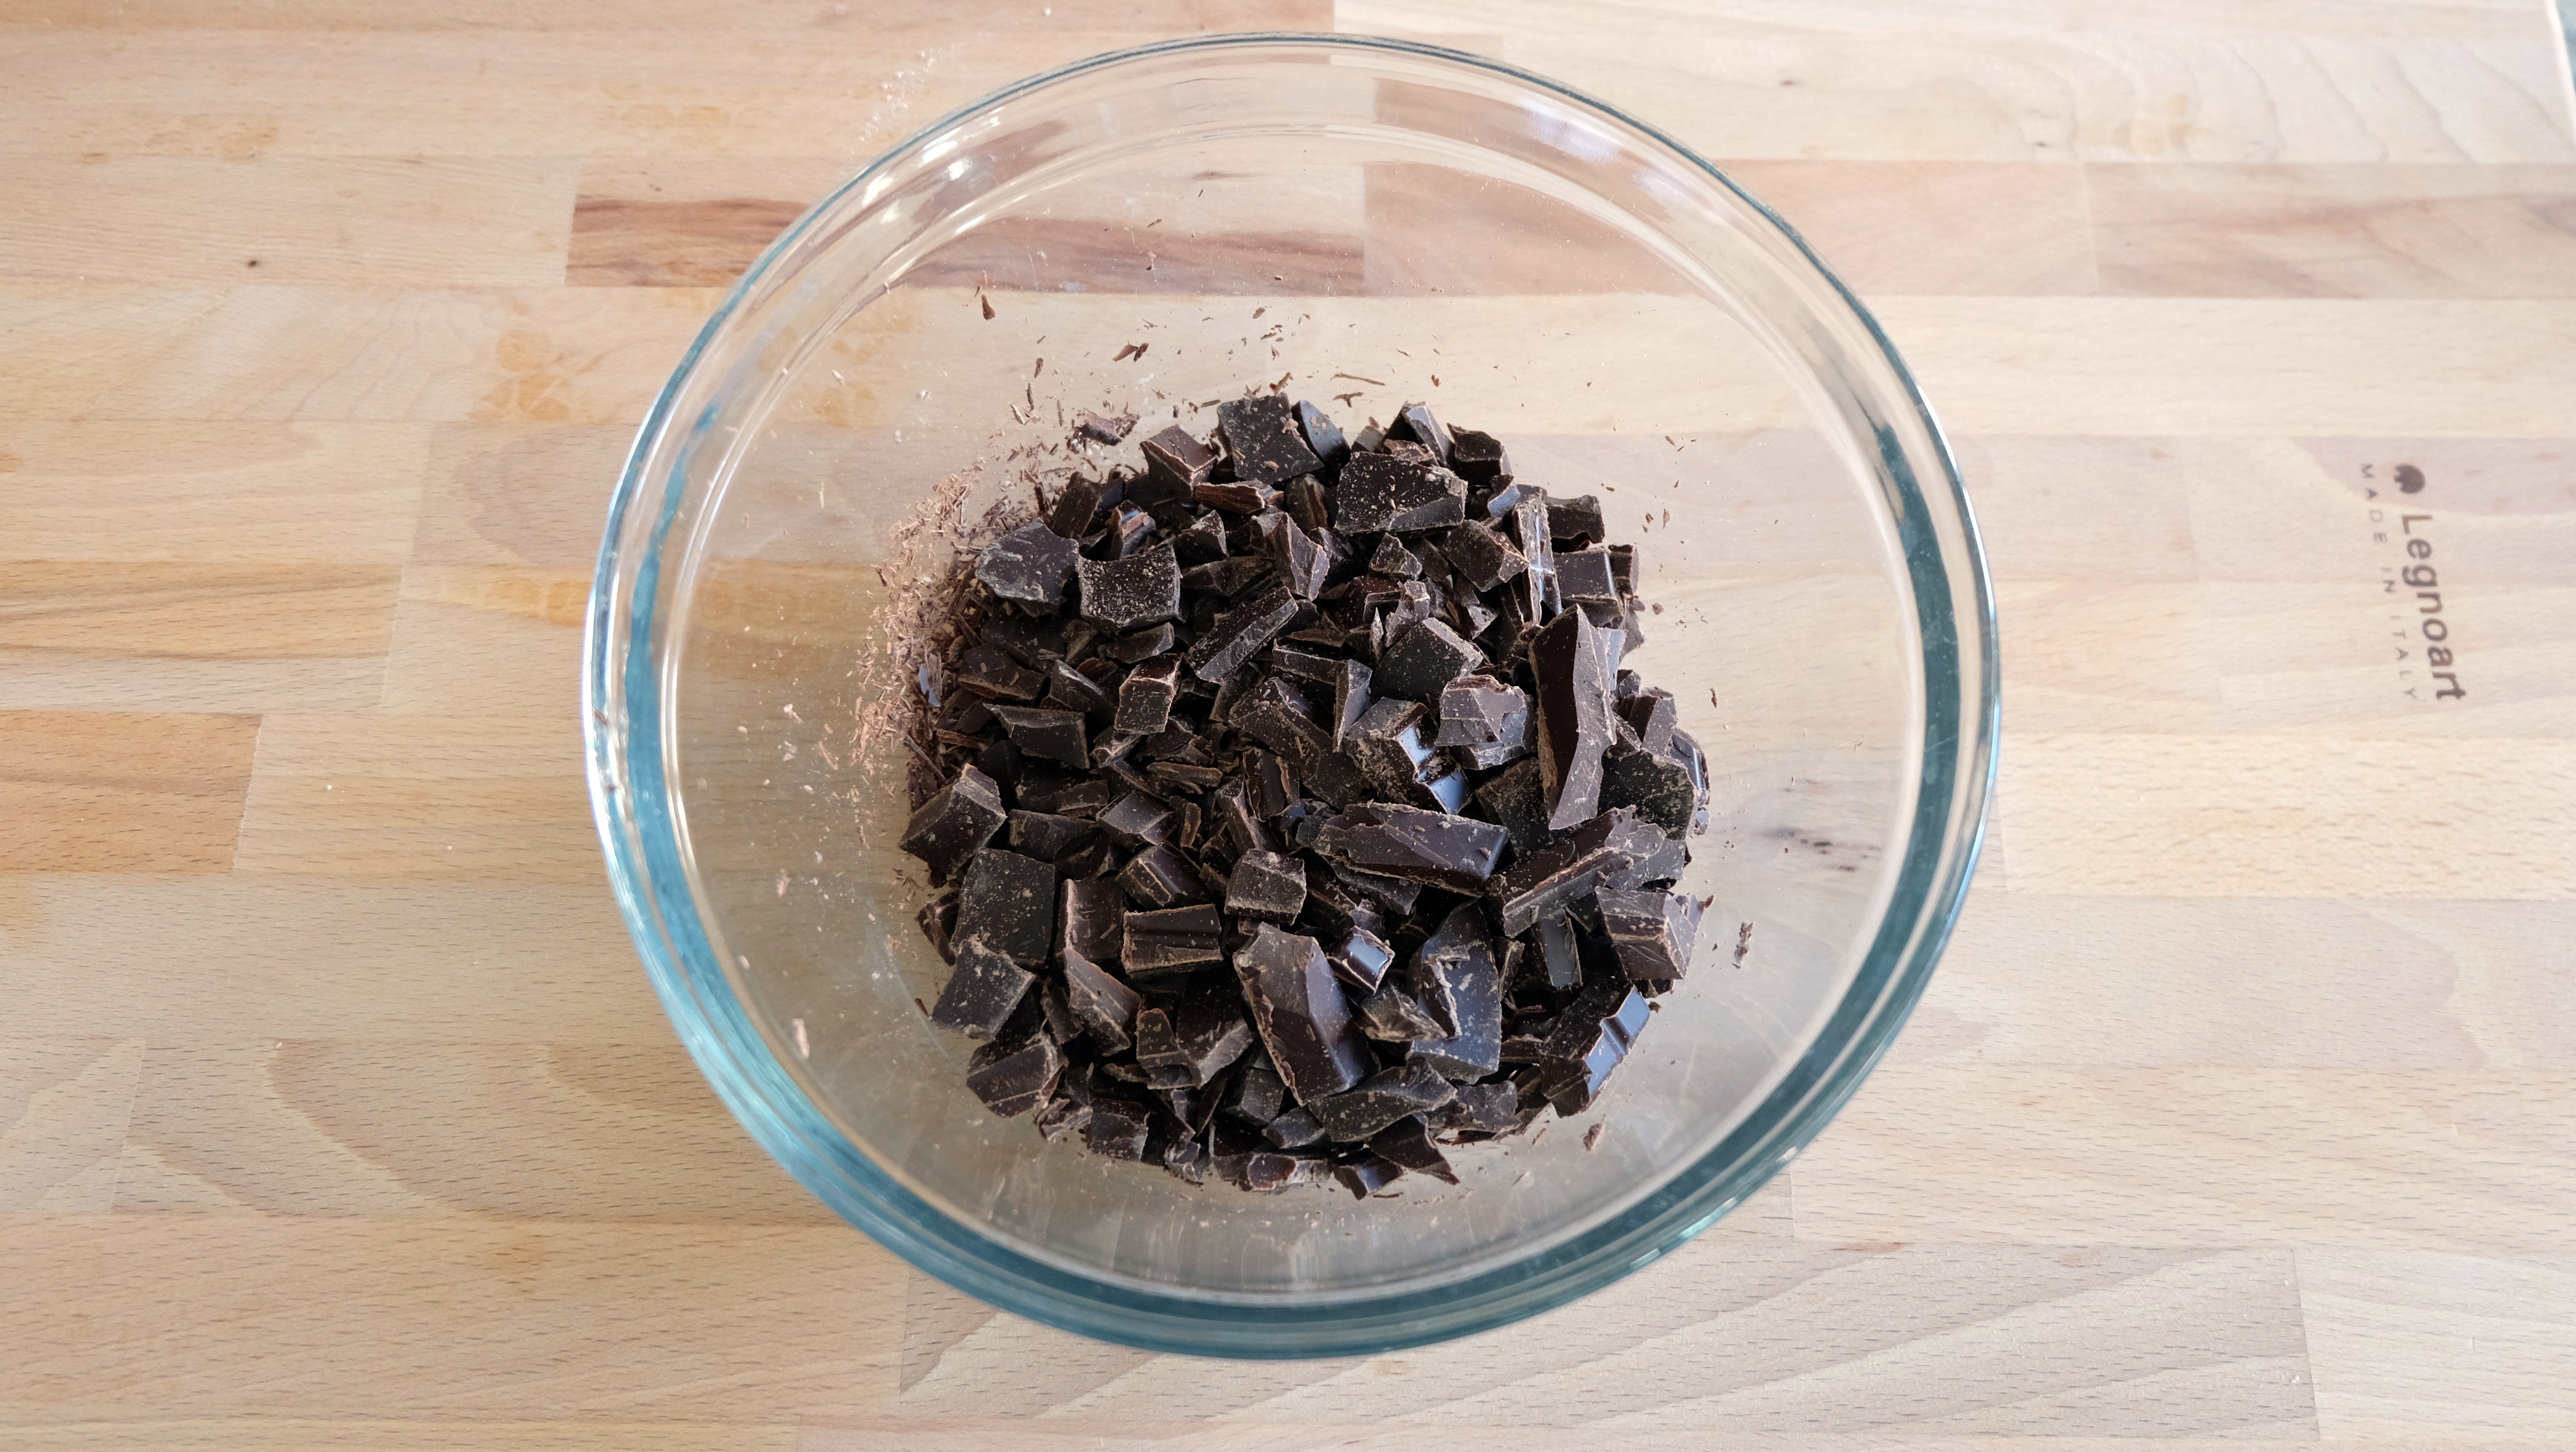
- Chop the chocolate very finely using a sharp chef’s knife and place in a medium glass or metal bowl – the smaller the pieces are, the faster they will melt in the hot cream
- In a small saucepan, heat the cream, butter, cayenne pepper and cinnamon over medium heat until the butter is melted and the cream is just about to come to a boil
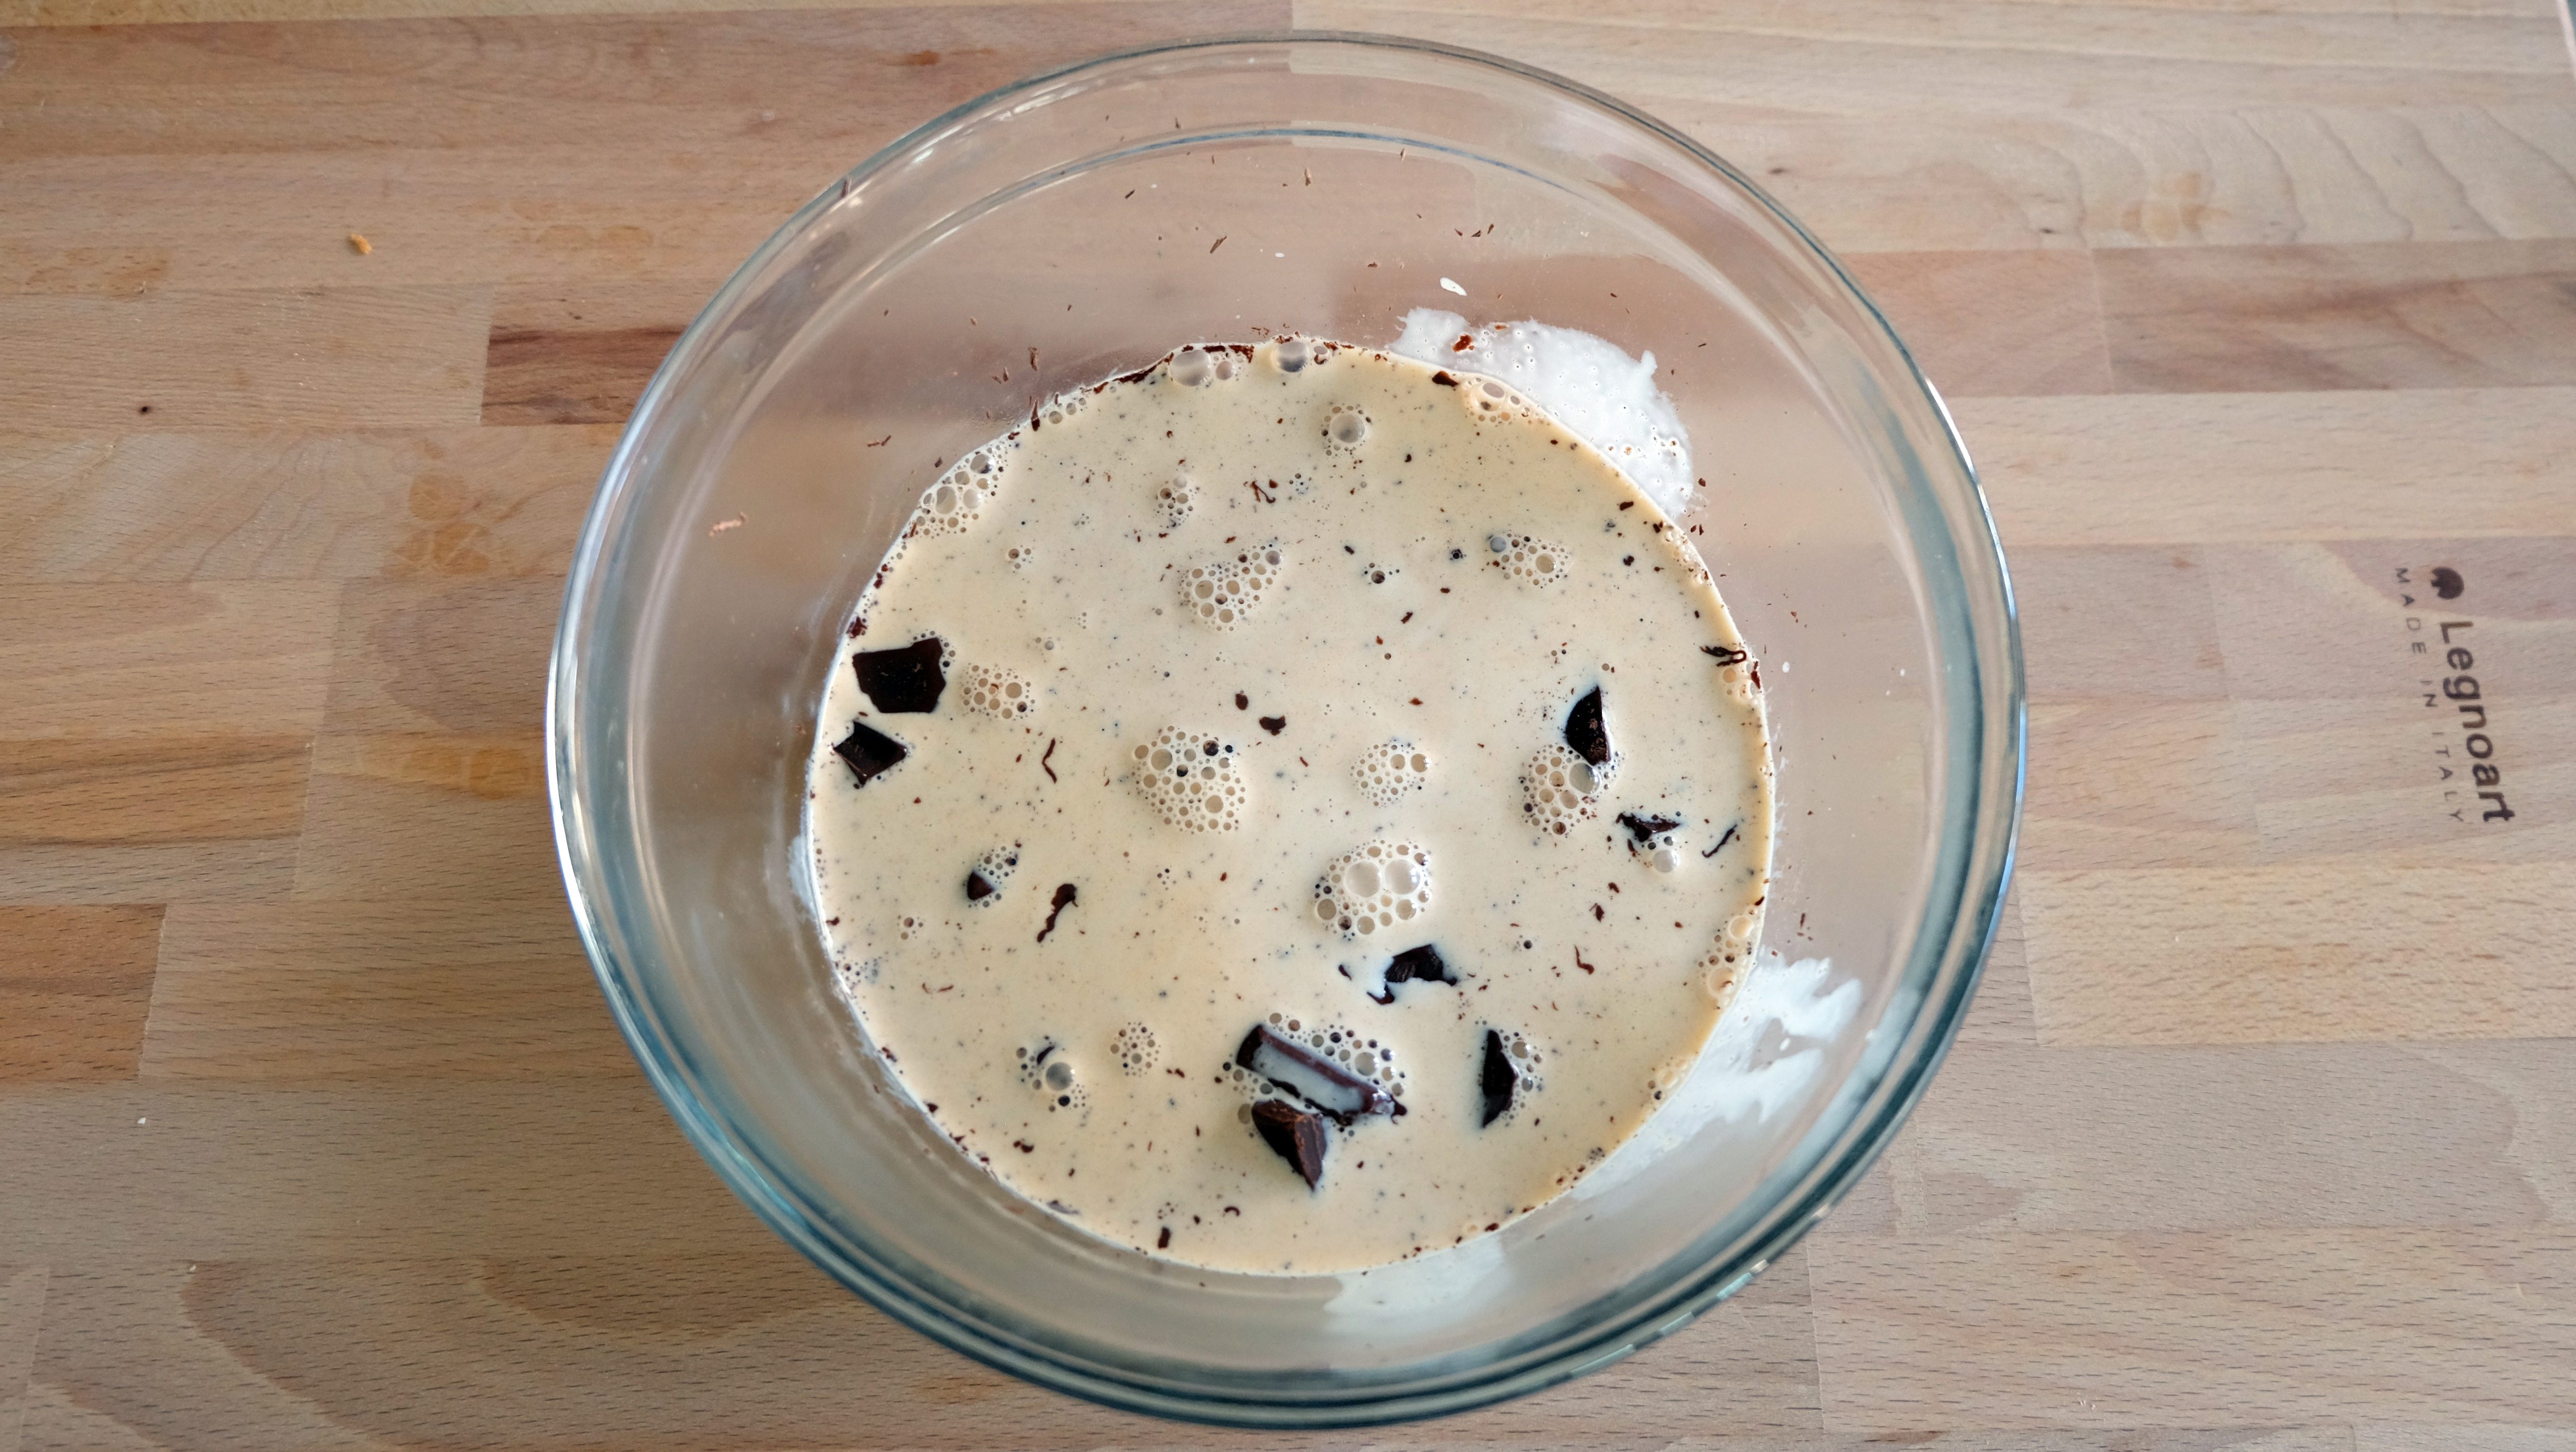
- Remove from the heat and strain over the chocolate. Let the mixture to stand for 1 – 2 minutes giving the chocolate a chance to melt
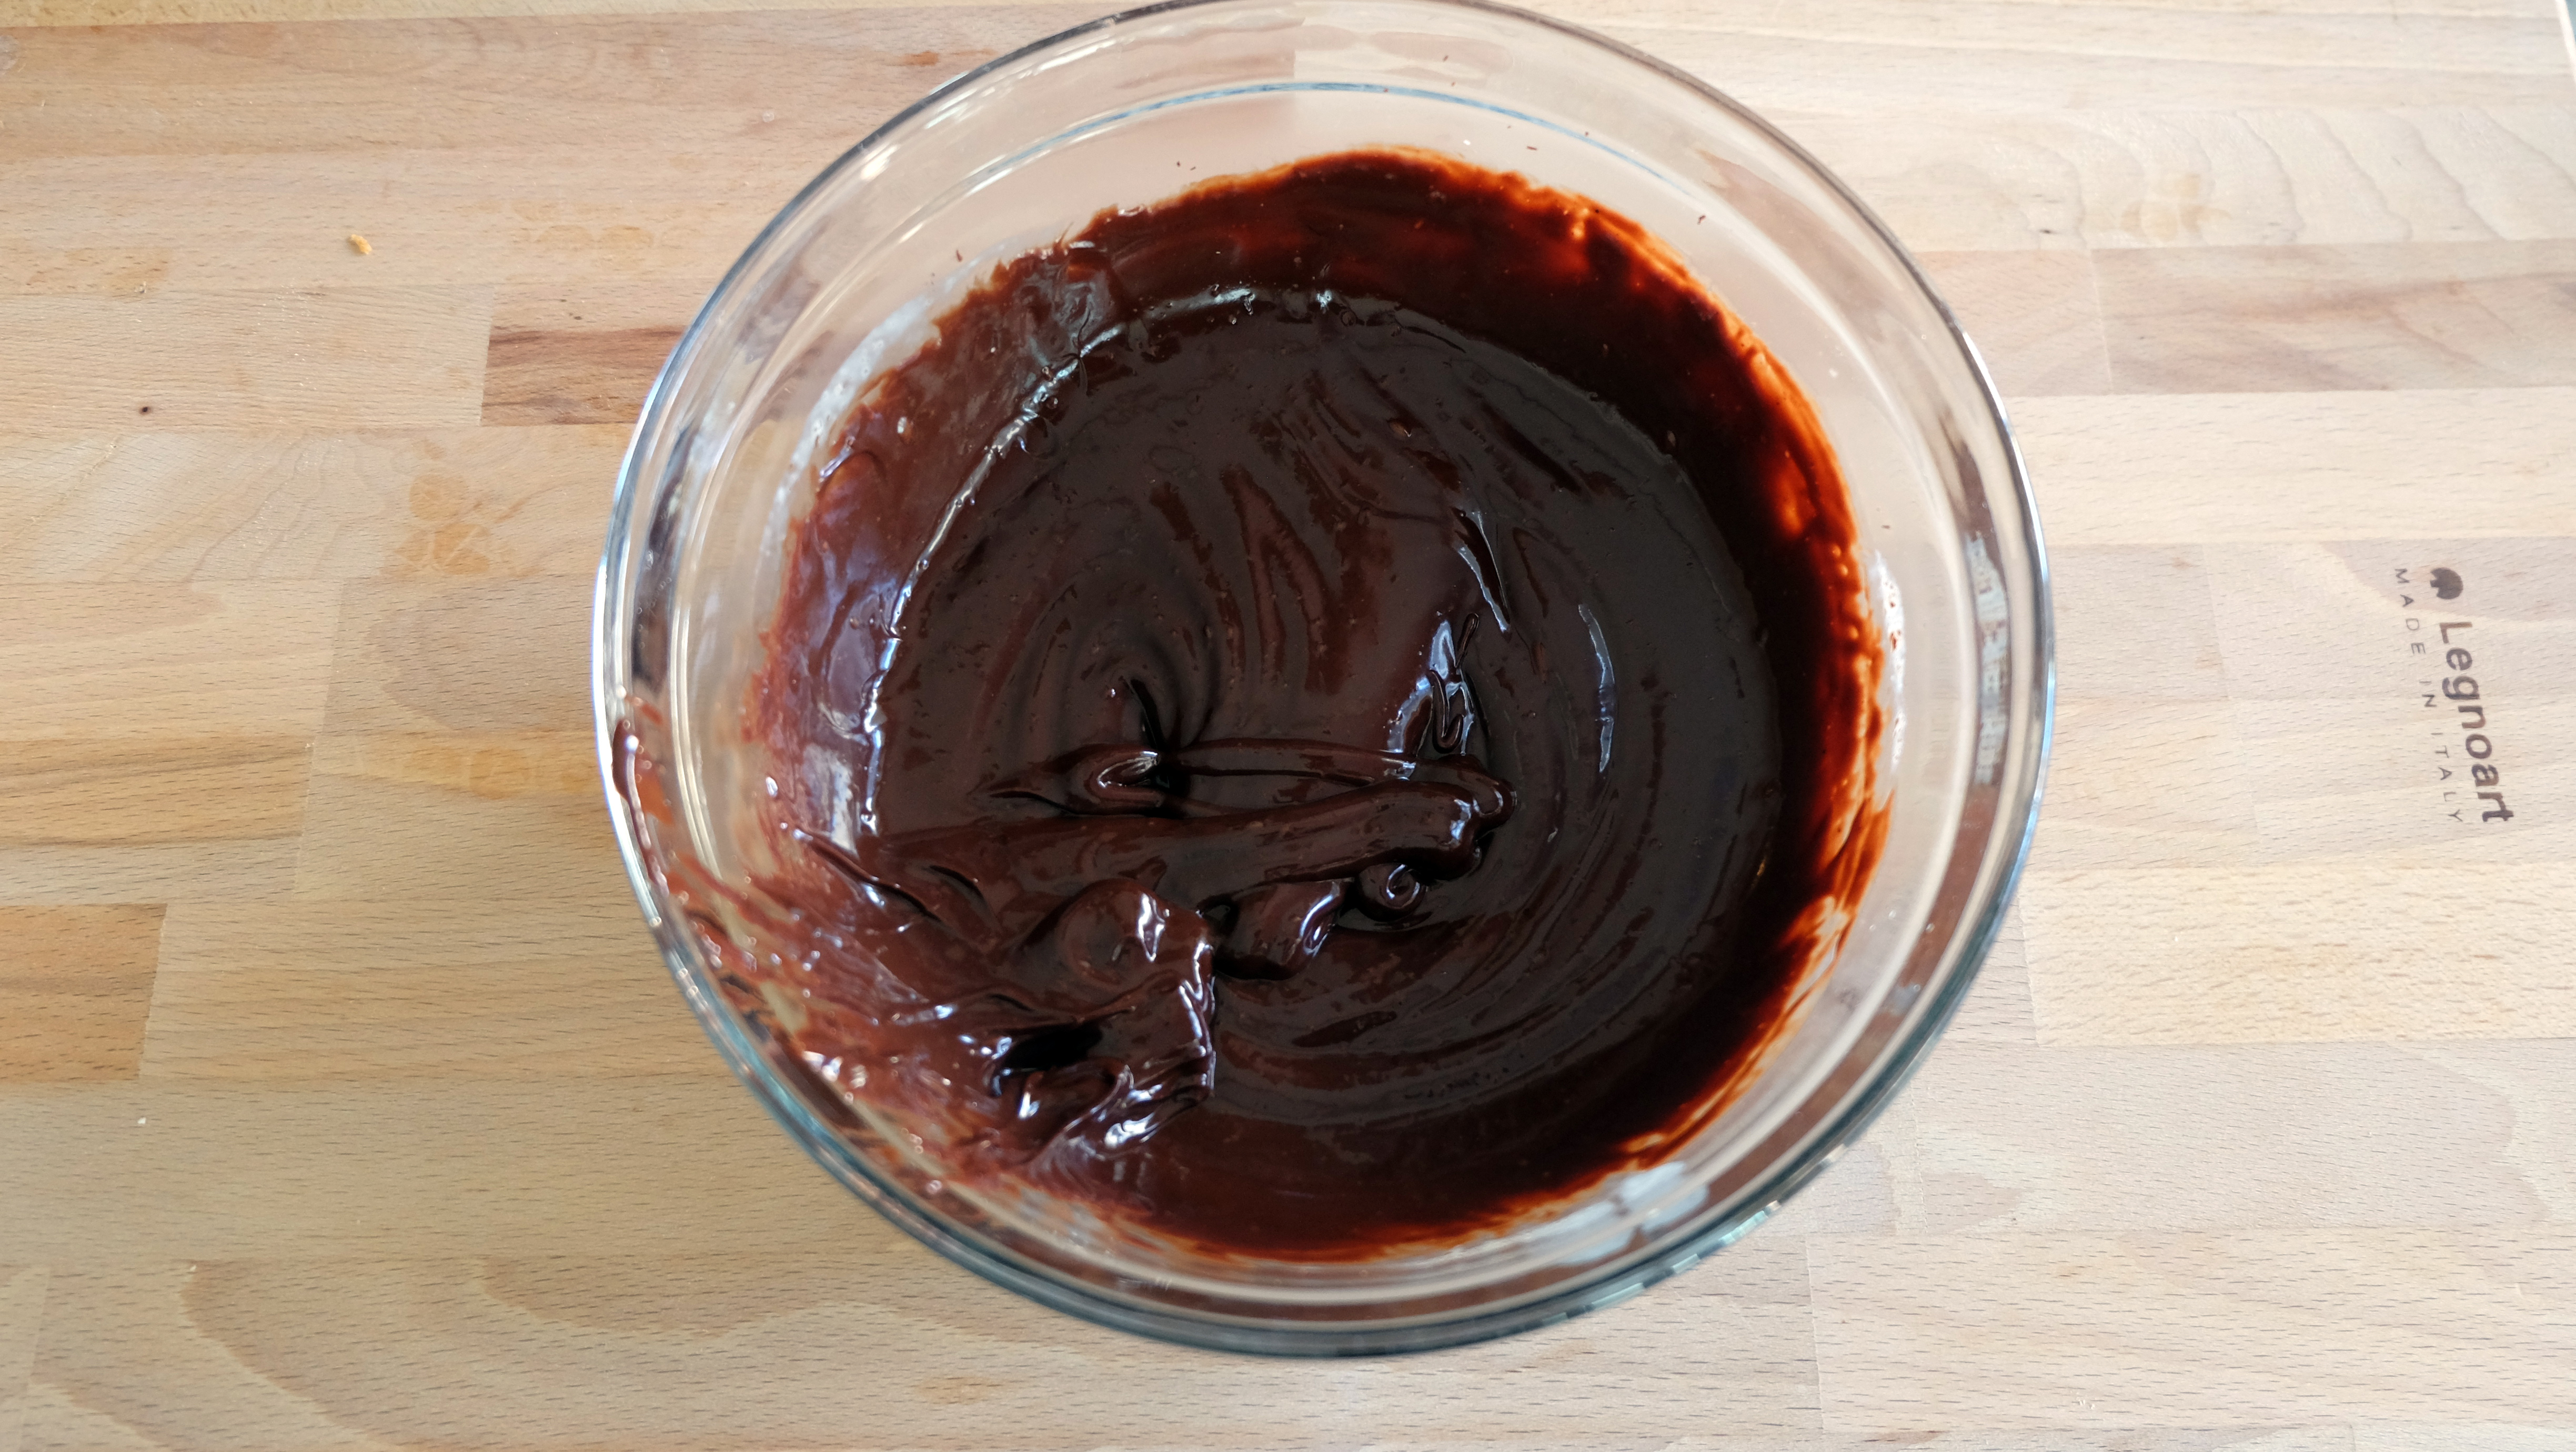
- With a rubber spatula, slowly stir the mixture taking care not to incorporate too much air or bubbles will form. It won’t look like much at first but after a few minutes the mixture will come together and you’ll have a luscious smooth chocolate ganache
- Pour the ganache into the cooled tart shells just below the top edge of the pastry. Gently tilt the tarts to even out the chocolate filling for a professional look
- Leave the tarts to cool at room temperature for an hour or so allowing the chocolate to set
- Can be stored in an airtight container at room temperature for 1 – 2 days